To keep your projector screen smooth and glare-free, start by choosing a matte or vinyl material that resists wrinkles, and store it properly by rolling rather than folding. When setting up, tension the fabric evenly on the stand and tighten all hardware. Control ambient lighting with shades or dimmers, and position your projector to avoid glare. Paying attention to proper installation and environment helps prevent issues—learn more to guarantee a flawless setup.
Key Takeaways
- Store the screen rolled loosely and hang flat for hours before setup to prevent wrinkles and creases.
- Tension the screen evenly on the stand, tightening screws to eliminate slack and prevent waves.
- Use a smooth, matte surface and control ambient lighting to minimize glare and reflections.
- Secure all mounting points firmly and check hardware to maintain consistent tension and prevent wrinkles.
- Smooth out minor wrinkles by stretching and re-tensioning the fabric during installation.
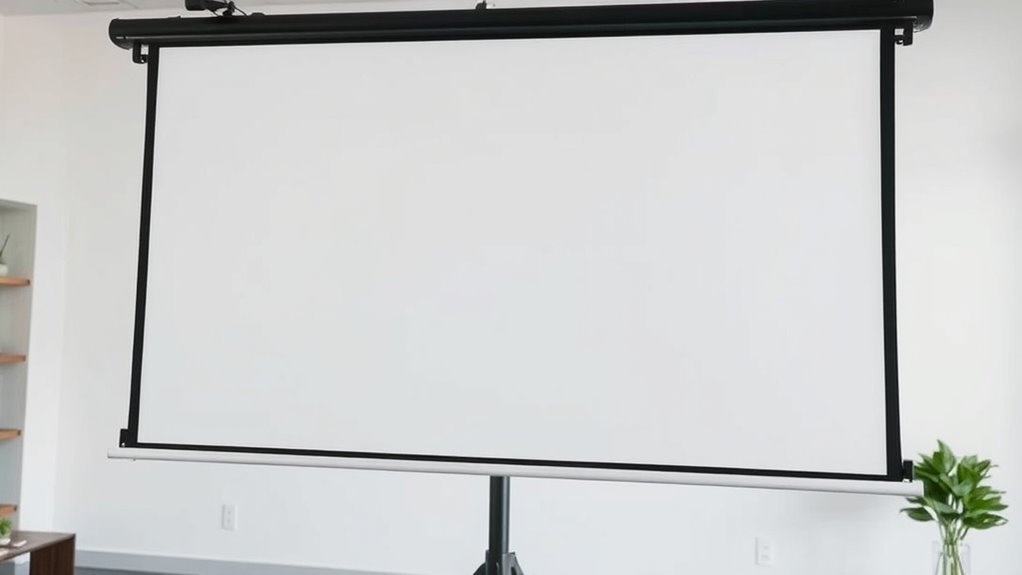
How to Prepare Your Screen to Prevent Wrinkles

To prevent wrinkles from forming on your projector screen, it is vital to properly prepare it before use. Start by choosing the right screen material, such as matte or vinyl, which resists wrinkling and maintains a smooth surface. When storing your screen, use proper storage techniques—roll it loosely instead of folding to avoid creases and permanent wrinkles. Keep the screen in a cool, dry place, away from direct sunlight, to prevent warping or damage. Before setting it up, unroll the screen and let it hang flat for a few hours; this helps eliminate minor wrinkles caused during storage. Taking these steps ensures your screen stays smooth, providing a clear, professional viewing experience every time. Additionally, selecting energy-efficient materials can contribute to more sustainable and secure presentation setups. Proper installation techniques also play a vital role in maintaining a wrinkle-free surface over time. Regularly inspecting and tightening the mounting hardware can further prevent sagging or wrinkles from developing with use. Using a climate-controlled environment can help preserve the integrity of your screen material over the long term. Moreover, choosing proper tensioning methods can help maintain a taut, wrinkle-free surface during installation and use.
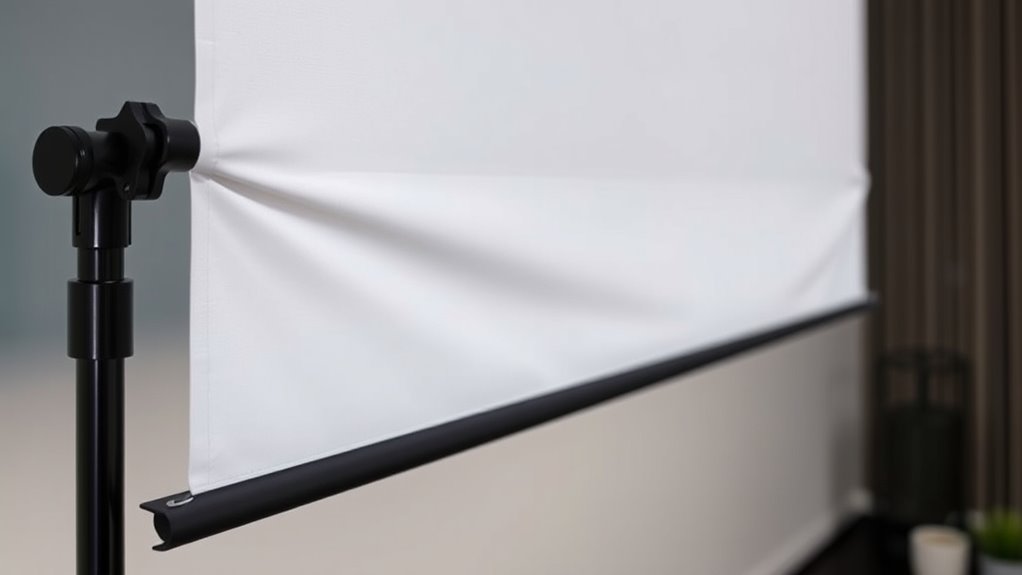
Tips for Tensioning and Securing Your Screen Tightly
Ensuring your projector screen is properly tensioned and secured is essential for a smooth, wrinkle-free surface. Start by adjusting the frame tension to eliminate slack and ensure the fabric stays taut. Use securing clips along the edges to lock the fabric in place, preventing sagging or waves. Attach the clips evenly, pulling the fabric tight before securing each one. Check the tension regularly, especially after installation or changes in weather, to maintain a smooth surface. If your stand allows, tighten the frame tension screws for extra firmness. Proper tensioning and securing prevent wrinkles and waves that can distort your image. Keep the fabric tight and secure at all points to achieve a professional, even projection surface. Regularly inspecting and maintaining tension helps prevent deterioration over time and ensures optimal image quality. Additionally, understanding proper installation techniques can greatly improve the longevity and performance of your projector screen.
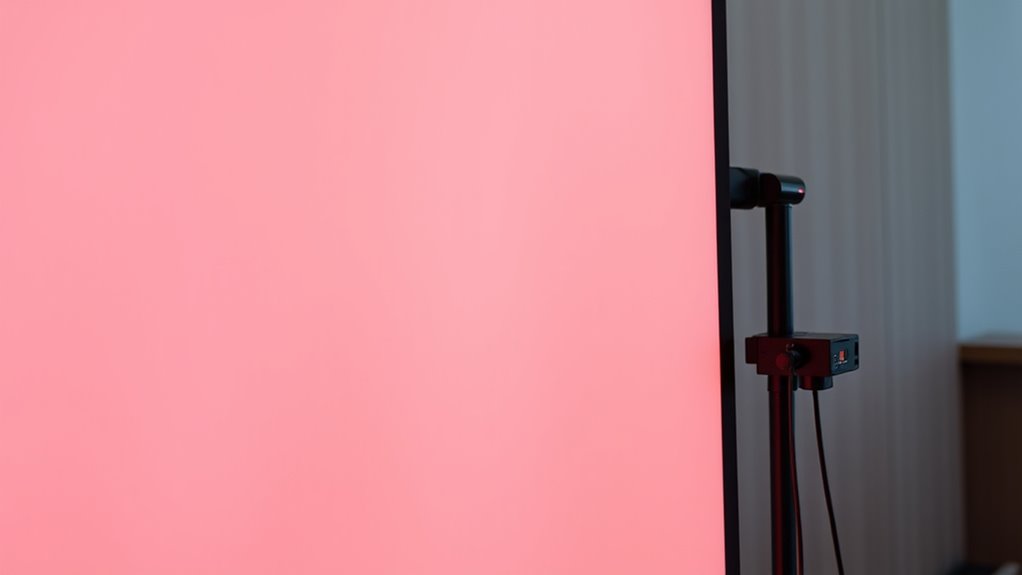
Choosing the Right Surface and Environment for a Smooth Display

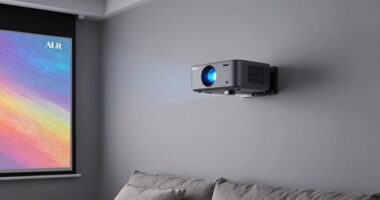
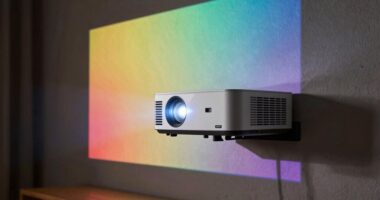
Choosing the right surface and environment is essential for achieving a clear, sharp projection. Your material selection directly impacts image quality; opt for smooth, matte surfaces like specialized projection screens or flat, light-colored walls to reduce glare and reflections. Avoid glossy or textured finishes that can cause distortions. Ambient lighting also plays a critical role—dimming or controlling natural light minimizes glare and enhances contrast. Position your screen where ambient light won’t directly hit it, and use curtains or shades if needed. Properly selecting the surface material and managing ambient lighting create an ideal environment for a smooth, undistorted display. Additionally, considering ambient light control can significantly improve overall viewing quality. Incorporating smart lighting technology can help automate adjustments for optimal viewing conditions, ensuring a consistently clear image.
Managing Lighting to Minimize Screen Glare
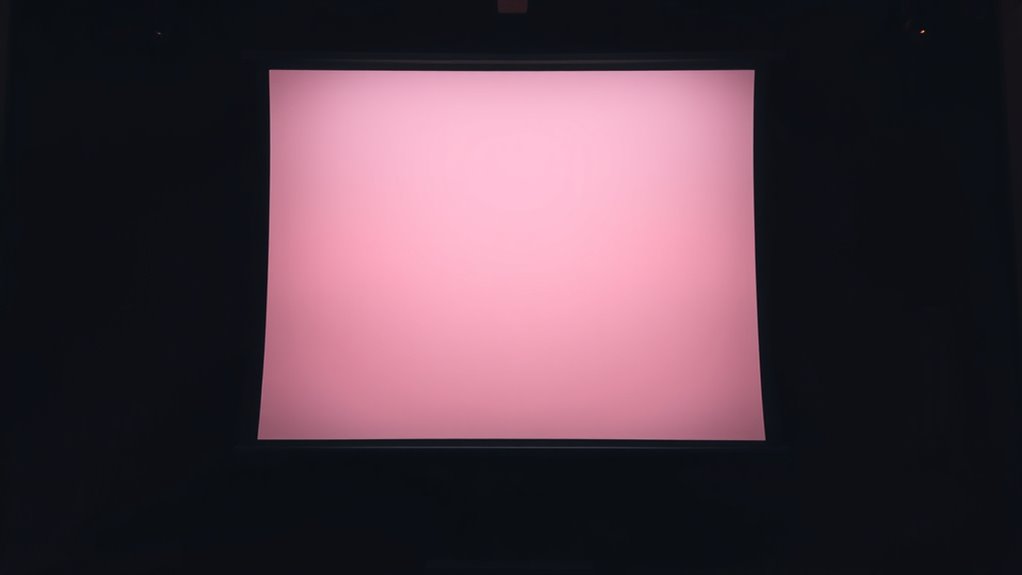
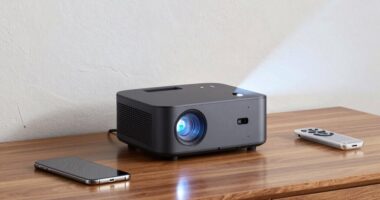
Managing lighting effectively is key to reducing glare and preserving image clarity on your projection screen. To do this, consider these steps: 1. Adjust ambient lighting—use dimmer switches or indirect light sources to minimize interference. 2. Position your projector carefully—place it to avoid direct reflections from windows or bright lights hitting the screen. 3. Control light angles—use curtains or blinds to block sunlight and prevent unwanted glare. 4. Use specialized light control accessories such as anti-glare screens or shades to further improve visibility. Proper ambient lighting ensures your screen isn’t washed out, while strategic projector placement reduces reflections that cause glare. Remember, keeping lighting levels consistent and avoiding direct light sources on the screen helps maintain sharp visuals. By managing your environment thoughtfully, you’ll enjoy a clearer, more vibrant display without distracting glare.
Troubleshooting Wrinkles, Waves, and Glare After Setup
After setting up your projector and screen, wrinkles, waves, and glare can still appear, disrupting your viewing experience. If you notice wrinkles or waves, check the screen material—some fabrics are more prone to creasing. Smooth out minor wrinkles by gently stretching the material and re-tensioning the mounting points. Poor mounting techniques can cause uneven tension, leading to waves or sagging. Confirm that the screen is securely fastened at all edges and corners, and adjust the tension if needed. For glare issues, examine the placement of your screen relative to light sources; reposition or tilt the screen to minimize reflections. Proper mounting techniques and choosing the right screen material are key to maintaining a smooth, glare-free surface for ideal viewing. Additionally, selecting appropriate screen materials, such as those designed to reduce reflections and glare, can significantly improve your viewing quality. Being aware of Free Floating techniques can also help you achieve a more even, professional setup that minimizes common display issues.
Common Mistakes to Avoid When Installing Your Projector Screen
Installing your projector screen correctly is essential for ensuring a smooth, wrinkle-free surface and an ideal viewing experience. Common mistakes include:
Proper installation ensures a smooth, wrinkle-free projector screen for optimal viewing.
- Incorrect mounting, which can cause the screen to hang unevenly or fall.
- Failing to maintain even tension across the fabric, leading to waves or wrinkles.
- Using improper tools or hardware that don’t support the screen’s weight or structure.
Avoid these pitfalls by double-checking your mounting brackets, ensuring consistent tension as you secure the fabric, and selecting appropriate hardware. Incorrect mounting can cause instability, while uneven tension creates distracting imperfections. Taking your time during installation and following manufacturer instructions helps prevent these mistakes, ensuring your projector screen remains smooth, taut, and ready for superior viewing. Additionally, understanding proper installation techniques can significantly reduce the risk of surface imperfections and maximize screen durability, especially when considering correct hardware selection. Implementing proper tensioning methods can further enhance the longevity and appearance of your screen, leading to a better viewing experience overall.
Frequently Asked Questions
What Are the Best Materials for a Wrinkle-Free Projector Screen?
You should choose materials like high-quality matte vinyl or PVC for a wrinkle-free projector screen. These fabrics offer excellent material durability, resisting wrinkles and creases over time. They also have low surface reflectivity, reducing glare and ensuring clear images. Look for options with a smooth, stiff texture to prevent waves and ripples, making your viewing experience seamless. Proper installation on a sturdy frame also helps maintain a wrinkle-free surface.
How Often Should I Clean and Maintain My Projector Screen?
They say, “A stitch in time saves nine,” so you should clean your projector screen regularly. Follow a cleaning schedule of once every 1-2 months, using gentle microfiber cloths and mild cleaning solutions. Maintenance tips include avoiding harsh chemicals and sharp objects. Regular cleaning prevents dust buildup, glare, and wrinkles, ensuring ideal picture quality and longevity. Stay proactive, and your screen will stay clear and wrinkle-free for years to come.
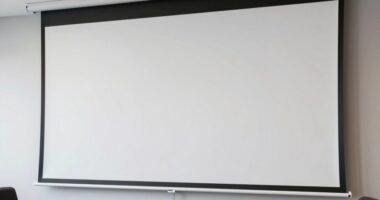
Can Portable Screens Be as Effective as Fixed-Mounted Ones?
Portable screens can be just as effective as fixed-mounted screens if you choose a high-quality model with a smooth surface and proper setup. They offer flexibility and ease of movement, making them ideal for various locations. Fixed-mounted screens provide stability and often better image consistency, but portable screens can deliver excellent picture quality if you guarantee proper tension and positioning. Ultimately, your choice depends on your space and needs.
How Do I Choose the Ideal Stand Height for Optimal Viewing?
Imagine your screen perfectly aligned with your line of sight—that’s how you choose the ideal stand height. Adjust stand height to match your eye level for the best viewing angles, reducing neck strain and glare. Test different heights, ensuring the screen is neither too high nor too low. When you find the right alignment, your viewing experience becomes comfortable and clear, making every presentation or movie more enjoyable.
Are There Specific Brands Known for Durable, Wrinkle-Resistant Screens?
Some brands are renowned for durable, wrinkle-resistant screens, like Elite Screens and Silver Ticket. You’ll find they have strong brand reputations for quality and use high-quality, long-lasting materials that resist wrinkles and waves. When shopping, look for screens made with durable fabric and reinforced edges, which help prevent glare and maintain a smooth surface. Choosing these trusted brands guarantees you get a reliable, long-lasting screen that stays wrinkle-free.
Conclusion
By following these tips, you’ll turn your projector screen into a flawless canvas—free from wrinkles, waves, and glare. Imagine your setup as a perfectly stretched drum, ready to produce crisp, clear sound. When you prepare, tension, and manage your environment, your viewing experience becomes a masterpiece of clarity. Don’t let imperfections steal the show; instead, master the art of a smooth, glare-free display that transforms any room into a cinematic sanctuary.