Choosing the right motorized projector screen involves selecting a size that fits your room and viewing distance, considering aspect ratios like 16:9 or 4:3. Pay attention to screen gain—higher gain boosts brightness but can cause hotspots, while low gain offers even reflection. Avoid common installation mistakes like mounting into weak walls or misaligning the projector, which can damage the screen or reduce performance. With proper setup and care, your screen will deliver top-quality images; learn more to optimize your experience.
Key Takeaways
- Choose a screen size that fits your room dimensions and viewing distance to prevent distortion and ensure comfort.
- Select the appropriate gain based on ambient light; higher gain boosts brightness but may cause hotspots.
- Mount the motorized screen securely into wall studs or anchors, ensuring level positioning for optimal operation.
- Avoid installation mistakes like improper wiring, loose brackets, or incorrect alignment to prevent malfunctions.
- Regularly maintain and clean the screen and motor components to prolong lifespan and ensure smooth, quiet operation.

DINAH 120 Inch Electric Projector Screen with Remote, Automatic Air Indoor Drop Down, Motorized 4K 3D HD Projection for Movies
Large 120-inch screen: The DINAH electric projector screen is an ideal choice for movie enthusiasts and professionals alike,…
As an affiliate, we earn on qualifying purchases.
As an affiliate, we earn on qualifying purchases.
How to Choose the Perfect Projector Screen Size for Your Space
Choosing the right projector screen size is essential to creating an ideal viewing experience. Your projection aspect plays a key role in this decision, as it determines the width-to-height ratio that best fits your space and content. To optimize clarity and immersion, consider your projector’s native resolution and how it aligns with your screen material, since some materials enhance image sharpness and color vibrancy. A larger screen offers a more cinematic feel but can cause image distortion if your projector isn’t powerful enough. Conversely, a smaller screen ensures sharpness but might not fill your room comfortably. Measure your space carefully, keeping in mind viewing distance and comfort, to select a size that balances immersion with image quality. Additionally, exploring energy-efficient options can help reduce your setup’s environmental impact while maintaining high-quality visuals.

Outdoor Projector Screen 120 Inch, 16:9, High Gain, Projector Screen with Stand, Wind-resistant Design for Portable Projection Screen Outdoor, With Ropes and Spikes, 4K Image for Home Theater, Camping
High Gain Outdoor Projector Screen. The screen is rolled up and stored in storage tube, so that it…
As an affiliate, we earn on qualifying purchases.
As an affiliate, we earn on qualifying purchases.
Measuring Your Room and Picking the Right Screen Dimensions
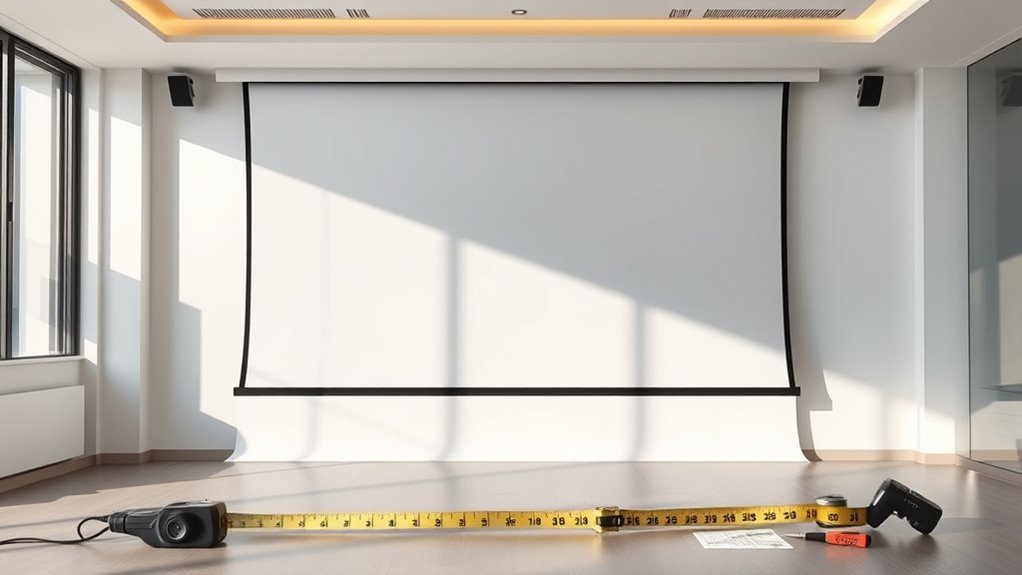
To select the appropriate projector screen, you need to measure your room’s dimensions and consider how far you’ll sit from the screen. Your viewing distance and room size will influence the ideal screen size and aspect ratio. Making accurate measurements guarantees your setup provides the best viewing experience. Additionally, understanding your projector’s contrast ratio can help you choose a screen that complements its capabilities for optimal image quality. Knowing the screen gain also plays a crucial role in selecting the right material to enhance brightness and contrast based on your room’s lighting conditions.
Room Dimensions and Viewing Distance
Measuring your room accurately is essential for selecting the right motorized projector screen size. Proper room dimensions influence ideal viewing distance, which affects image clarity and comfort. Consider the room’s length, width, and height to determine the ideal screen size and avoid issues like excessive ambient lighting or poor acoustic treatment. A larger screen works best in a spacious room with controlled ambient lighting, while smaller screens suit tighter spaces. Use this guide to visualize your options:
| Room Size | Recommended Screen Size |
|---|---|
| Small (up to 12 ft) | 100-120 inches |
| Medium (12-20 ft) | 120-150 inches |
| Large (20+ ft) | 150+ inches |
| Viewing Distance | 1.5-2.5 times screen width |
Matching room size with screen dimensions ensures a comfortable, immersive viewing experience.
Screen Size and Aspect Ratio
Ever wondered how to determine the perfect motorized projector screen size for your space? The key is understanding projection aspect ratios and how they influence your screen size calculation. Most projectors support common aspect ratios like 16:9 or 4:3, which affect the shape and viewing experience. To pick the right size, measure your room’s viewing distance and consider the recommended screen dimensions for your projector’s aspect ratio. A screen that’s too large can cause image distortion, while one that’s too small might reduce immersion. Use your room’s measurements to calculate a comfortable, proportionate size that fits well within your space. This guarantees you get ideal picture quality and an enjoyable viewing experience tailored to your room’s dimensions.
DINAH 120 Inch Electric Projector Screen with Remote, Automatic Air Indoor Drop Down, Motorized 4K 3D HD Projection for Movies
Large 120-inch screen: The DINAH electric projector screen is an ideal choice for movie enthusiasts and professionals alike,…
As an affiliate, we earn on qualifying purchases.
As an affiliate, we earn on qualifying purchases.
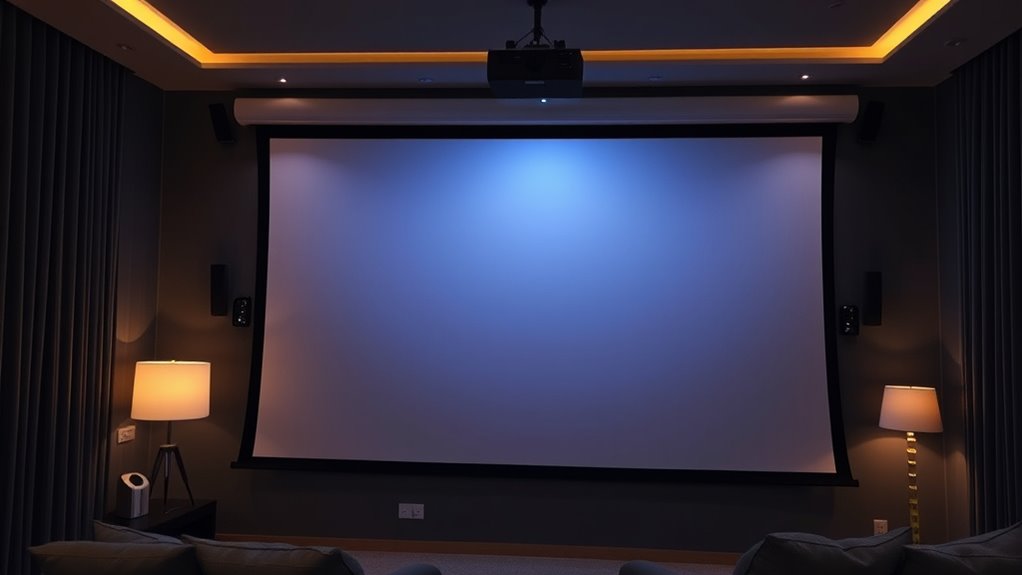
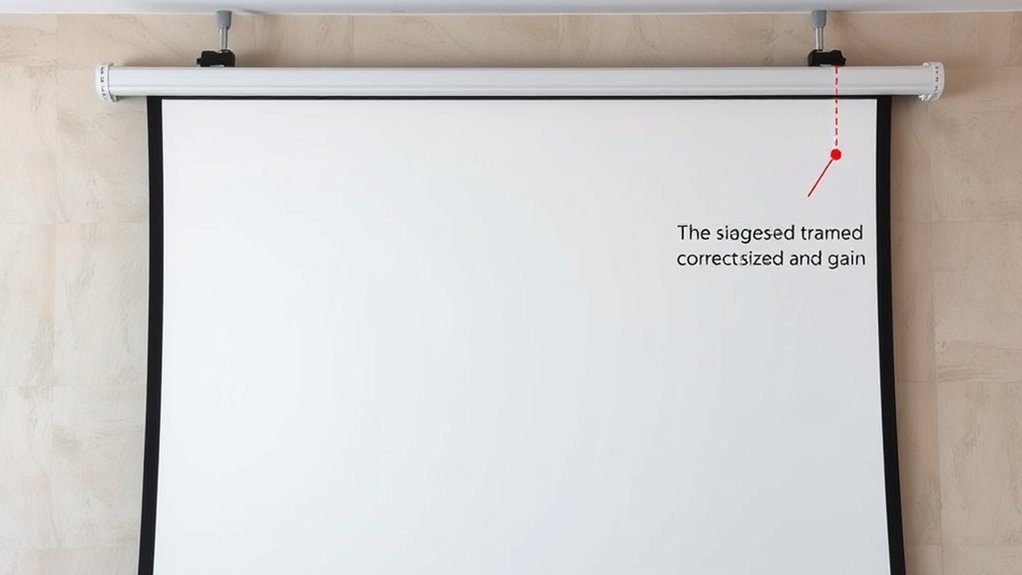
What Is Screen Gain and Why It Matters
Have you ever wondered why some screens look brighter and more vibrant than others? That’s often due to screen gain, which measures the screen’s reflectivity. Gain indicates how much light the screen reflects back to you; a higher gain means greater brightness. If your room has a lot of ambient light, choosing a screen with a higher gain can help maintain image clarity and vibrancy. Screen surface properties play a significant role in how gain affects the overall viewing experience. However, screens with very high gain may produce hotspots or reduce viewing angles. Conversely, low-gain screens spread light more evenly, reducing glare but appearing dimmer in bright conditions. Understanding screen gain helps you select the right screen for your environment, ensuring your projector’s image is as bright, clear, and vibrant as possible, regardless of ambient light levels. Additionally, selecting the appropriate screen material can optimize reflectivity and viewing experience, especially when considering the specific projector specifications for your setup. Proper calibration and installation techniques further enhance the benefits of your chosen screen type.

315MHz Wireless Remote Control Kit for Projector Screen, Electric Curtains, Motorized Shade & Smart Home Devices with US Plug(White)
Wide Compatibility & Multi-Scene Application:This wireless remote control kit is designed for 110V AC devices such as projector…
As an affiliate, we earn on qualifying purchases.
As an affiliate, we earn on qualifying purchases.
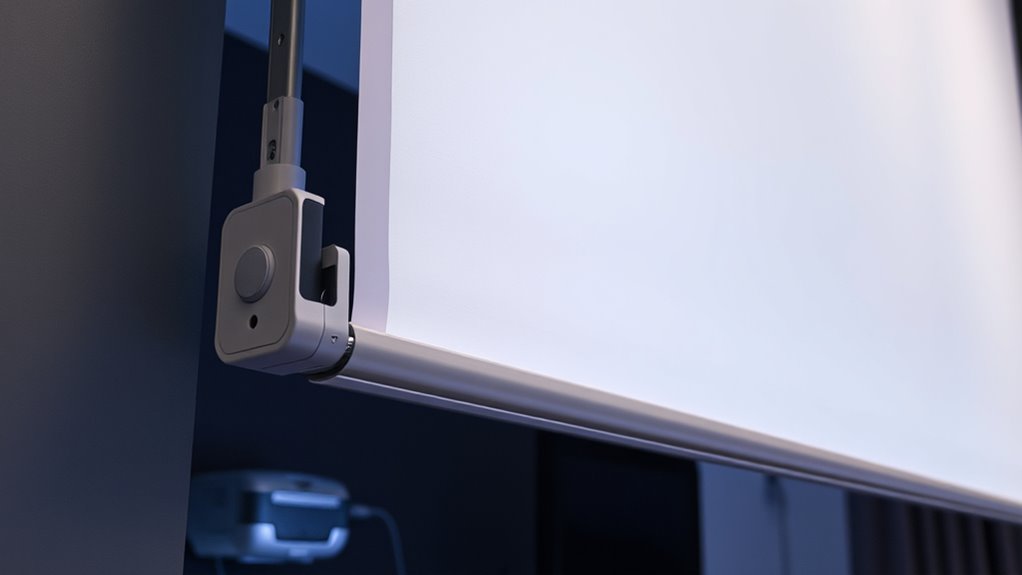
Common Installation Mistakes That Damage Your Projector Screen
Installing your motorized projector screen incorrectly can cause serious damage and reduce its lifespan. Mounting errors, such as uneven brackets or improper anchoring, lead to unnecessary stress on the frame. Wiring pitfalls, like loose or exposed connections, risk short circuits or motor failure. Be cautious of these common mistakes:
- Using inadequate wall anchors that fail under weight
- Misaligning brackets, causing uneven rolling
- Ignoring wiring safety, leading to electrical hazards
- Over-tightening mounting hardware, warping the screen frame
These errors can damage the screen’s structure or interfere with its operation. Always double-check your mounting points for stability and ensure wiring is secure and protected. Proper installation techniques include verifying all mounting surfaces are suitable and capable of supporting the screen’s weight to prevent future issues. Additionally, understanding navigation and mapping can help in planning the best placement to avoid obstructing the screen’s movement. To ensure a secure setup, it’s important to review the installation instructions provided by the manufacturer carefully. Avoid rushing through installation to prevent costly repairs and maintain peak performance. Incorporating best practices in mounting can further enhance durability and safety.
How to Mount Your Motorized Screen for Lasting Performance
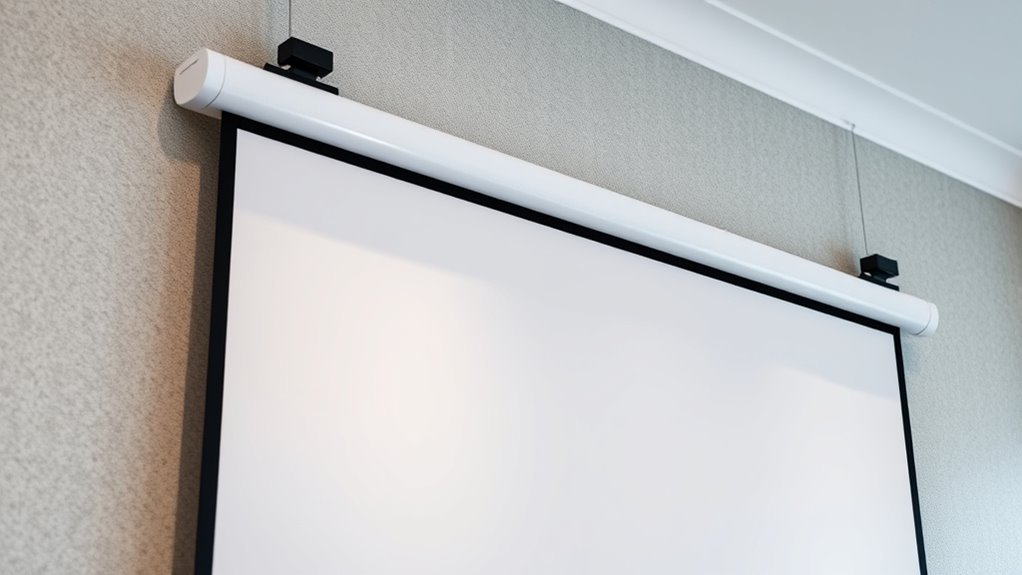
To guarantee your motorized projector screen performs reliably over time, proper mounting is essential. Start by selecting sturdy mounting brackets designed for your screen’s size and weight. Confirm they are securely anchored into wall studs or appropriate anchors to prevent shifting or sagging. Position the brackets level and at the correct height for ideal viewing. Once mounted, test the stability before connecting the motor. Keep your remote controls within easy reach and ensure they have a clear line of sight to the motor’s receiver. Proper mounting minimizes movement, noise, and wear on the motor, extending your screen’s lifespan. Regularly check the brackets and connections for tightness to maintain smooth operation and lasting performance. Proper installation is crucial for safety and optimal function. Additionally, understanding installation best practices can help you avoid common mistakes that may compromise your setup, ensuring a long-lasting and trouble-free experience. Incorporating proper mounting techniques can further enhance the stability and durability of your setup. Being aware of installation guidelines can also help you select the right tools and hardware, making the process more efficient and secure.
Key Compatibility and Room Environment Tips for Your Projector Screen
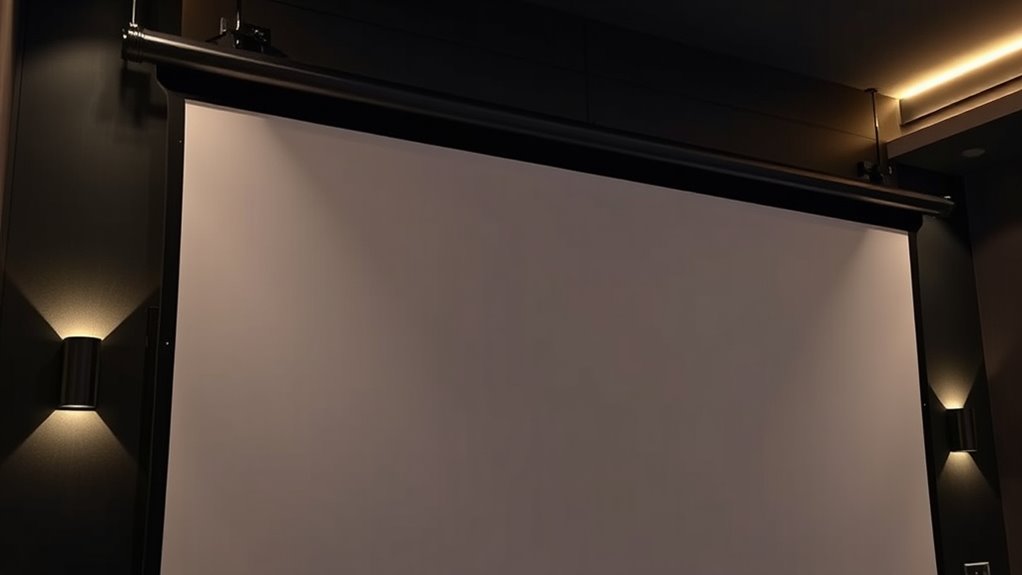
Making certain that your projector screen is compatible with your equipment and the room environment is essential for ideal viewing. Consider the size relative to your space, guaranteeing it fits comfortably without crowding the room. Pay attention to ambient lighting—excessive light can wash out images, so control or minimize it. Think about sound system integration; your screen’s placement should allow clear audio flow and connection to speakers. Proper screen placement can significantly enhance your viewing experience by optimizing visibility and acoustics. Visualize a setup with:
- Dimmed or adjustable lighting to enhance contrast
- A screen positioned away from windows or light sources
- A sound system that complements your screen’s location
- Proper mounting for stability and optimal viewing angles
- Trusted business installation services can help ensure your setup is done correctly and safely. To achieve the best results, consider room environment factors such as room size and reflective surfaces to improve overall viewing quality. Additionally, understanding effective strategies for room setup can help you make informed decisions about placement and equipment. Incorporating room acoustics adjustments can also reduce echoes and improve sound clarity for a more immersive experience.
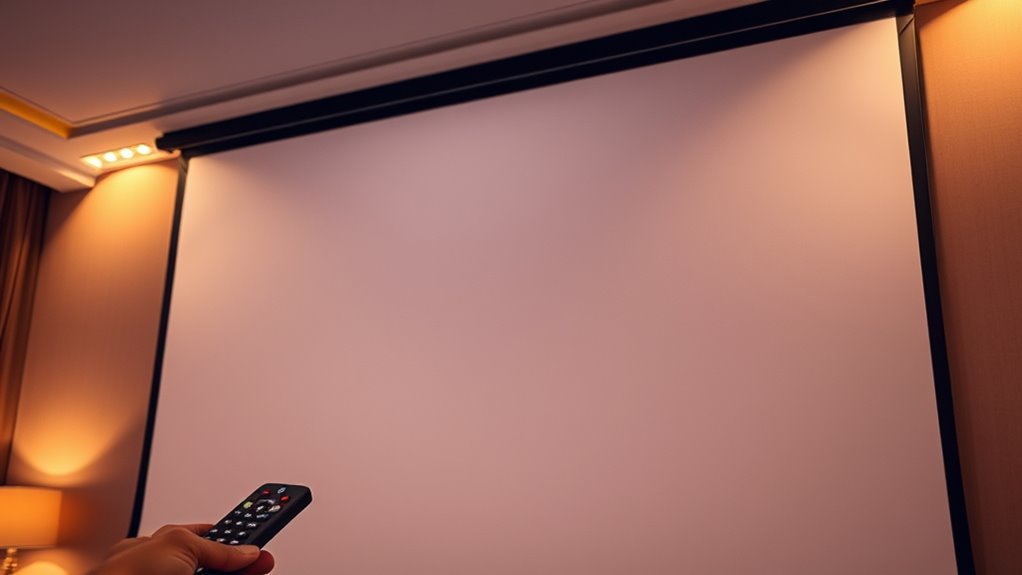
Troubleshooting: What to Do When Your Screen Isn’t Working Properly
When your motorized projector screen isn’t working properly, it can disrupt your entire viewing experience. Start by checking the remote troubleshooting steps: confirm batteries are fresh, and the remote is pointed directly at the receiver. If the screen doesn’t respond, try resetting the remote or re-pairing it with the motor. Next, verify your projector calibration. Misaligned images or incomplete screen coverage can look like a malfunction. Adjust the projector’s positioning or settings to align properly with the screen. If the screen still won’t operate smoothly, inspect the motor and wiring for damage. Sometimes, a simple reset or recalibration can fix these issues. Troubleshooting methodically helps you quickly identify whether it’s a remote, calibration, or hardware problem, restoring your viewing experience efficiently. Additionally, understanding the size and gain of your screen can help diagnose issues related to image quality and brightness.
Maintaining and Upgrading Your Motorized Projector Screen
To keep your motorized projector screen operating smoothly, regular maintenance is essential. Upgrading key components can extend its lifespan and improve performance, while knowing common issues helps you troubleshoot quickly. Staying proactive guarantees your screen stays reliable and ready whenever you need it. Additionally, understanding the basic features of your screen can help you identify when upgrades or repairs are necessary.
Regular Maintenance Tips
Regular maintenance is essential to keep your motorized projector screen functioning smoothly and extend its lifespan. Regularly perform screen cleaning to remove dust and smudges, ensuring a clear picture. Check and lubricate the motor periodically to prevent stiffness and ensure quiet operation. Keep the moving parts free of debris and dust to avoid unnecessary wear. Test the remote and control system to confirm responsiveness. When inspecting the screen, look for tears or wrinkles that could affect image quality. Additionally, examine the mount and brackets for stability, tightening any loose screws. Proper maintenance not only preserves the screen’s performance but also reduces the risk of costly repairs. By staying proactive, you can enjoy a seamless viewing experience for years to come.
Upgrading Screen Components
Upgrading your motorized projector screen’s components can substantially improve its performance and extend its lifespan. One way to do this is by selecting a higher-quality screen material, which can enhance image clarity, color accuracy, and contrast. Modern screen fabrics like ambient light rejecting or high-gain materials can make a noticeable difference in picture quality. Additionally, upgrading your remote controls can streamline your setup and operation. Wireless remotes with more intuitive interfaces or smartphone compatibility give you better control over your screen’s functions. Regularly updating or replacing these components ensures your system remains reliable and performs at its best. Whether upgrading the screen material or enhancing remote control capabilities, these improvements help you enjoy a better viewing experience and prolong the life of your motorized projector screen.
Troubleshooting Common Issues
Even with proper maintenance, motorized projector screens can encounter common issues that disrupt your viewing experience. You might notice screen noise when the motor runs or face remote issues that prevent smooth operation. To troubleshoot, start by checking the remote’s batteries and ensuring it’s properly synced. If the screen makes noise, inspect the motor and track for obstructions or loose parts. For remote issues, reprogram or reset the remote, and verify signal interference. Common problems also include the screen not fully retracting or extending, which may require calibration or motor adjustment. Regularly cleaning the track and motor components helps prevent buildup that causes noise or jamming. Staying proactive guarantees your screen stays quiet, responsive, and in top shape for your viewing pleasure.
Frequently Asked Questions
How Does Ambient Light Affect Screen Performance?
Ambient light can considerably impact your screen performance by reducing contrast and image clarity. When there’s too much ambient light, it washes out the projected image, making details harder to see. To improve your viewing experience, use a screen with higher gain or install blackout curtains to minimize ambient light. This way, you’ll enjoy better screen contrast and sharper images, even in brighter rooms.
Can Motorized Screens Be Recessed or Hidden?
Yes, you can definitely have a motorized screen recessed or concealed. Recessed installation involves embedding the screen into the ceiling or wall, making it almost disappear when not in use. Hidden mounting options, like ceiling housings or custom cabinetry, guarantee your screen stays out of sight, providing a sleek look. This setup not only saves space but also enhances your room’s aesthetics, making your home theater experience seamless and clutter-free.
What Safety Precautions Are Needed During Installation?
During installation, prioritize safety by turning off power to avoid electrical shocks. Use proper tools and wear safety gear like gloves and goggles. Confirm the mounting area is sturdy and can support the screen’s weight. Follow the manufacturer’s instructions carefully, especially for electrical connections. Double-check that all wiring is secure and insulated. Taking these electrical precautions and following installation safety protocols helps prevent accidents and ensures your motorized projector screen works safely and effectively.
How Long Do Motorized Projector Screens Typically Last?
Think of your motorized projector screen as a reliable friend that can last around 7 to 10 years with proper care. Its durability lifespan depends on factors like usage frequency and maintenance requirements, such as regular cleaning and gentle operation. You can extend its life by avoiding rough handling and ensuring it’s installed correctly. With attentive upkeep, your screen will continue to deliver sharp visuals and smooth operation for many years.
Are There Wireless Control Options for Motorized Screens?
Yes, you can find wireless control options for motorized projector screens. Many models come with a wireless remote that lets you operate the screen from a distance effortlessly. Additionally, some screens are compatible with smartphone control apps, giving you the convenience of opening or closing the screen via your phone. This setup simplifies operation and enhances your viewing experience, making it more flexible and user-friendly.
Conclusion
Choosing the right motorized projector screen balances size and gain with proper installation. While it might seem straightforward, overlooking details can turn your immersive home theater into a frustrating experience. Remember, a perfect setup isn’t just about the screen itself, but how you install and maintain it. When done right, your screen becomes a seamless window to entertainment—an investment that transforms your space from ordinary to extraordinary.