To avoid hot spots in your baby’s bottle, perform a simple swirl test after warming. Gently swirl the milk to distribute heat evenly, then check for hot spots by feeling the bottle or testing with a thermometer in different areas. If you notice uneven heat or hot spots, rewarm carefully or stir the milk. Keep in mind, following proper techniques helps ensure safe feeding — keep going to learn effective ways to prevent hot spots every time.
Key Takeaways
- Perform the swirl test by gently swirling the milk after warming to evenly distribute heat.
- Check the temperature at different spots on the bottle surface to identify hot spots.
- Use a thermometer or touch test to ensure uniform heat distribution before feeding.
- Reheat or stir the milk if hot spots are detected to prevent burns.
- Regularly conduct the swirl test to maintain safe, even warming and avoid dangerous hot spots.

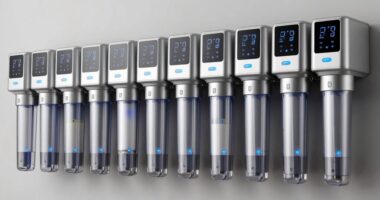
Bottle Warmer, Grownsy 8-in-1 Fast Baby Bottle Warmer with Timer, Safe for Breastmilk Nutrients, Accurate Temperature Control, with Defrost, Sterili-zing, Keep Warm, Heats Baby Food & Bottles
𝐅𝐚𝐬𝐭 𝐖𝐚𝐫𝐦𝐢𝐧𝐠 𝐢𝐧 𝟑 𝐌𝐢𝐧𝐬: 4oz/120ml milk only takes 3 minutes to reach 98.6°F/37°C. It heats up quick…
As an affiliate, we earn on qualifying purchases.
As an affiliate, we earn on qualifying purchases.
Why Hot Spots Are a Safety Risk When Warming Baby Bottles

Hot spots can pose a serious safety risk when warming baby bottles because they create uneven temperatures that can cause burns. These hot spots compromise milk safety by creating areas that are dangerously hot while others remain cool. If you don’t evenly distribute the heat, your baby could be exposed to sudden, painful burns from the hot areas. Heating hazards increase when bottles are microwaved or heated too quickly, making it harder to control the temperature. Even if the milk appears warm overall, hot spots can hide in the liquid, putting your baby at risk. That’s why it’s essential to guarantee the milk’s temperature is consistent before feeding. Proper warming techniques help prevent burns and keep milk safe for your little one. Using techniques like the swirl test can help ensure even heat distribution and avoid hot spots for safer warming practices. Understanding contrast ratio in heating methods can also help you select the safest appliances that distribute heat evenly. Additionally, performing a simple temperature check before feeding can further ensure the milk is evenly heated and safe for your baby. Incorporating a safe warming method can also help prevent hot spots and promote even heating. Moreover, using landscaping techniques around your warming area can create a safer, more controlled environment for preparing bottles.
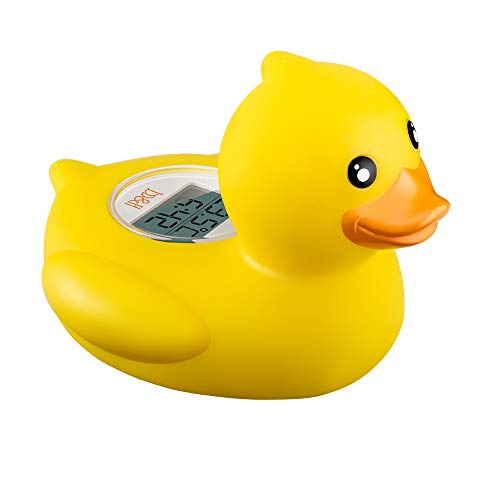
b&h Baby Bath Thermometer, The Infant Bath Floating Toy Safety Temperature Water Thermometer, Baby Bath Essentials (Classic Duck)
Measuring water temperature in the bathtub and room. Not only a thermometer, but also a clock. baby thermometer…
As an affiliate, we earn on qualifying purchases.
As an affiliate, we earn on qualifying purchases.
How to Do the Swirl Test to Detect Hot Spots
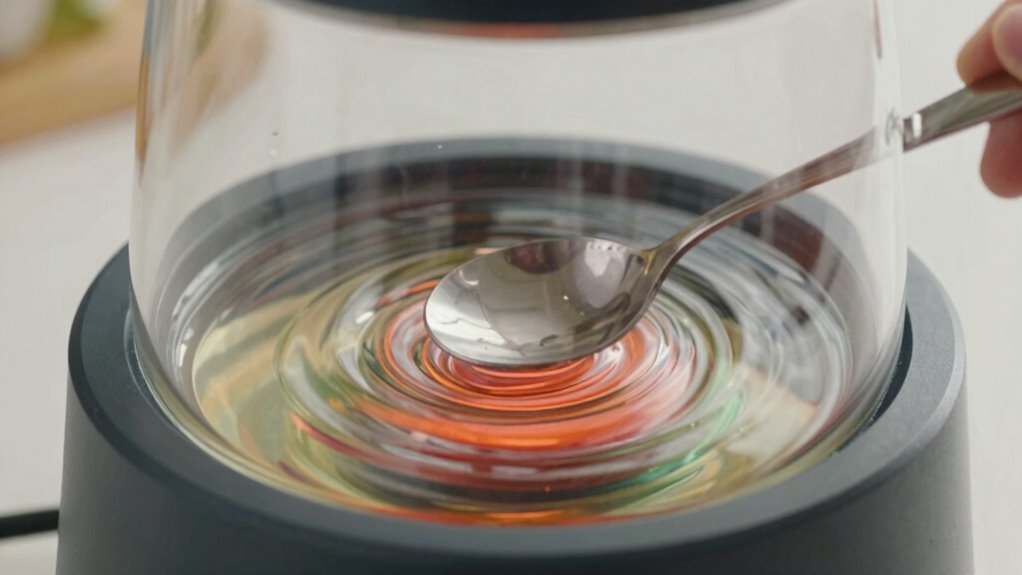
To make certain your baby’s bottle is heated evenly, you should perform the swirl test to check for hot spots. Start by gently swirling the milk to distribute the temperature, then carefully test the temperature at different spots. This quick step helps you confirm that the heat is spread evenly and safe for your little one. Even heating is essential to prevent burns and ensure your baby’s safety during feeding. Additionally, understanding the safety considerations involved in heating liquids can help you avoid potential hazards. Incorporating smart appliance features like automatic temperature regulation can further improve consistency and safety. Using outdoor kitchen techniques like a swirl test can also be helpful for evenly heating liquids in different settings.
Test Temperature Distribution
Performing the swirl test is an effective way to identify hot spots in your bottle warmer. This test helps you assess the temperature distribution across the warming surface, revealing uneven heat zones. To do this, warm a bottle filled with water to your usual temperature setting. After heating, gently swirl the water inside the bottle, ensuring even movement. Then, carefully remove the bottle and observe the water’s temperature at different points using a thermometer or by feeling with your hand. Consistent temperature readings throughout indicate good heat distribution, while variations highlight hot spots. This process provides essential temperature mapping, allowing you to adjust your warmer or use protective measures to prevent uneven heating. Regular testing guarantees safe, uniform warming for your baby’s bottles. Incorporating energy-efficient practices can further optimize your warming process and promote sustainable use of your devices. Additionally, using a thermal imaging camera can help visualize heat distribution more precisely and identify problematic areas. Being aware of hot spots can also prevent overheating and potential safety hazards. For more accurate assessments, consider thermal sensors that can be integrated into your warming device to continuously monitor temperature distribution.
Perform Swirl Technique
After heating the bottle to your usual setting, gently swirl the water inside to help identify uneven temperature zones. This swirl test reveals hot spots by mixing the milk, ensuring a consistent milk consistency throughout. Use your hand to feel the bottle’s surface; if one side feels hotter, you’ve found a hot spot. Keep in mind that bottle materials—glass or plastic—affect heat distribution, so the test might vary slightly. To perform, hold the bottle firmly and rotate it slowly, observing how evenly the temperature distributes. Here’s a quick guide:
| Step | Action | Focus Point |
|---|---|---|
| Heat the bottle | Set to your usual warming level | Initial temperature |
| Swirl gently | Rotate bottle smoothly | Detect temperature zones |
| Feel for hot spots | Touch the bottle surface | Identify uneven heat |
| Adjust if needed | Reheat or stir the contents | Achieve uniform warmth |
Performing the swirl test is a simple way to prevent burns and ensure your baby’s milk is safe to feed.

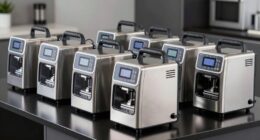
Baby Bottle Warmer, Steamer & Dryer, 16-in-1 Fast Milk Warmer with Timer for Breastmilk & Formula, 1.2L Electric Kettle with Accurate Temp Control, Thaw, Steri-lizing, Keep Warm, Heat Food
【All-in-One Feeding Solution】This baby bottle warmer combines steam cleaning/drying, formula mixing, and food heating in one compact unit—saves…
As an affiliate, we earn on qualifying purchases.
As an affiliate, we earn on qualifying purchases.
Step-by-Step: Checking Your Baby’s Bottle for Hot Spots
Before feeding, always use a swirl test to spot any hot spots in the bottle. Carefully check the temperature by pouring a few drops on your wrist or hand. This guarantees your baby’s milk is safe and comfortable to feed. Additionally, utilizing proper temperature testing devices can help ensure consistent, safe milk temperatures without guesswork. Remember, temperature regulation is essential for your baby’s safety and comfort. Being aware of digital safety tips can also help you avoid accidents related to hot liquids. Incorporating equipment maintenance practices ensures your testing devices remain accurate and reliable.
Use a Swirl Test
To guarantee your baby’s bottle isn’t too hot, start by swirling the milk gently to mix any hot spots. This simple step helps assure consistent temperature throughout the bottle, which is essential for bottle safety. Warming techniques can sometimes create uneven heat distribution, so a quick swirl distributes warmth evenly. After swirling, test the temperature by placing a few drops on your wrist or the back of your hand—if it feels comfortably warm, it’s safe for your baby. Avoid using your fingers alone to check the temperature, as they can be less accurate. Incorporating this swirl test into your routine helps prevent accidental burns and ensures your baby’s milk is at a safe, consistent temperature every time.
Check Temperature Carefully
Once you’ve swirled the milk to distribute the heat evenly, it’s important to check for hot spots before feeding your baby. Safety concerns revolve around ensuring the milk is at a safe, comfortable temperature and avoiding burns. To do this, test the bottle’s temperature by placing a few drops on your wrist or finger. It should feel warm, not hot. Consistent temperature is essential to prevent hot spots that could cause discomfort or burns. Always give the bottle a gentle shake or swirl after warming to help distribute heat evenly. Remember, even if the bottle feels cool on the outside, hot spots could still be present inside. Proper temperature testing helps keep feeding safe and comfortable for your little one.
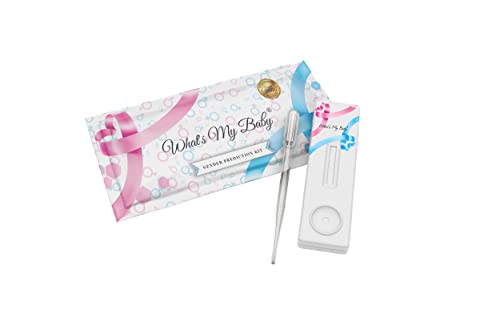
Whats My Baby® Early Gender Prediction Test – Reveal if Your Baby is a Girl or Boy from 5 Weeks – Instant Results – Gender Reveal Early Pregnancy Test Kit
💙 EARLY RESULTS – FIND OUT AS SOON AS 5 WEEKS!. Fun Discovery of your baby's gender at…
As an affiliate, we earn on qualifying purchases.
As an affiliate, we earn on qualifying purchases.
Common Mistakes That Cause Hot Spots During Warming
One common mistake that causes hot spots during warming is uneven placement of bottles in the warmer. If bottles aren’t positioned correctly, heat distributes unevenly, leading to hot spots that can scald your baby or compromise safety. Additionally, rushing through bottle sterilization or skipping proper sterilization processes can increase contamination risks, affecting formula preparation safety. When warming, placing bottles in crowded or unbalanced positions can cause inconsistent heating. Always ensure bottles are spaced properly and centered to promote even heat distribution. Proper bottle placement and careful sterilization and formula preparation help prevent hot spots and ensures your baby’s feed is safe and comfortable. Proper placement is essential for achieving uniform heating and maintaining safety standards. To further minimize temperature inconsistencies, regularly monitor the warming process and adjust as needed.
Tips for Ensuring Even Heating Every Time
Ensuring even heating every time starts with proper bottle placement in the warmer. Position the bottle upright, avoiding overcrowding, to promote uniform heat distribution. Before warming, verify the bottle has been properly sterilized to prevent bacteria transfer. When preparing formula, use freshly boiled water to maintain safety and consistency. To achieve consistent results:
Proper bottle placement and sterilization ensure safe, even heating for your baby’s feed.
- Place the bottle in the center of the warmer for optimal heat circulation.
- Avoid overfilling; leave space for expansion and even heating.
- Use the swirl test to check for hot spots, stirring gently after warming.
- Always check the temperature before feeding, especially if the bottle has been stored or reheated.
Additionally, understanding proper bottle warming techniques can help prevent uneven heating and hot spots, ensuring your baby’s feed is safe and evenly heated.
What to Do If You Still Suspect Hot Spots
Even if you’ve followed proper heating techniques, hot spots can still occur. If you suspect the milk is unevenly heated, stop feeding immediately. To cool the bottle quickly, use alternative cooling methods like placing the bottle in a bowl of cold water, avoiding microwave reheating which can worsen hot spots. Always test the temperature again by swirling the milk and applying a few drops to your wrist. If hot spots persist, consider bottle sterilization techniques that prevent bacterial growth without uneven heating. Never shake the bottle vigorously, as this can cause hot spots or introduce bacteria. Regularly check your bottle warmer’s performance and clean it properly. These steps ensure safer feeding and help you avoid the risks associated with hot spots.
Frequently Asked Questions
Can Microwave Warming Cause Hot Spots Even With the Swirl Test?
Yes, microwave warming can cause hot spots even with the swirl test. Microwave safety depends on the bottle material, as some plastics heat unevenly. When you microwave, heat distributes irregularly, creating hot spots that the swirl test might not fully detect. Always check the bottle thoroughly after microwaving, especially if using different bottle materials, to prevent burns or discomfort for your baby.
How Often Should I Perform the Swirl Test During Bottle Warming?
You should perform a frequency check of the swirl test every time you warm a bottle. Best practices recommend swirling the milk thoroughly and testing the temperature before feeding to avoid hot spots. Even if you’ve done it before, always recheck each time, especially when reheating, to make certain your baby’s milk is evenly warmed and safe. Regular testing helps prevent burns and guarantees a comfortable feeding experience.
Are There Specific Bottle Materials Better at Preventing Hot Spots?
Did you know that glass bottles are less likely to develop hot spots compared to plastic ones? Choosing the right bottle material is vital for hot spot prevention, especially when warming. Glass distributes heat more evenly, reducing the risk of uneven warming. So, if you want to make certain your baby’s milk heats safely, opt for glass bottles, and always perform the swirl test to double-check for hot spots before feeding.
What Temperature Range Is Safe for Warming Baby Bottles?
You should aim for a safe temperature range of around 98°F to 104°F (37°C to 40°C) when warming baby bottles. Always follow warming guidelines to prevent overheating, which can cause hot spots. Use the swirl test to verify even temperature distribution and avoid hot spots. Check the bottle’s temperature before feeding by testing a few drops on your wrist, ensuring it’s comfortably warm and safe for your baby.
Can the Swirl Test Detect All Hot Spots Effectively?
The swirl test can effectively detect most hot spots, but it’s not foolproof for complete hot spot detection. You should always stir the milk thoroughly after warming to guarantee even temperature distribution. While the swirl effectiveness helps identify uneven heating, some hot spots might still be missed. To maximize safety, always test the bottle’s temperature with your wrist before feeding your baby, even after performing the swirl test.
Conclusion
Think of your baby’s bottle as a tiny planet, where even heat distribution is the key to safety. When you perform the swirl test, you’re guiding the heat to settle evenly like gentle tides. By avoiding hot spots, you’re safeguarding your little explorer from burns, ensuring their journey begins with comfort and trust. Remember, a simple swirl keeps the universe inside that bottle perfectly balanced, so your baby can explore the world safely—one warm sip at a time.