To stop your sous vide bags from floating, focus on proper sealing techniques. Use vacuum sealing to remove as much air as possible before sealing tightly, ensuring no gaps or leaks. Reinforce or double the bags if needed, and add weights or clips to keep them submerged. Choosing thicker, puncture-resistant bags also helps. Mastering these steps guarantees the bags stay underwater during cooking. If you’d like more tips, there’s plenty to explore to perfect your technique.
Key Takeaways
- Use vacuum sealing to remove excess air and ensure a tight, leak-proof seal before submerging the bag.
- Double-check seals for leaks and consider reinforcing with a second seal or stronger, high-quality bags.
- Place weights or clips on the sealed bag to counteract buoyancy and keep it submerged during cooking.
- Select thicker, puncture-resistant bags to reduce air trapping and improve water contact.
- Visualize the bag as flat and snug, applying gentle pressure with weights to prevent floating.
Why Do Sous Vide Bags Float? Understanding Water Buoyancy
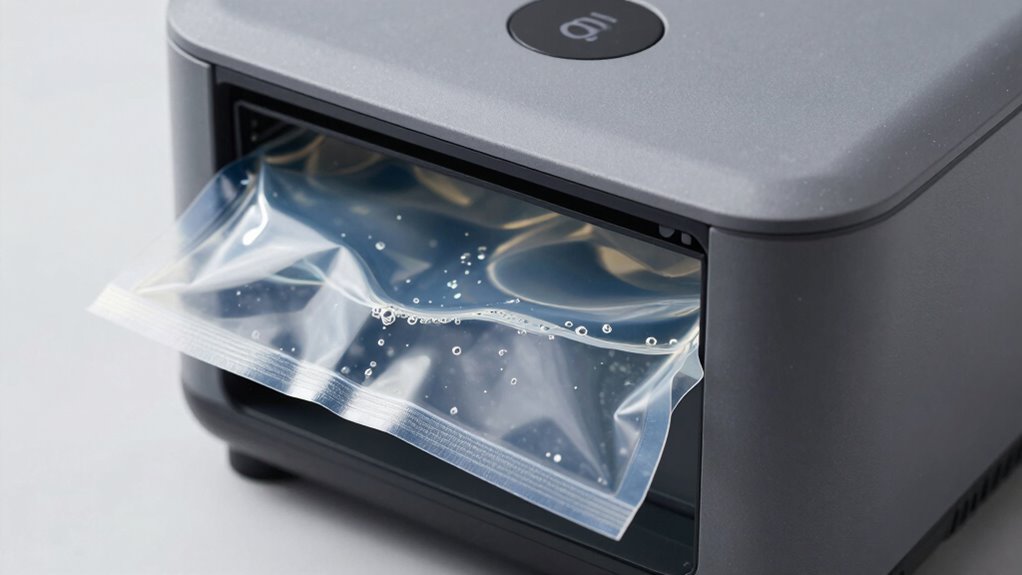
Ever wondered why your sous vide bags sometimes float to the top of the water bath? It’s usually because of air pockets trapped inside the bag or uneven distribution of the bag material. Air pockets reduce the overall density of the bag, making it less dense than water, which causes buoyancy. The type of bag material matters, too; thinner or less flexible plastics tend to trap more air, increasing the chance of floatation. Sometimes, air gets trapped during the sealing process, especially if you don’t remove all excess air. To prevent this, choose high-quality, thicker bags and ensure you remove as much air as possible before sealing. Additionally, water buoyancy principles explain how differences in density lead to floating or sinking, helping you understand and troubleshoot floating bags more effectively. Proper sealing techniques and bag material quality can significantly reduce floating issues. Being aware of water density variations in different environments can also help optimize your sous vide cooking setup. Furthermore, adjusting the water level or adding weights can help keep bags submerged during cooking.
How Proper Sealing Prevents Bags From Floating During Sous Vide
Proper sealing is essential to keep your sous vide bags submerged and prevent them from floating. You should use reliable sealing techniques and consider adding weights or clips to secure the bags in place. This not only ensures even cooking but also helps prevent water from entering the bags. Additionally, ensuring the bags are properly sealed helps maintain a calmer, more functional home by reducing the need for re-sealing or adjusting during cooking. Incorporating safe and reliable equipment can further enhance the sealing process and overall safety. Employing precise sealing methods can also improve the consistency of your cooking results. Utilizing affordable sealing tools can make the process more efficient and accessible for home cooks. Furthermore, understanding the importance of water displacement techniques can help in achieving a more secure seal and prevent floating issues.
Proper Bag Sealing Techniques
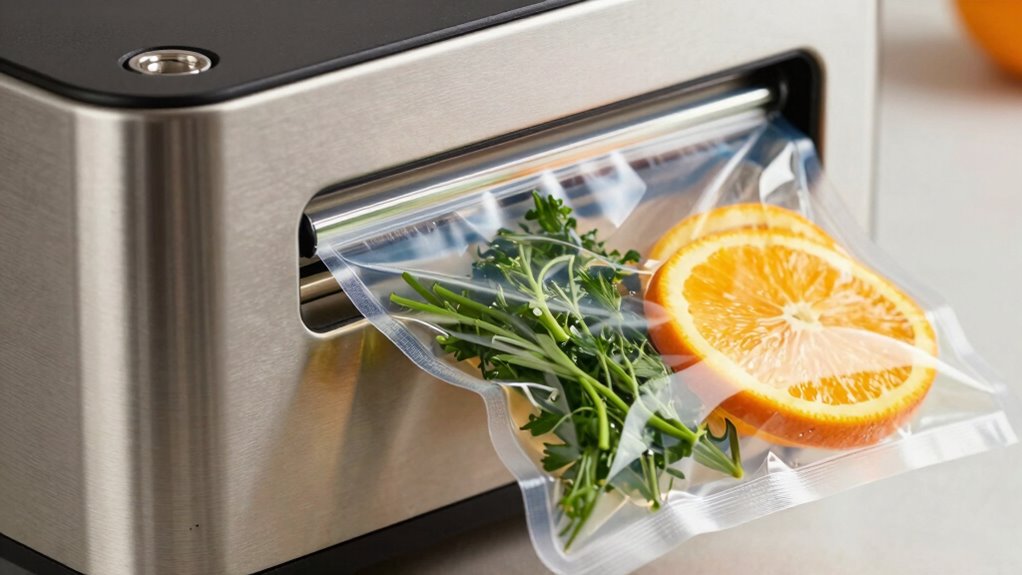
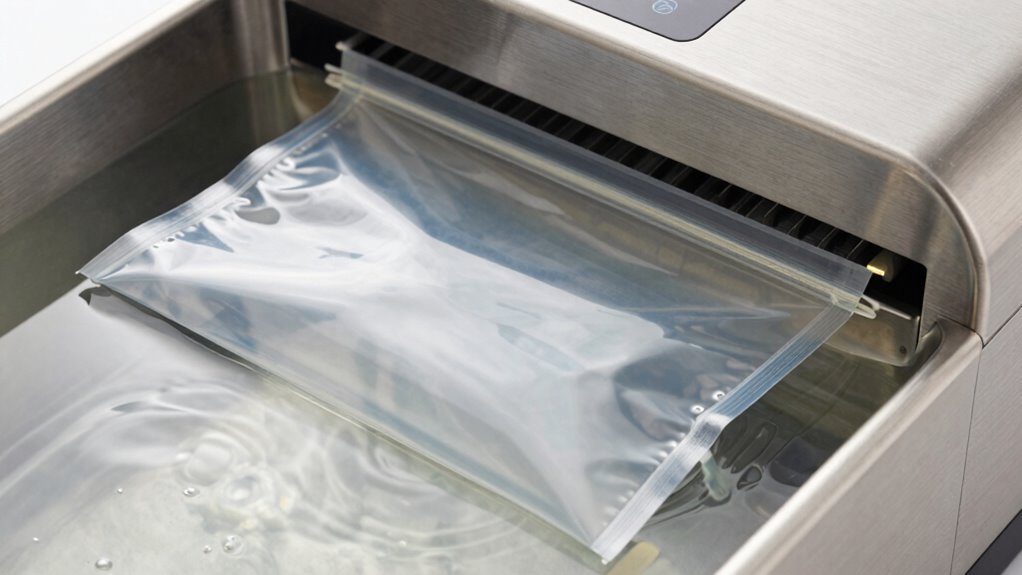
To keep your bags from floating during sous vide, sealing them properly is essential. Start by removing as much air as possible through vacuum sealing, which minimizes air pockets that can cause buoyancy issues. Before sealing, ensure the bag is flat and free of wrinkles, so the seal is tight and secure. Use a high-quality vacuum sealer designed for sous vide bags, and double-check the seal for any gaps or leaks. Avoid overfilling the bag, as excess space can trap air. Proper vacuum sealing eliminates air pockets that might lift the bag, ensuring it stays submerged during cooking. Remember, a well-sealed bag not only prevents floating but also preserves flavor and prevents water from entering. Proper sealing techniques are key to consistent, successful sous vide results.
Use of Weight or Clips
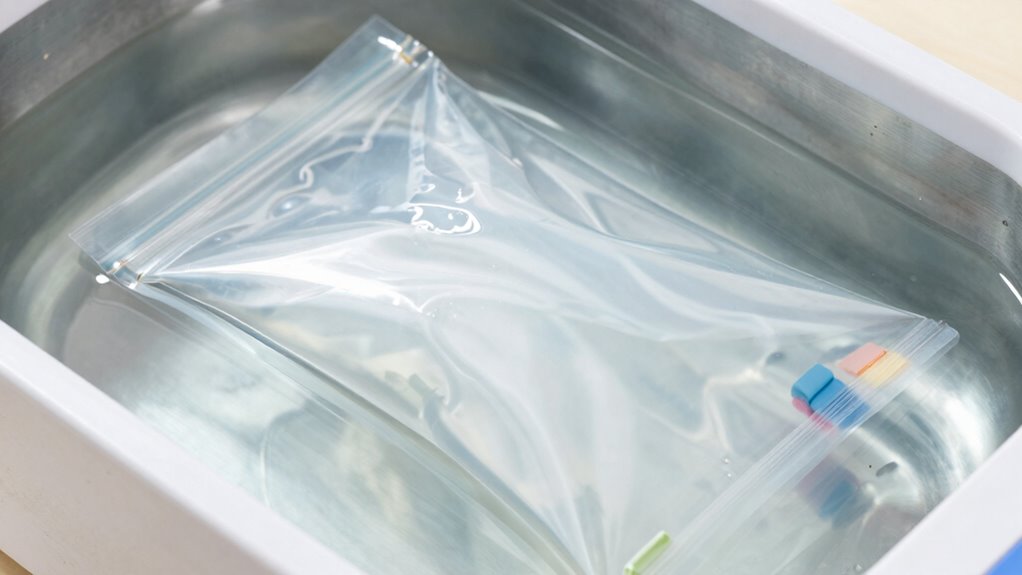
Using weights or clips is an effective way to keep your sous vide bags submerged and prevent them from floating. After vacuum sealing your bag, use weights or clips to secure it to the bottom of the water bath. This ensures the bag stays submerged during cooking, especially if it’s lightweight or filled with liquids. Proper vacuum sealing removes excess air, optimizing air displacement and reducing buoyancy. Clips or weights apply additional pressure, counteracting any remaining air pockets that might cause floating. By combining vacuum sealing with weights or clips, you improve heat transfer and ensure even cooking. Additionally, understanding how buoyancy principles affect floating helps you choose the right method to keep your bags submerged. Incorporating proper sealing techniques can further minimize trapped air and buoyancy issues. Using appropriate weight distribution also helps maintain steady contact between the bag and water for consistent results. This simple trick not only keeps bags submerged but also minimizes the risk of air pockets forming during cooking, which can interfere with heat transfer and evenness. This simple trick helps maintain consistent contact between the food and water, resulting in better results and eliminating the hassle of bags drifting to the surface.
Step-by-Step: How to Seal Sous Vide Bags for Better Stability
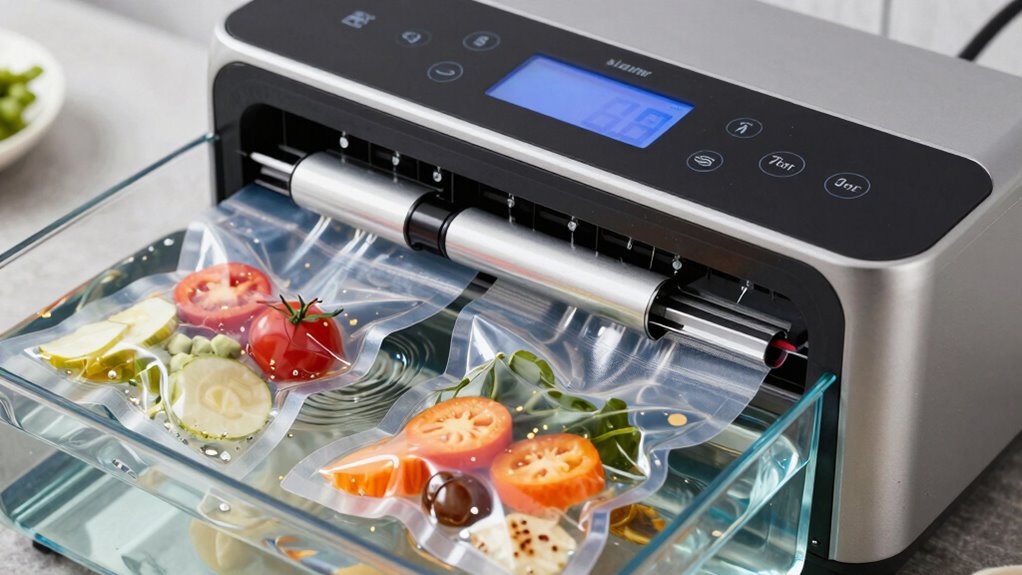
Sealing sous vide bags correctly is essential for maintaining the stability of your cooking process. Start by choosing the right sealing materials; high-quality, food-grade bags with appropriate thickness ensure durability and prevent leaks. Fill the bag with your ingredients, leaving enough space at the top for sealing. Use a vacuum sealer or water displacement method to remove excess air, which helps keep the bag submerged. For maximum stability, ensure the bag’s edges are clean and dry before sealing. When using a vacuum sealer, follow the manufacturer’s instructions carefully, paying attention to the sealing temperature and duration. Thicker bags provide better resistance against punctures and floating, so select a bag thickness suitable for your recipe and cooking method. Proper sealing creates a tight, secure closure that helps prevent floating during sous vide cooking. Choosing the right bag is crucial to ensure durability and optimal performance during your cook. Additionally, understanding sous vide techniques can improve your overall results by ensuring consistent and even cooking.
Top Techniques to Seal Bags and Keep Them Submerged

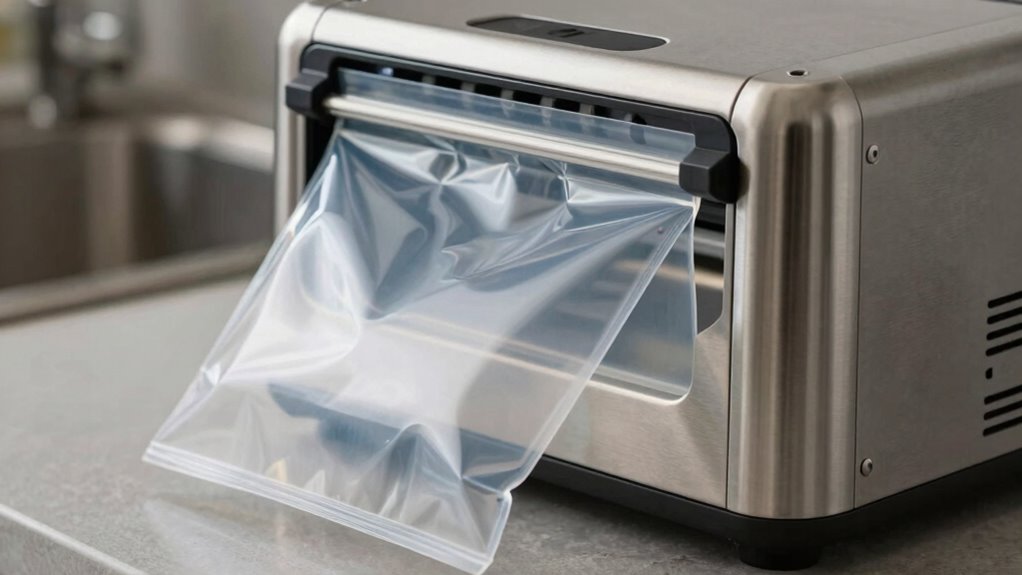
Ensuring your sous vide bags stay submerged requires effective sealing techniques that prevent air pockets and floating. Start by choosing the right bag material—thick, BPA-free plastic bags or specialized vacuum-seal bags work best for durability and seal integrity. Use quality sealing equipment, whether a vacuum sealer or a reliable zip-lock method, to remove as much air as possible before sealing. When sealing, double-check for a tight, complete closure without gaps, ensuring no air remains inside. For zip-lock bags, force out excess air before sealing, pressing out air from the top. Applying a gentle weight on the sealed bag during the process can also help eliminate trapped air. Proper sealing and selecting the right bag material are key to keeping your bags submerged and your sous vide cooking successful. Additionally, opting for professional-grade bags can further ensure your bags remain submerged and intact throughout the cooking process. Using air removal techniques can help optimize the sealing process and prevent floating issues, especially when combined with proper airflow management around the water bath. Incorporating vacuum sealing methods can further improve the effectiveness of your sealing strategy. Being aware of bag weight considerations can also aid in maintaining submersion during cooking.
Common Mistakes That Cause Bags to Float and How to Fix Them
If your bags keep floating, the issue often comes down to improper sealing or excess air trapped inside. You might not be sealing the bags tightly enough, or air bubbles could be preventing them from staying submerged. Fix these mistakes by double-checking your seals and removing as much air as possible before cooking. Additionally, using styling cream can help create a lighter texture that prevents floating, especially when working with delicate bags.
Improper Bag Sealing
When bags aren’t sealed properly, they can trap air that causes them to float during the sous vide process. Using the right vacuum sealing technique guarantees that air is removed effectively, creating a tight, secure seal. Make sure to check your bag material—thick, puncture-resistant bags work best to prevent leaks. If the seal isn’t complete or if there are tiny gaps, air can seep in, making the bag buoyant. Always double-check the seal after vacuum sealing, pressing out any remaining air and ensuring the edges are fully closed. Proper sealing minimizes trapped air, keeps your food submerged, and guarantees consistent results. Investing in quality bag material and taking your time during sealing can make a big difference in preventing floating caused by improper sealing.
Excess Air in Bags
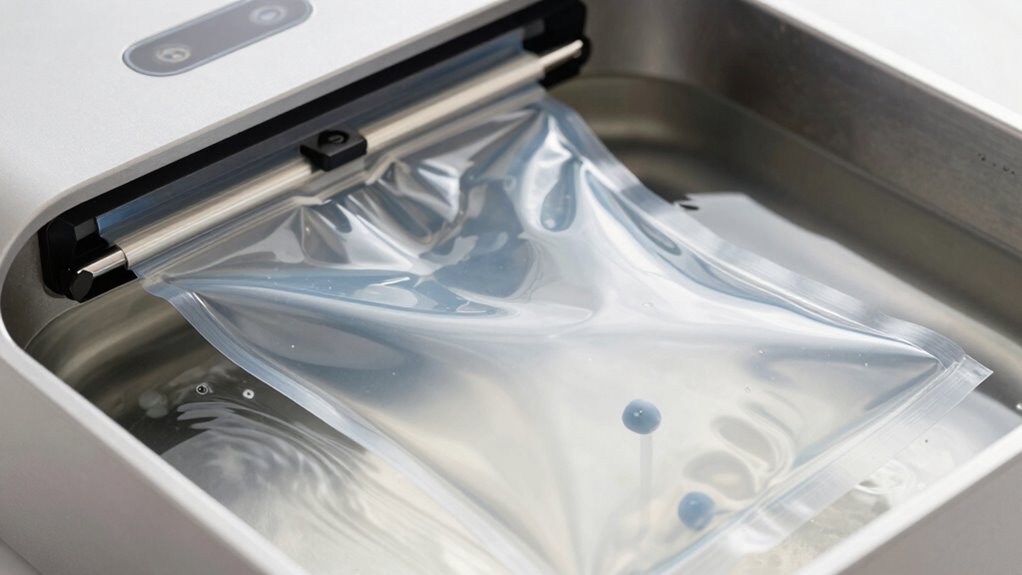
Even with a properly sealed bag, excess air can still cause issues during sous vide cooking. Air trapped inside the bag creates buoyancy, making it harder for the bag to stay submerged. This can lead to uneven cooking or floating to the surface. To prevent this, focus on removing as much air as possible during vacuum sealing. Use high-quality bag material that molds tightly around your food, and gently press out excess air before sealing. Visualize the process:
- *A vacuum sealer gently sucking out air, leaving a tight seal*
- *A bag snugly pressed against the food, minimizing air pockets*
- *A flexible bag material that conforms perfectly to the shape of your ingredients*
Other Ways to Keep Bags Underwater Without Sealing
Keeping sous vide bags submerged without sealing can be simple if you use creative methods to weigh them down. Alternative techniques include adding weight directly to the bag, such as tying a small metal washer or a ceramic weight to the open end. You can also reinforce the bag by doubling it up or using a stronger, puncture-resistant bag to prevent leaks. Another option is to place your bag inside a mesh or netted pouch, which allows water to press against it and keeps it submerged. Using bag reinforcement ensures the bag stays underwater without floating, even if it’s not fully sealed. Additionally, understanding the proper care of your sous vide equipment and food can help prevent leaks and floating issues, making your process more reliable and efficient. Proper bag handling techniques can also reduce the likelihood of leaks and floating. These methods let you maintain proper immersion without relying solely on sealing techniques, making your sous vide process more reliable and efficient. Incorporating informational content that explains the “why” behind food can also help you choose the most effective method for your needs. Being aware of water displacement principles can further assist in adjusting your approach for optimal results. Recognizing how air bubbles can influence buoyancy enables you to troubleshoot floating problems more effectively.
Troubleshooting Floating Bags in Sous Vide: Quick Fixes
Floating bags can disrupt your sous vide process, but quick fixes can often resolve the issue immediately. First, check your vacuum sealing to confirm it’s tight; leaks can cause air pockets that make bags float. Next, consider the bag material—thinner or less sturdy bags tend to trap air more easily, so switching to a higher-quality, thicker bag might help. Finally, add weight to your bags—use sous vide weights or clips to keep them submerged. Visualize your bag resting flat on the water, the seal completely airtight, and a weight pressing gently against the bag’s surface. Remember, a well-vacuumed, sturdy bag with proper sealing and added weight keeps your sous vide setup steady, ensuring even cooking and perfect results every time.
How Sealing Bags Properly Ensures Even, Perfect Results
Properly sealing your bags is the key to achieving consistent, high-quality sous vide results. When your bags are sealed correctly, you guarantee better temperature consistency, which is essential for even cooking. It also prevents water from entering, preserving flavors and maximizing flavor infusion. To improve your sealing technique, consider these factors:
| Seal Quality | Air Removal | Bag Material |
|---|---|---|
| Prevents leaks | Ensures full contact | Maintains integrity |
| Ensures even heat transfer | Avoids floating | Keeps flavors sealed |
Frequently Asked Questions
Can I Use Homemade or DIY Bags for Sous Vide?
Yes, you can use homemade bags or a DIY pouch for sous vide, but exercise caution. Make sure your DIY pouch is food-safe, airtight, and heat-resistant to prevent leaks and contamination. Use thick, strong plastic or silicone materials, and seal tightly to avoid floating or water ingress. Always test your homemade bags with water first to ensure they hold up and don’t compromise your sous vide cooking.
Are There Specific Brands of Bags Better for Preventing Float Issues?
Yes, certain brands are better at preventing float issues thanks to superior bag material and sealing quality. Look for bags made with thicker, puncture-resistant plastic, which helps them stay submerged. Brands like FoodSaver and Ziploc offer high-quality vacuum sealers and bags that create strong seals, reducing the chance of floating. Always guarantee your bags are properly sealed and made from food-grade materials for the best sous vide experience.
How Does Water Temperature Affect Floating Bag Problems?
Water temperature directly impacts bag buoyancy because higher temperatures cause the air inside the bag to expand, making it more likely to float. Conversely, lower temperatures keep the air compressed, reducing buoyancy issues. To prevent floating, you should monitor and adjust the water temperature accordingly. Using proper sealing techniques and weight stabilizers can also help counteract the effects of water temperature on bag buoyancy, ensuring your food stays submerged and cooks evenly.
Is It Safe to Reuse Sealed Sous Vide Bags Multiple Times?
You might wonder if it’s safe to reuse sealed sous vide bags, and the answer is yes—if you choose reusable bags with strong bag durability. But beware: reusing them repeatedly can compromise their integrity, risking leaks or contamination. Always inspect your bags thoroughly after each use. When in doubt, opt for high-quality, dishwasher-safe reusable bags to keep your food safe and your cooking reliable.
Do Different Food Types Influence the Likelihood of Bags Floating?
Yes, different food types can influence the likelihood of bags floating. Denser foods or those with higher food density tend to weigh down the bag more, reducing floating risks. Conversely, foods with greater bag elasticity may expand or shift, increasing floatation chances. To prevent this, guarantee the bag is properly sealed and weighted down, especially with lightweight or less dense foods that are more prone to floating during sous vide cooking.
Conclusion
Mastering the art of sealing your sous vide bags keeps your food submerged and guarantees perfect results. While floating might seem like a minor hiccup, it highlights the importance of proper technique. Just as a well-sealed bag prevents water from entering, attention to detail guarantees even cooking. So, don’t overlook the sealing step—because in sous vide, precision makes all the difference between good and impeccable.