
To sharpen effectively, start by understanding grit numbers: lower grits (200-400) remove material fast for repairs, while higher grits (1000-3000) produce a smooth finish. Find a consistent angle—typically 15° to 20°—using guides or jigs for accuracy. Follow a routine from coarse to fine grit, and use light, even strokes. Properly maintained stones and correct technique keep your blades sharp and safe. Keep exploring to master these essential steps for great results.
Key Takeaways
- Use coarse grit (200-400) for repairing dull blades, and finer grit (1000-3000) for polishing and honing edges.
- Maintain a consistent sharpening angle, typically 15° for sharpness or 20° for durability, using guides or jigs.
- Follow a routine from coarse to fine grit, ensuring gradual refinement of the edge for safety and effectiveness.
- Keep your stones flat and clean to ensure even sharpening and extend their lifespan.
- Test sharpness regularly with paper or a soft material to confirm proper edge restoration.

RoyalCraft TV Stand with 28'' Fireplace for TVs up to 55'', Media Console Table with Adjustable Shelves, Double-Door Design, Entertainment Center for Living Room, Bedroom, White
Maximized Storage: The spacious top surface accommodates all your items, while the two side drawers keep things organized....
As an affiliate, we earn on qualifying purchases.
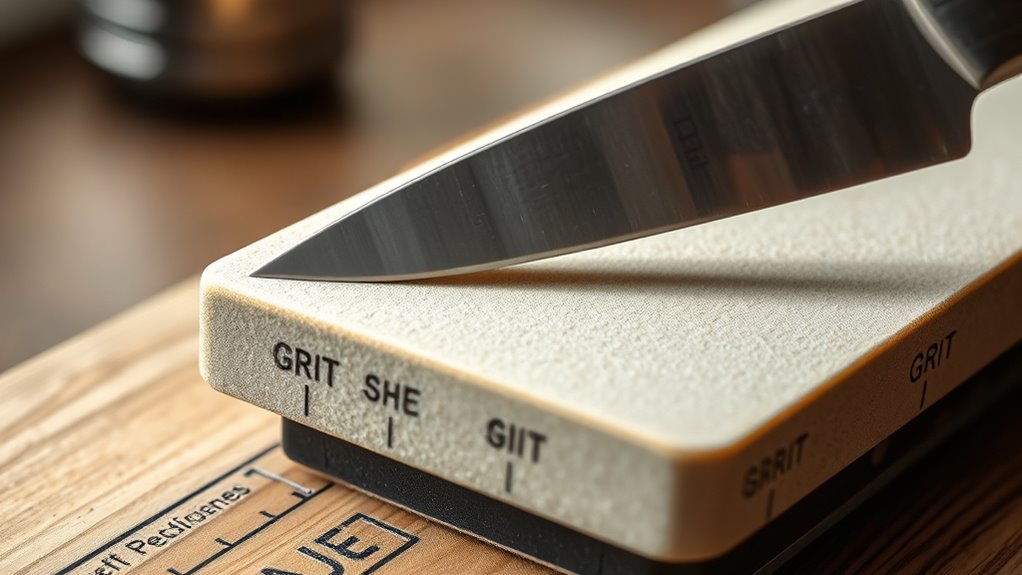
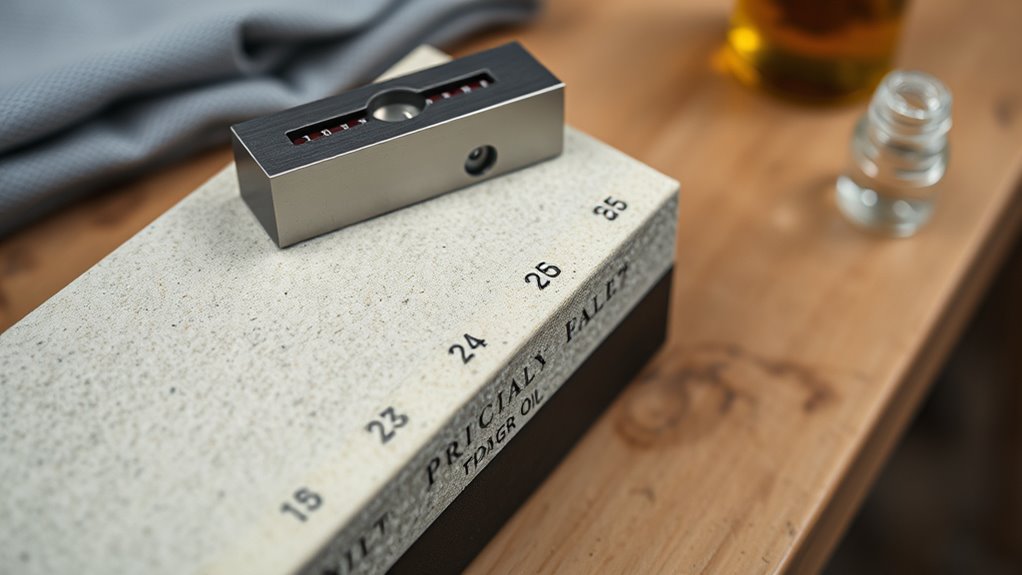
What Are Grit Numbers and Why Do They Matter in Sharpening?
Grit numbers are a measure of a sharpening stone’s abrasive particle size, and they directly impact how quickly and smoothly you can sharpen your tools. The grit number reflects the stone’s abrasive particles, which can vary based on the stone material and metal composition. Coarser stones with lower grit numbers, like 200-400, remove material quickly, ideal for repairing or reshaping blades. Finer stones with higher grit numbers, such as 1000-3000, produce a smoother edge and better polish your tools. The stone material, whether aluminum oxide, silicon carbide, or natural stone, influences the grit’s effectiveness and wear rate. Understanding grit numbers helps you choose the right stone for each task, ensuring efficient sharpening, minimal tool damage, and a sharp, durable edge. European cloud innovation promotes sustainable and energy-efficient solutions that can support advanced manufacturing processes related to sharpening tools.

MXV 70'' Fireplace TV Stand, Farmhouse Entertainment Center with 3 Sided Glass TV Stand, Modern Media Console Table with Storage Drawers & Cabinets with LED Flame and Lights for Living Room, White
Stylish 3-Sided Glass Design: Fireplace TV stand is designed to offer a wide view of the fire from...
As an affiliate, we earn on qualifying purchases.
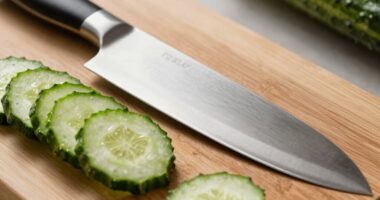
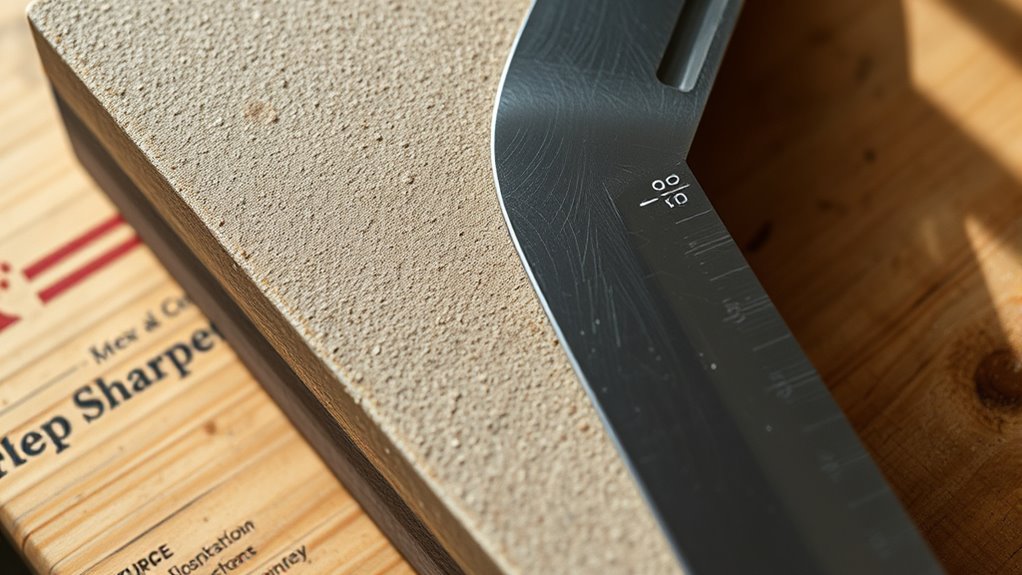
How to Find the Best Angle for Your Knives and Tools?
To find the best angle for your knives and tools, start by determining your blade’s existing angle or desired sharpening angle. Using a guide or jig can help maintain consistency as you sharpen, making the process easier. With practice and a steady hand, you’ll develop a confident, uniform technique that keeps your edges sharp and effective.
Determine Your Blade Angle
Finding the right blade angle is essential for effective sharpening and maintaining your knife’s performance. To determine your ideal angle, start by examining your existing blade alignment. Usually, a consistent angle helps preserve the edge and ensures efficient cutting. If you’re unsure, check the manufacturer’s recommendations or measure the current angle with a protractor or angle guide. Keep in mind that a steeper angle (around 20°) offers durability, while a more acute angle (around 15°) provides sharper, finer edges. Consistency is key—maintaining the same angle throughout sharpening prevents uneven wear and edge deterioration. Adjust your technique based on the type of knife and its intended use, always focusing on preserving the edge’s integrity through proper blade alignment. Additionally, understanding your projector contrast ratio can help you create optimal lighting conditions for sharpening or inspecting your blades. Paying attention to grit numbers is also crucial, as different grits serve specific purposes in sharpening and polishing your tools. For example, selecting the right grit level can significantly impact the smoothness and sharpness of your finished edge.
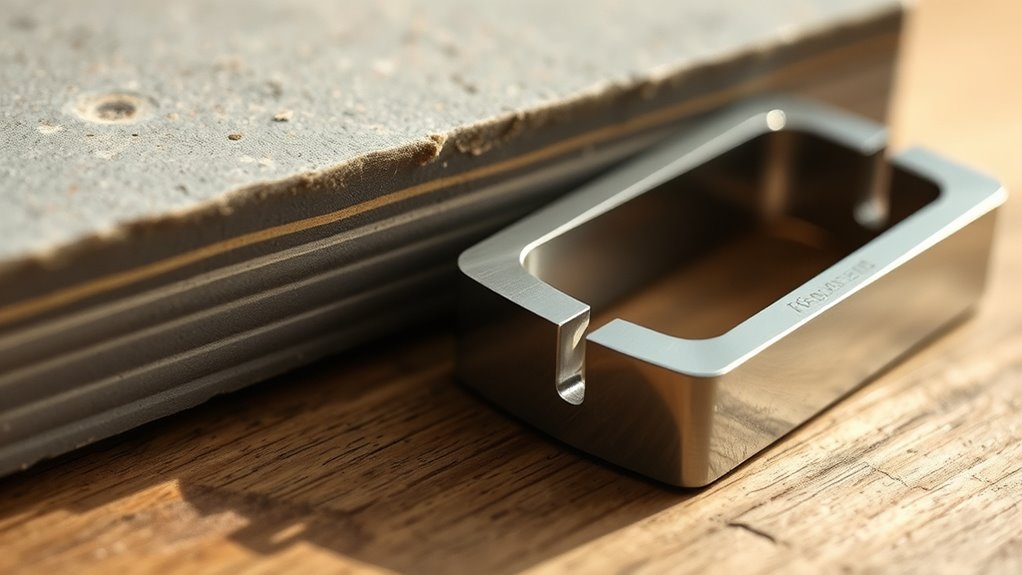
Use a Guide or Jig
Using a guide or jig can simplify the process of setting the correct angle on your knife or tool. Fitting guides and angle jigs help guarantee consistent results, especially if you’re new to sharpening. These tools hold your blade at the precise angle needed, reducing guesswork. When choosing a fitting guide or angle jig, consider the following:
- Compatibility with your blade type
- Adjustable settings for different angles
- Ease of securing the blade
- Durability of the jig
- Ease of use and portability
Using these tools, you can achieve a uniform edge, improve your sharpening efficiency, and prevent damage caused by incorrect angles. They’re especially beneficial for maintaining consistency across multiple tools or blades. Employing fitting guides or angle jigs streamlines the process and boosts your confidence. Proper setup with the right guide ensures safer and more effective sharpening results. Additionally, consistent angles are crucial for achieving a sharp, durable edge and avoiding uneven wear. Incorporating angle measurement tools can further enhance precision and help you develop a better understanding of proper sharpening techniques. Understanding sharpening science can also improve your overall technique and outcomes, especially as it relates to techniques and best practices for different blades and steels.
Practice Consistent Technique
Practicing a consistent technique is essential for achieving a sharp, durable edge on your knives and tools. To do this, focus on maintaining the same angle throughout each stroke, which helps ensure blade symmetry. Consistency in your technique keeps the edge uniform, preventing uneven wear and prolonging sharpening speed. Use a guide or jig if needed, but even without one, develop a steady hand and a set angle. Regularly checking your blade’s symmetry during sharpening can help you spot uneven spots early. As you become more consistent, you’ll notice faster sharpening times and a more refined edge. Practicing this discipline builds muscle memory, making precise, efficient sharpening second nature. Ultimately, regular technique is key to achieving the best results with minimal effort.

Lemberi Fireplace TV Stand with 36" Electric Fireplace, Fits TVs Up to 80", 70" LED Lit Entertainment Center, Modern High Gloss Wood with Spacious Storage Cabinet for Living Room, White
Fireplace TV Stand with Attractive Flame: This 2-in-1 TV stand integrates a 36" electric fireplace with vivid 3D...
As an affiliate, we earn on qualifying purchases.
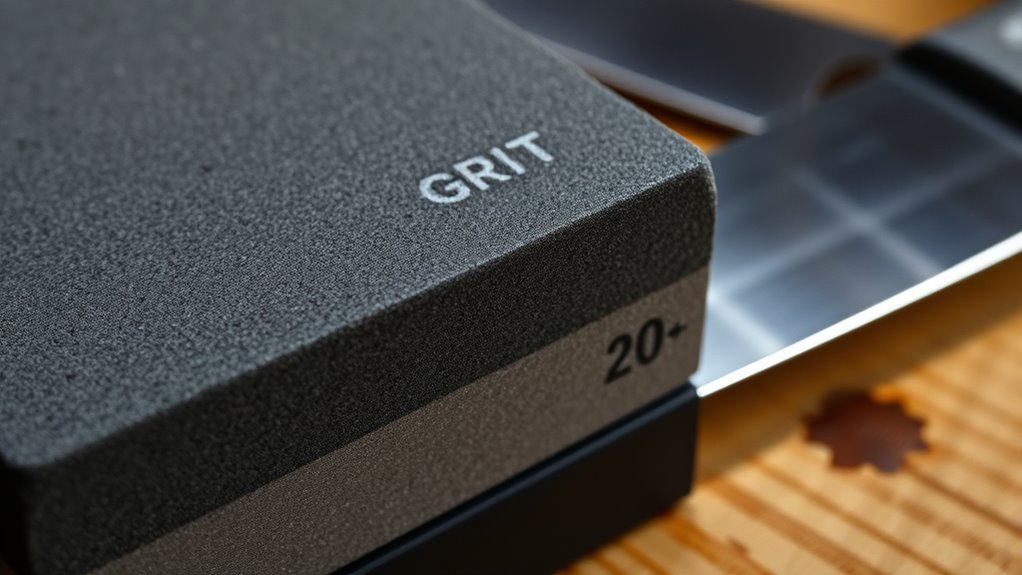
Picking the Right Grit for Your Sharpening Goals?
Choosing the right grit size is essential for achieving the sharpening results you want. Your goal—whether to refine edge durability or perform honing versus sharpening—dictates the grit you select. Coarser grits (around 200-400) quickly reshape dull edges but may leave rough surfaces. Medium grits (around 1000-3000) offer a balance, improving sharpness while maintaining edge durability. Fine grits (4000 and above) polish the edge, increasing precision and longevity. Consider these factors:
- The condition of your blade’s edge
- The level of dullness or damage
- The type of steel you’re sharpening
- Your preferred sharpening routine
- The importance of honing versus sharpening for your tools
Choosing the correct grit ensures your sharpening routine aligns with your goals, whether to restore a dull edge or maintain a finely honed blade. Additionally, understanding grit progression helps optimize your sharpening process for better results and efficiency. Knowing how to adjust your technique based on grit type can also significantly impact your overall sharpening success. For best results, pay attention to the edge geometry and how it influences your choice of grit and angle.

Rolanstar Fireplace TV Stand with Led and Power Outlets, White Entertainment Center with 26" Electric Fireplace for 45/50/55/60/65 inch TVs, Modern TV Console with Storage Cabinet for Living Room
LED Light & Power Outlet: Elevate your space with the vibrant multi-color RGB LED lighting of the fireplace...
As an affiliate, we earn on qualifying purchases.
To achieve a razor-sharp edge, you should follow a systematic sharpening routine that progresses from coarse to fine grit. Start with the coarse stone to reshape and remove nicks, focusing on blade safety by maintaining a steady angle and even pressure. Once the edge is set, move to a medium grit to refine the bevel, removing scratches from the coarse stone. Finish with a fine grit to polish and hone the edge, ensuring a sharp, smooth cut. Remember, honing isn’t the same as sharpening; honing realigns the edge without material removal. Working through these grits in sequence ensures efficient progress and a clean, durable edge. Patience and consistency are key, and always prioritize blade safety to prevent accidents during the routine.
Common Mistakes to Avoid When Using Sharpening Stones?
One common mistake is applying uneven pressure or holding the sharpening stone at inconsistent angles, which can lead to an uneven edge or damage the blade. Rushing the process often causes you to overlook proper technique, resulting in poor results. Additionally, ignoring safety precautions can lead to injuries or accidents. To avoid these pitfalls:
- Use consistent pressure throughout each stroke
- Maintain a steady, correct angle
- Take your time; don’t rush the process
- Keep your hands and stone stable
- Wear safety gear when necessary
- Remember that proper technique helps preserve your blade’s integrity and prolongs its sharpness.
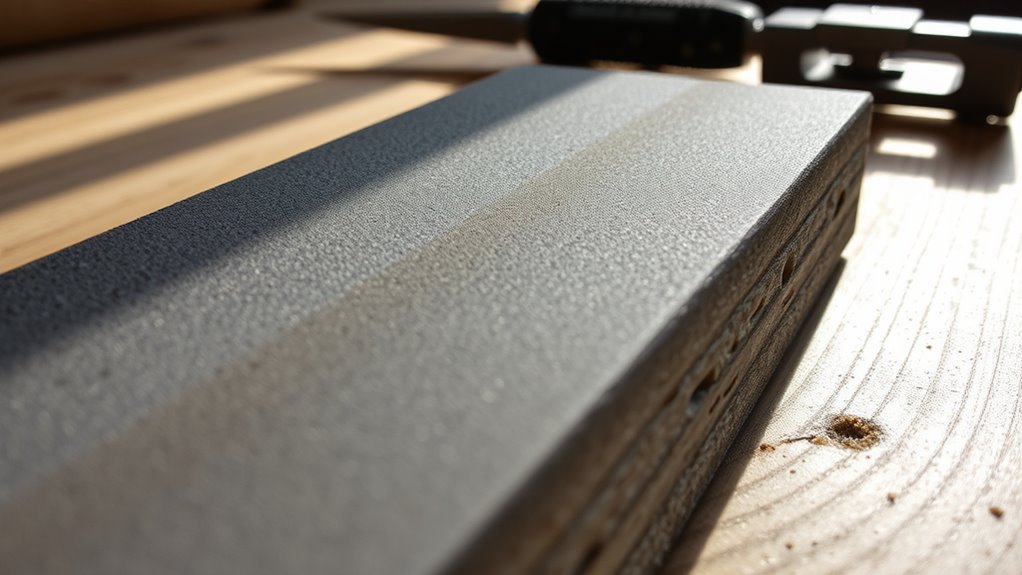
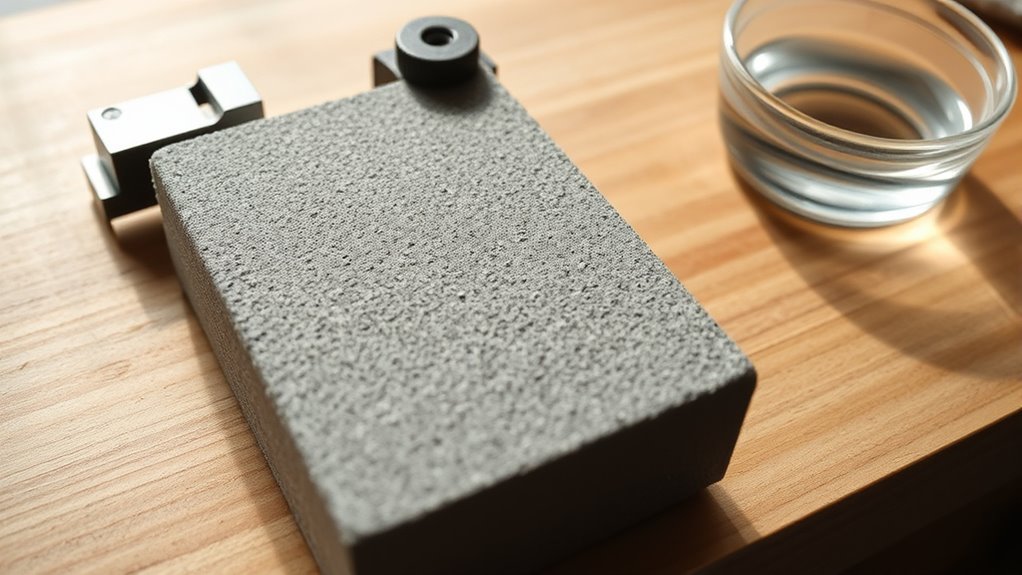
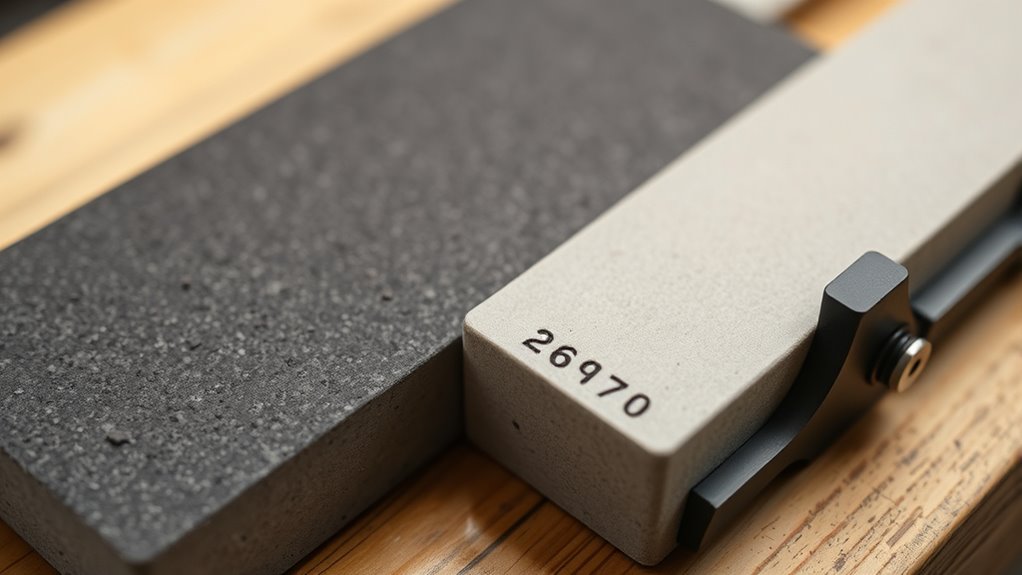
Tips for Maintaining Your Stones and Extending Their Life
Proper maintenance of your sharpening stones is essential to guarantee they stay effective and last longer. Regular stone conditioning helps keep the surface flat and prevents uneven wear, ensuring consistent sharpening results. To maintain your stones, use a flattening stone or lapping plate periodically, especially after heavy use. Proper storage solutions also protect your stones from damage and dirt; keep them in a dry, stable environment away from extreme temperatures. Avoid stacking stones without protection, as they can chip or become uneven. Rinse and dry your stones thoroughly after each use to prevent residue buildup. By adopting good stone conditioning habits and choosing the right storage solutions, you extend your sharpening stones’ lifespan and maintain their performance for years to come. Incorporating proper technique into your routine can further enhance your sharpening results and prolong your stones’ usability.
How to Test if Your Blade Is Sharp Enough?
To check if your blade is sharp enough, start with a visual inspection to spot any dull or chipped edges. Next, perform a simple cutting test on a piece of paper or soft material to see if it slices smoothly without tearing. These quick methods give you a clear idea of your blade’s sharpness before using more advanced tools.
Visual Inspection Techniques
Wondering if your blade is sharp enough? Visual inspection is a quick way to assess your edge, focusing on edge alignment and overall condition. Look closely at the blade’s edge for tiny chips, rolled metal, or dullness. Good edge alignment means the edge is straight and uniform; misalignment indicates dullness or damage. Check your stone storage—keeping stones clean and dry prevents uneven sharpening, which affects the edge’s appearance. Examine the bevel; a consistent, shiny surface suggests sharpness, while dull or uneven areas signal the need for further honing. Use a magnifying glass if necessary for detailed inspection. Remember, a well-maintained stone helps produce a precise edge, ensuring your blade’s visual condition reflects its cutting performance. Proper storage practices also play a crucial role in maintaining the integrity of your sharpening process.
Cutting Test Method
A simple and effective way to determine if your blade is sharp enough is by performing a cutting test. Use a piece of material similar to what you’ll cut regularly, like paper, cardboard, or a soft wood. Hold the blade at the proper angle and make a clean cut. If the blade slices smoothly without tearing or requiring excessive force, it’s sharp enough. If it struggles or drags, it needs more sharpening. This test also helps assess blade durability—if it dulls quickly, you might need to sharpen more frequently. Remember, sharpening safety is vital; always handle blades carefully to avoid injury. Regular testing ensures you maintain a sharp edge, prolonging your blade’s lifespan and ensuring safe, effective cuts every time. Additionally, understanding your grit numbers can help you select the appropriate sharpening stone for your needs. Using the correct blade angle during sharpening is crucial for optimal results. Proper technique and consistent testing can also extend the sharpness lifespan of your blades, and employing proper sharpening techniques can make the process safer and more effective. Incorporating regular maintenance practices can further improve your results and keep your blades performing at their best.
Troubleshooting Common Sharpening Problems
When honing your tools, common issues such as uneven edges, dullness, or chattering can arise, but many of these problems have straightforward solutions. To preserve blade durability and guarantee sharpening safety, focus on consistent technique and proper angle maintenance. Chattering often results from uneven pressure; lighten your touch and keep the stone stable. Uneven edges may mean you’re not maintaining a uniform angle—use a guide if needed. Dull blades might require more aggressive sharpening or a different grit. Remember, applying too much pressure can damage the blade or the stone. Regularly cleaning your sharpening stone prevents debris buildup, which can cause inconsistencies. Additionally, understanding grit numbers helps you select the appropriate abrasive for your sharpening needs. Being aware of grit progression can help you achieve a finer, more precise edge. Ensuring your stone flatness is maintained prevents uneven sharpening. Also, using proper technique ensures safe and effective sharpening results. Ultimately, always prioritize sharpening safety to avoid accidents and guarantee a sharp, durable edge.
Frequently Asked Questions
Can I Use the Same Sharpening Stone for Different Types of Knives?
You can use the same sharpening stone for different types of knives, but it depends on the knife material and stone compatibility. For example, softer steels may need a gentler grit, while harder steels can handle coarser stones. Always check if your stone fits the specific knife material to prevent damage. Using the right stone ensures effective sharpening without dulling or harming your knives.
How Often Should I Replace or Rotate My Sharpening Stones?
Did you know that sharpening stones can last between 5 to 10 years with proper care? You should replace or rotate your sharpening stones when they become worn or develop uneven surfaces, which can affect sharpening efficiency. Store them in a dry, safe place to prevent damage. For most knives, sharpening every few months is enough, but regular inspection helps you decide when it’s time for a replacement or rotation.
Are Electric Sharpeners Better Than Manual Stone Sharpening?
Electric sharpeners are faster than manual stones, offering quick sharpening with minimal effort. However, manual sharpening gives you better control and precision, especially for maintaining specific angles. If you need quick results and convenience, electric sharpeners are ideal. But if you prefer a more hands-on approach and detailed control, manual stones are better. Consider your skill level and how often you sharpen to choose the right option for your needs.
What Safety Precautions Should I Take While Sharpening?
When sharpening, you should always wear protective gear like gloves and eye protection to prevent injuries. Handle the sharpening stone safely by keeping your fingers away from the blade’s edge and maintaining a firm grip. Work in a clean, stable area to avoid slips. Stay alert and avoid distractions, ensuring safe handling throughout the process. These precautions help prevent accidents and keep you safe while sharpening your tools.
Can Sharpening Stones Improve the Edge Retention of My Knives Over Time?
Yes, sharpening stones can improve your knives’ edge retention over time by enhancing sharpening effectiveness. When you regularly hone and sharpen your blades with the right grit and technique, you create a finer, more durable edge that stays sharp longer. Consistent sharpening prevents your knives from dulling quickly, maintaining their cutting performance. Just remember to use proper safety precautions, and you’ll notice your knives holding their edge better over time.
Conclusion
Just like a master sculptor reveals the true form beneath the marble, honing your sharpening skills reveals the sharpest edge. By understanding grit numbers, angles, and routines, you craft knives that slice effortlessly. Remember, every stroke brings you closer to perfection—think of it as chiseling away imperfections to uncover brilliance. Keep practicing, and soon, your blades will cut through doubt just as a sharpened mind slices through complexity.