
To make certain the best image quality with your ultra-short-throw projector, start by preparing your wall with a smooth, matte, neutral surface, free of imperfections. Choose an ambient light-rejecting (ALR) screen suited for your room’s lighting conditions to boost contrast and vividness. Position your projector accurately, aligning it level and maintaining the proper throw distance. Avoid common setup mistakes by double-checking angles and focus. Keep exploring to learn expert tips that will optimize your home theater experience.
Key Takeaways
- Use neutral, matte walls like off-white or light gray to reduce glare and improve image clarity.
- Select ALR screens suitable for your lighting conditions, with high-gain options for bright rooms.
- Mount the projector level and at the correct throw distance to prevent keystone distortion and ensure sharp focus.
- Ensure the wall surface is smooth, clean, and free of imperfections or decorations that can affect image quality.
- Adjust projector height and angle carefully to align the image, minimize skew, and optimize overall picture sharpness.
Prepare Your Wall for a Perfect Ultra-Short-Throw Projector Setup
To guarantee a crisp, clear image, you need to prepare your wall properly before setting up your ultra-short-throw projector. Start with wall color; choose a neutral, matte finish like off-white or light gray to minimize glare and enhance contrast. Bright or glossy walls can reflect light unevenly, reducing picture quality. Next, consider ceiling height; a higher ceiling provides more space for ideal projector placement, reducing distortion and keystone effects. Confirm your wall is smooth and free of imperfections—patch holes or cracks beforehand. Removing any decorations or artwork nearby prevents distractions and color interference. Proper wall preparation creates a consistent surface, allowing your projector to deliver sharp, vibrant images with minimal adjustments. Additionally, lighting conditions play a crucial role in image quality; controlling ambient light enhances contrast and visibility. Ensuring your wall has a smooth, even surface is essential for optimal image projection and minimizing distortions, especially with ultra-short-throw models. This foundation is vital for achieving the best viewing experience.
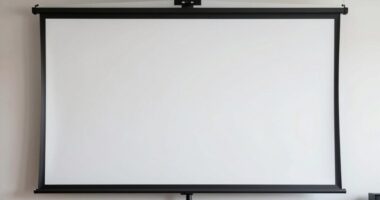
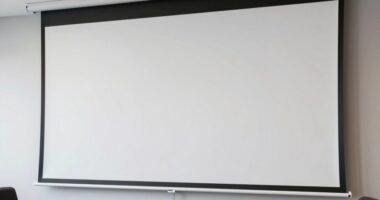
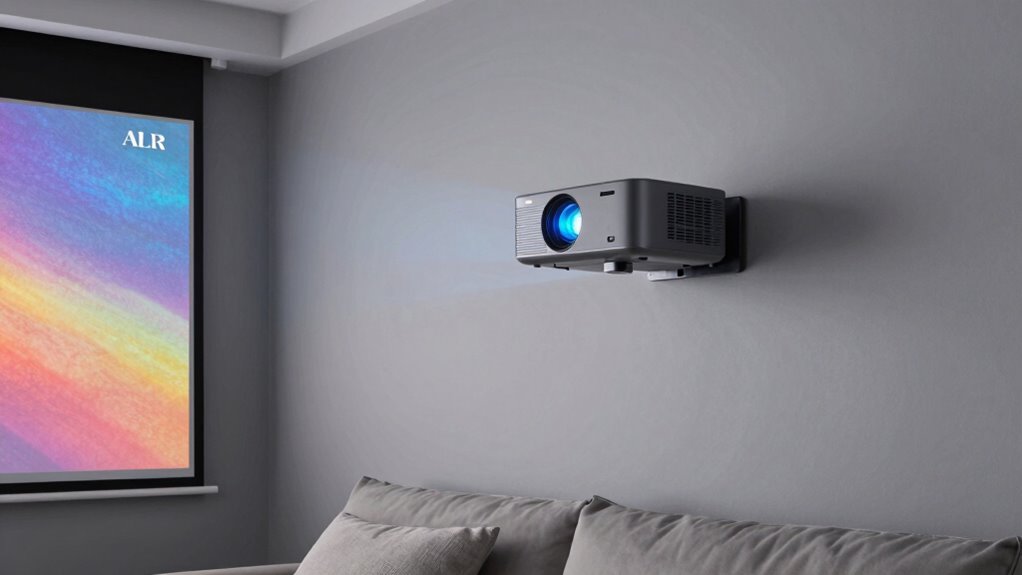
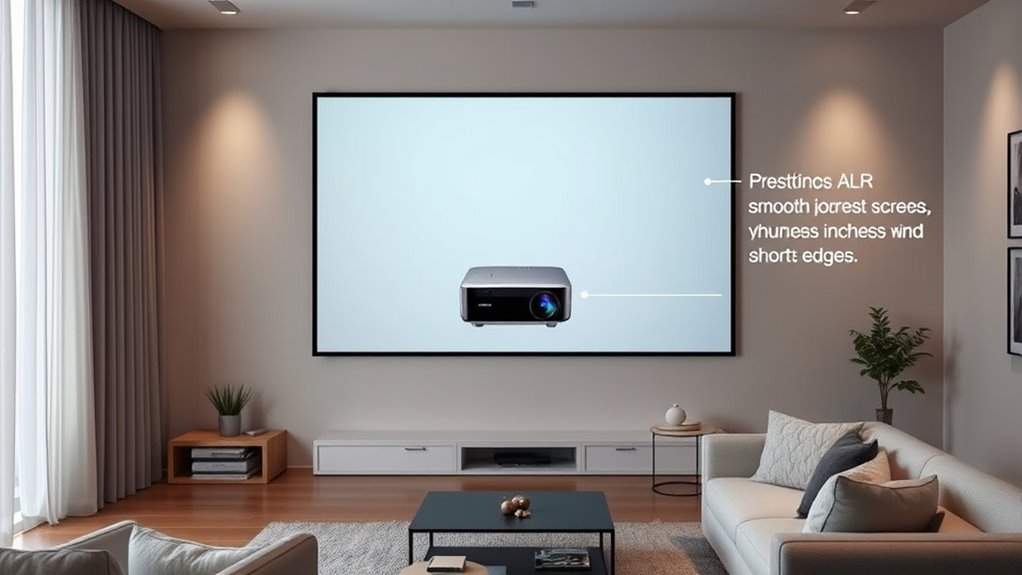
Choose the Best ALR Screen to Enhance Your Viewing Experience
Choosing the right Ambient Light Rejection (ALR) screen is vital for maximizing your ultra-short-throw projector’s performance, especially in rooms with ambient light. The screen material plays an essential role in rejecting light from ambient sources while enhancing contrast and color accuracy. Select an ALR screen designed for your specific lighting conditions—if your room has bright windows, opt for a high-gain screen that reflects light away effectively. For moderate lighting, a screen with a balanced gain offers vivid images without washing out. Make sure the material’s surface is designed to minimize glare and maximize contrast, providing a clearer, more vibrant picture. Additionally, understanding ambient light rejection techniques can help you choose the best setup for your environment. Using specialized screen materials engineered for light rejection can significantly improve image quality in challenging lighting situations. Incorporating selective light reflection strategies can further enhance image quality in challenging lighting situations. Being aware of ambient light conditions in your room can help you make more informed decisions when selecting your ALR screen. Recognizing how light interacts with surfaces can also assist in optimizing your room layout for better viewing performance.
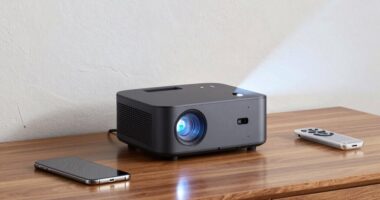
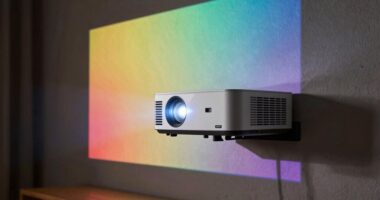
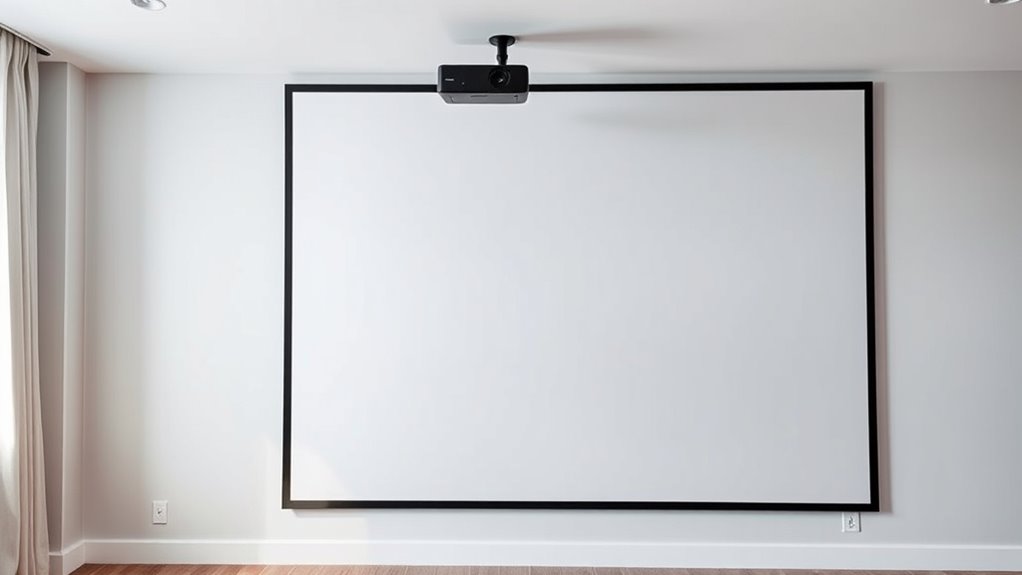
Position Your Ultra-Short-Throw Projector for Maximum Impact
Positioning your ultra-short-throw projector correctly is essential for getting the best image quality and impact. To enhance placement, consider both angle adjustment and mounting options. Proper angle adjustment ensures the image projects straight onto your screen, avoiding keystone distortion. Ceiling mounting offers a clean look and stable setup, but requires precise positioning. Use this table for guidance:
| Mounting Method | Key Consideration |
|---|---|
| Wall Placement | Adjust angle for proper alignment |
| Ceiling Mounting | Secure mounting, fine-tune angle as needed |
| Tilt Adjustment | Corrects keystone and image distortion |
| Distance | Maintain recommended throw distance |
Adjust your projector carefully to achieve ideal alignment, whether mounted on the ceiling or wall, for maximum impact.
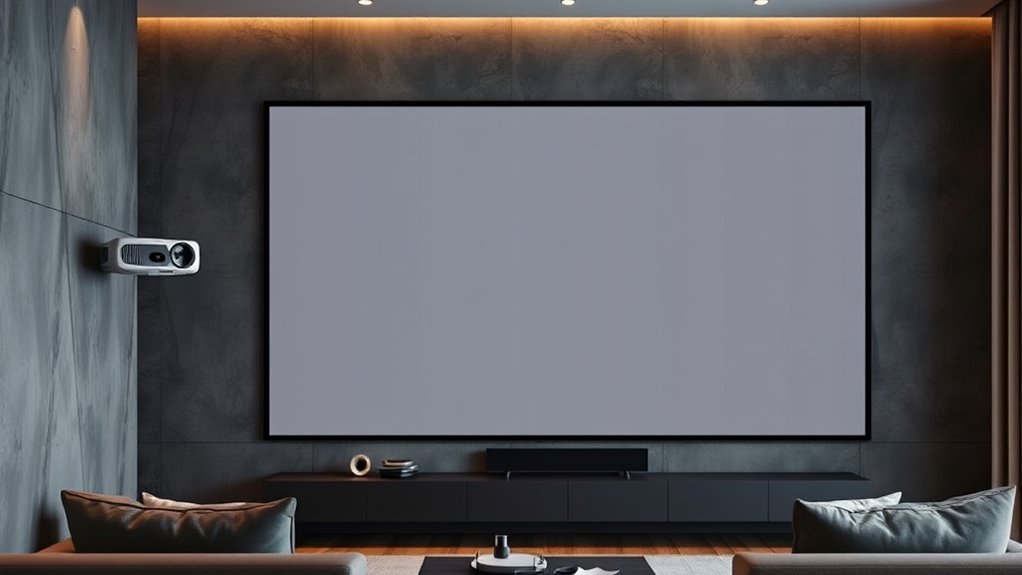
Avoid Common Mistakes When Setting Up Your UST Projector
While setting up your ultra-short-throw projector, it’s easy to make mistakes that can compromise image quality and performance. One common error is incorrect mounting, which can cause skewed images or unstable placement. Make certain the projector is securely mounted at the right height and angle. Additionally, inadequate lighting can wash out your picture; avoid placing the projector in areas with bright ambient light. Other mistakes include ignoring wall or screen surface quality, which affects image clarity, and misaligning the projector relative to the screen, leading to keystone distortion. To prevent these issues, double-check your mounting hardware, control ambient lighting, choose a proper wall surface, and verify projector alignment before final setup. Being mindful of these pitfalls ensures peak performance and image sharpness. Also, consider proper placement to optimize projection quality and ease of use. Paying attention to screen surface quality can significantly enhance image clarity and color accuracy.
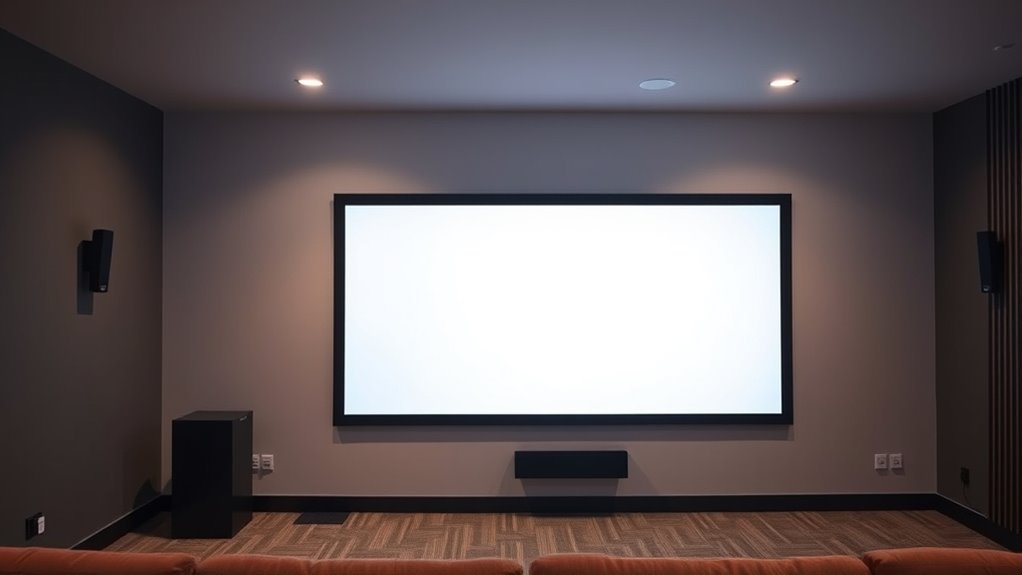
Fine-Tune Your Projector Placement for the Best Image Quality

Once you’ve securely mounted your ultra-short-throw projector, fine-tuning its placement can markedly improve image quality. Adjust the projector height to guarantee the image aligns perfectly with your screen, avoiding distortion. Use angle adjustment to correct keystone effects or skewed images, ensuring the projected picture is rectangular and centered. Small tweaks can make a big difference in clarity and focus. Here’s a quick guide:
| Adjustment Type | What to Do | Goal |
|---|---|---|
| Projector height | Elevate or lower the projector | Align image with screen edge |
| Angle adjustment | Tilt projector slightly | Rectify keystone distortion |
| Positioning | Move closer or farther | Achieve ideal focus and size |
Proper placement and fine-tuning are essential for a high-quality viewing experience, ensuring a sharp, vibrant image for your home theater experience. Additionally, consider wall prep to reduce reflections and improve overall image clarity. Taking the time to verify your projector’s placement can help prevent common issues like blurriness or uneven images, and carefully adjusting the projector position can optimize focus and size, resulting in a more immersive viewing experience. Furthermore, understanding the importance of screen type selection can significantly enhance your image quality by providing better contrast and color accuracy.
Final Tips for a Hassle-Free and Stunning Home Theater
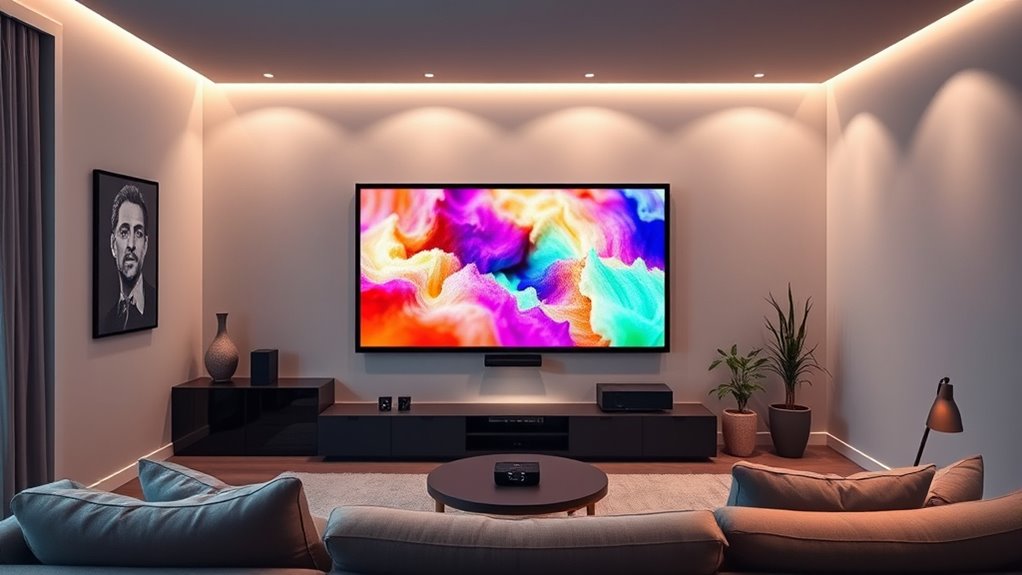
To guarantee your home theater setup is both seamless and stunning, focus on simple, proactive steps that prevent common issues and enhance your viewing experience. Start with proper screen calibration to ensure sharp images and accurate colors. Manage ambient lighting to reduce glare and improve contrast; consider blackout curtains or dimmable lights. Keep cables organized for a clean look and easy access. Regularly check the projector’s placement to maintain ideal image quality. Additionally, test different screen settings and ambient light levels to find the perfect balance. Implementing proper room acoustics can significantly improve sound clarity and overall immersion. Being mindful of projector placement helps maintain image quality and reduces the need for adjustments later. Consider using advanced screen technology like ALR screens to enhance picture quality in challenging lighting conditions. This way, you’ll avoid frustration and enjoy a cinematic experience that’s both hassle-free and visually stunning. Small adjustments now make a big difference in the overall quality and ease of your home theater. Furthermore, integrating smart home automation can streamline your setup process and control all components effortlessly.
Frequently Asked Questions
How Do I Minimize Glare and Reflections on My Wall or Screen?
To minimize glare and reflections on your wall or screen, focus on glare reduction and reflection control. Use matte or semi-matte wall paints to reduce light bounce, and position your projector to avoid direct light sources. Install curtains or blinds to block ambient light, and consider using an ALR screen designed to enhance contrast while minimizing reflections. Adjust your room’s lighting to create a controlled environment that enhances your viewing experience.
What Are the Ideal Distances for Projector Placement in Small Rooms?
In small rooms, place your projector about 3 to 8 feet from the screen for ideal size and clarity. Mount it at eye level or slightly above to reduce glare and guarantee a clear image. Ceiling mounting keeps the projector stable and aligned, preventing shadows. Adjust the projector height so the lens points directly at the center of your screen, which helps achieve a sharp picture without distortion or reflections.
How Can I Troubleshoot Image Distortion or Keystone Issues?
Think of your projector as a skilled archer aiming at a target. If the image distorts or keystone issues appear, check your lens alignment first—like adjusting the archer’s stance. Use keystone correction sparingly, just as you’d fine-tune your aim. Ensuring the projector is level and properly aligned minimizes distortion, helping you hit the bullseye with a clear, rectangular image every time.
What Maintenance Is Required to Keep My UST Projector Performing Well?
To keep your UST projector performing well, regularly clean the lens with a soft, lint-free cloth to prevent dust buildup. Check the air filters and replace them if they’re dirty. Keep an eye on the lamp hours and replace the lamp when it nears the end of its lifespan to maintain brightness. Also, guarantee the projector stays in a cool, dust-free environment for peak performance.
How Do Ambient Light Conditions Affect Ultra-Short-Throw Projector Performance?
Sure, ambient light conditions can make your ultra-short-throw projector struggle—who would’ve guessed? To beat the glare, you’ll want to focus on ambient light management and choose the right screen material, like ALR screens, that fight off light pollution. Darken the room or pick a high-gain screen, and suddenly your bright, vivid images won’t be lost in a sea of ambient chaos. Easy, right?
Conclusion
With the right wall prep, screen choice, and careful placement, your home theater setup feels almost effortless—like the perfect scene falling into place. As you fine-tune your projector, you might notice the subtle glow mimicking a sunset or the crisp image capturing a fleeting moment of clarity. When everything aligns just right, your space becomes a haven where stunning visuals and cozy nights blend seamlessly—proof that a little attention turns setup into pure cinematic magic.