
To avoid glare, position your wireless cameras away from direct sunlight, reflective windows, or shiny surfaces, and tilt them to minimize reflections. Place cameras at strategic points like entryways and blind spots, ensuring they’re high enough to deter tampering. Use appropriate mounts and adjust angles for broad coverage while reducing dead zones. Good lighting can also improve visibility at night. Keep obstacles clear for ideal views—covering all angles effectively enhances your security setup and reduces vulnerabilities.
Key Takeaways
- Position cameras at optimal angles to minimize glare from sunlight and artificial lights, using shields or filters if needed.
- Mount cameras at eye level or slightly higher, away from potential theft targets and obstructions, to ensure stable, wide coverage.
- Avoid placing cameras near reflective surfaces like windows, mirrors, or shiny fixtures that can cause glare or reflections.
- Regularly review footage to identify blind spots and adjust camera angles or locations to eliminate dead zones.
- Use proper lighting and motion-activated lights to enhance night vision and reduce shadows that could conceal intruders.

3 Pack Blink Camera No Drill No Screws Wall Mount Bracket for Blink Outdoor 4/Outdoor 2K+/Mini /Mini 2K+ /Indoor Camera, HBV Adhesive Mount
3 Pack black Blink Adhesive Wall Mount Bracket – Compatible with Blink Mini 2K+ /Blink Mini and Mini…
As an affiliate, we earn on qualifying purchases.
As an affiliate, we earn on qualifying purchases.
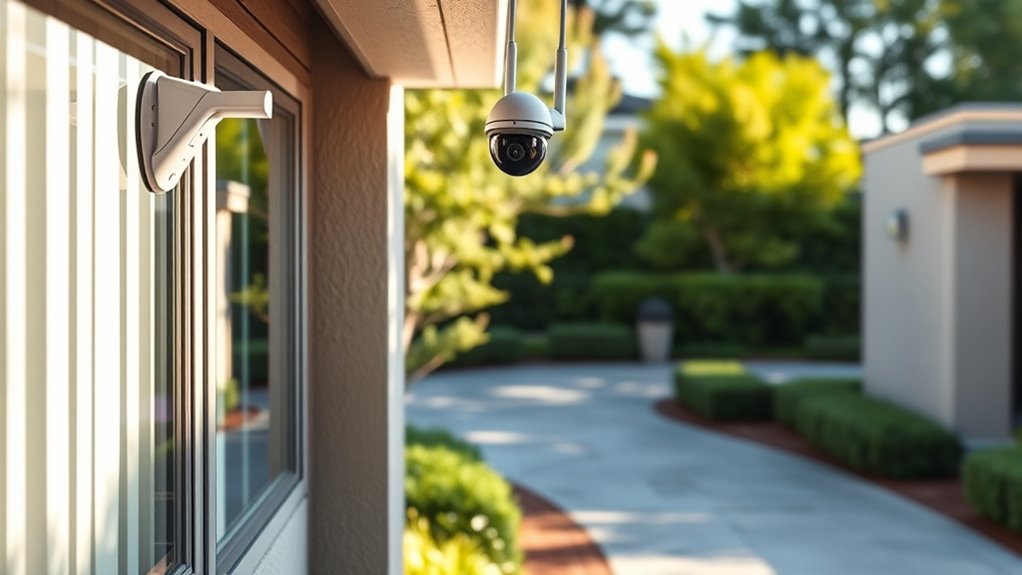
Assess Your Property and Entry Points for Camera Placement
Before installing your wireless security cameras, you should thoroughly assess your property and identify all entry points. Walk around and note doors, windows, and other access points that need monitoring. Consider how each camera’s placement will blend with your landscape to achieve seamless landscape integration. You want your cameras to be effective without disrupting your home’s aesthetic considerations. Think about the visual impact—position cameras where they won’t stand out or detract from your property’s overall appearance. Look for natural hiding spots or discreet locations that still provide clear coverage. Taking the time to evaluate these factors helps ensure your security system is both functional and visually unobtrusive, creating a balanced setup that safeguards your property without compromising curb appeal. Additionally, understanding the importance of camera placement can greatly enhance your security strategy by minimizing glare, theft, and dead zones. Proper lighting conditions are also crucial, as they can affect how well your cameras perform during different times of day and night. Incorporating optimal placement strategies can further improve camera effectiveness and coverage, especially when considering potential security vulnerabilities like blind spots or areas prone to theft.

Peslv Magnetic Privacy Screen for Macbook Air 13.6/13 Inch (2022-2026, M2, M3, M4, M5), Removable Matte Anti Glare Blue Light Protector Private Security Filter for 13.6inch Mac Laptop Computer
【WIDELY APPLICABLE】Removable design and comes with a macbook air privacy filter protector storage clip that can be taken…
As an affiliate, we earn on qualifying purchases.
As an affiliate, we earn on qualifying purchases.
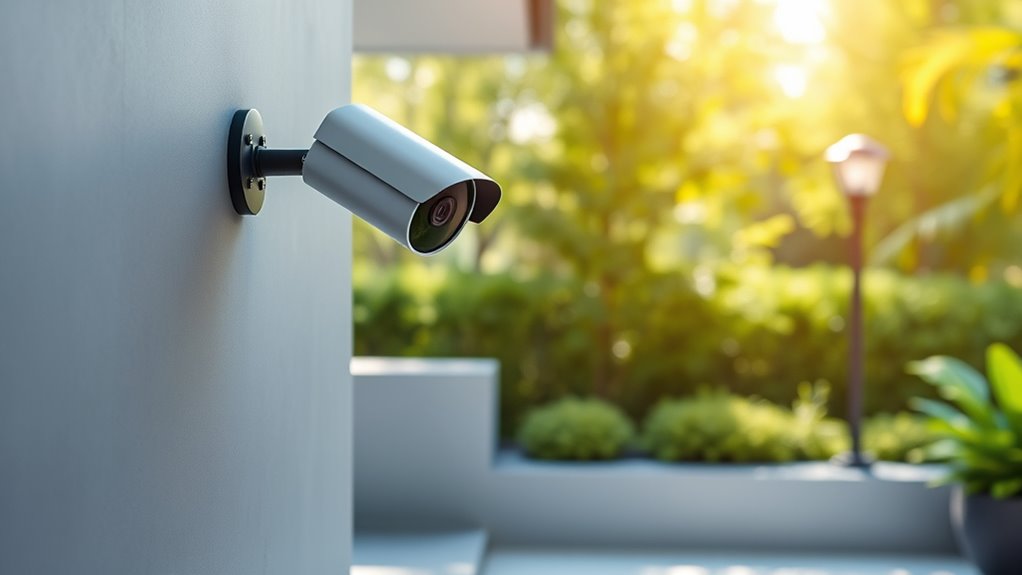
Identify and Minimize Glare Sources to Improve Image Quality
Glare from sunlight or bright lights can seriously diminish your camera’s image quality. To fix this, you should identify common glare sources and adjust your camera angles accordingly. Installing anti-glare accessories can also help guarantee clear, reliable footage. Additionally, understanding water chemistry and proper lighting conditions can further enhance your camera’s performance in outdoor environments. Being aware of lighting conditions ensures optimal camera placement and reduces the risk of glare interference. Properly assessing your environment helps prevent dead zones, which can compromise security coverage and should be considered during placement. Moreover, considering lens quality can significantly impact the camera’s ability to handle glare and reflections effectively.
Identify Common Glare Sources
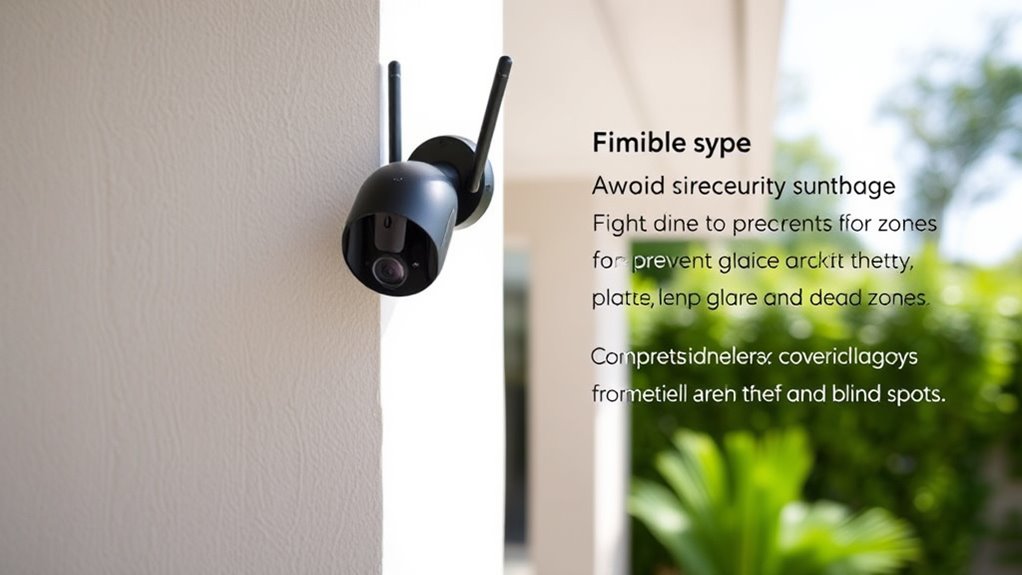
Identifying common glare sources is essential for optimizing your wireless security camera placement. Glare sources, such as direct sunlight or bright artificial lights, can wash out your camera’s image, making it hard to recognize faces or details. Reflective surfaces like windows, glass doors, or shiny metal fixtures also cause glare by bouncing light directly into the camera lens. To minimize these issues, observe your surveillance areas at different times of day to pinpoint when glare occurs. Look for shiny or reflective surfaces that could reflect sunlight or interior lighting. Once identified, you can adjust camera angles or reposition cameras away from these glare sources, ensuring clearer footage and better security coverage. Recognizing these common glare sources helps you create a more effective surveillance setup. Additionally, understanding filtration systems can help in selecting cameras with better glare reduction features, improving overall image clarity. Being aware of lighting conditions and how they affect your camera’s view can further enhance your security system’s effectiveness. Considering adaptive lighting options can also help mitigate glare issues during different times of day. Furthermore, selecting cameras with built-in glare reduction technology can provide an extra layer of image clarity in challenging lighting conditions. Paying attention to camera placement and testing different positions can significantly reduce glare-related issues, leading to more reliable security footage.
Use Proper Camera Angles
Proper camera angles are essential for minimizing glare and capturing clear footage. Position your cameras to avoid direct sunlight or reflective surfaces that cause glare, which can obscure details. Adjust the angle to optimize the view while maintaining proper camera lens maintenance for clear images. Be mindful of the camera’s orientation relative to light sources and windows. Also, verify your wireless signal strength remains strong; poor angles can weaken the signal, leading to image lag or loss. Use the table below to understand common angle pitfalls and solutions:
| Issue | Solution |
|---|---|
| Glare from windows | Tilt camera to avoid direct sunlight |
| Reflection off surfaces | Change angle to reduce reflections |
| Weak wireless signal | Reposition for better signal |
| Blurry images | Adjust angle for focus |
| Obstructed view | Clear obstructions and re-angle |
Additionally, considering camera placement carefully can significantly improve overall security effectiveness by reducing blind spots and vulnerabilities.
Install Anti-Glare Accessories
Installing anti-glare accessories can considerably improve your camera footage by reducing unwanted reflections and bright spots. These anti glare accessories help minimize glare sources that impair image clarity, making it easier to identify details. To effectively implement glare reduction techniques, assess your camera’s environment for reflective surfaces like windows or shiny objects. Attach anti-glare filters or shields to your camera lens to block direct light and lessen reflections. Adjust positioning if possible, to avoid direct sunlight or bright light sources hitting the lens. Using anti glare accessories is a simple yet effective way to optimize your camera’s performance, ensuring clearer footage even in challenging lighting conditions. Incorporate glare reduction techniques to maintain high-quality images and enhance your security system’s reliability.

LEPOWER LED Security Lights Motion Sensor Light Outdoor, 38W 4200LM Light, 5500K, IP65 Waterproof, 3 Head Detected Flood Light for Garage, Yard, Porch (White)
38 W Brightness and Energy Saving: Powered by LED lamp bead as the security light source, enabling it…
As an affiliate, we earn on qualifying purchases.
As an affiliate, we earn on qualifying purchases.
Find the Best Camera Locations to Cover Dead Zones
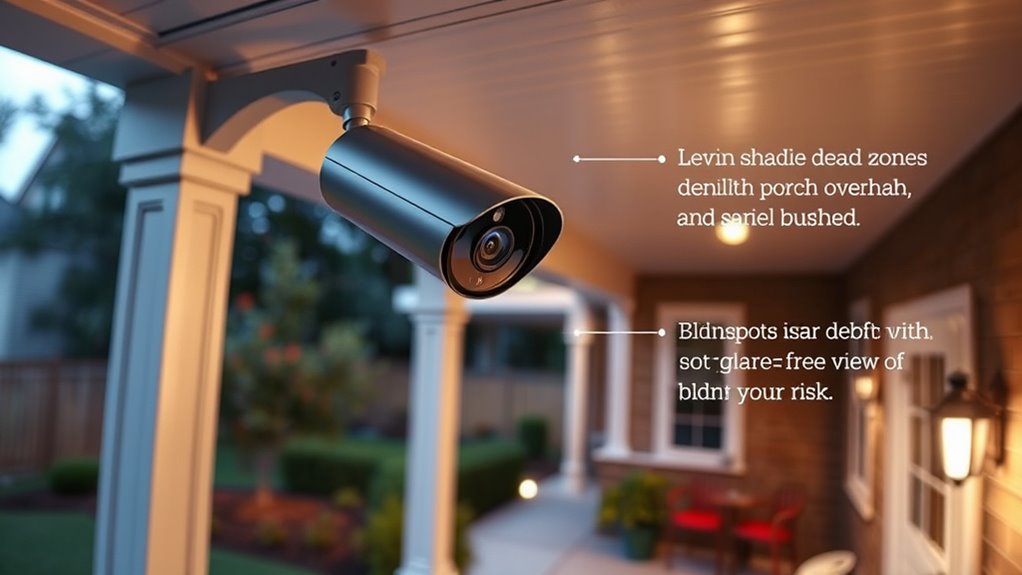
To guarantee your security camera system offers complete coverage, you need to strategically place cameras to eliminate dead zones—areas where visibility is limited or nonexistent. Start by identifying potential camera blind spots, which are often caused by obstructions or poor angles. Position cameras high enough to avoid objects blocking the view and angle them to maximize outdoor coverage. Avoid placing cameras near large trees, fences, or other structures that create shadows or blind spots. Use multiple cameras to cover wide or complex areas, ensuring no spot is left unmonitored. Regularly review footage to identify any gaps and adjust placements accordingly. Additionally, understanding camera placement best practices can help you appreciate the importance of precise placement and customization in achieving optimal coverage. Ensuring your cameras are set up with proper positioning techniques can significantly reduce blind spots and improve overall security. Incorporating lighting considerations during placement can also enhance night vision and reduce shadows that may obscure footage. Being aware of potential obstructions in your environment can further improve camera effectiveness and minimize blind spots. With careful planning, you’ll reduce dead zones and ensure your entire property remains protected.

Homakover Indoor Security Camera Cover, Drawstring Cover Compatible for Blink Mini 2/TP-Link Tapo C100/Roku WDR & WiFi 6/Wyze Cam OG/Google 2025 Model, Black
Privacy Protector – Covers your webcam when not in use, Avoid private information from hacking security and peace…
As an affiliate, we earn on qualifying purchases.
As an affiliate, we earn on qualifying purchases.
Position Cameras to Deter Theft and Tampering Efforts
Placing cameras in strategic, high-visibility locations can substantially deter theft and tampering. When your cameras are clearly visible, potential thieves are less likely to attempt camera tampering or vandalism, knowing they’re easily caught on video. Position cameras at entry points, near valuable assets, or along pathways where intruders might try to hide. Use sturdy mounts and protective covers to make tampering more difficult. Bright lighting combined with visible cameras enhances theft prevention by creating an environment where suspicious activity is easily spotted. Avoid hiding cameras in inconspicuous spots; visible cameras act as a strong deterrent. Proper placement not only reduces the risk of theft but also encourages ongoing security surveillance, protecting your property effectively. Understanding field-of-view parameters helps optimize camera placement for maximum coverage and deterrence, especially in areas prone to blind spots or obstructions. Placing cameras at high-traffic areas ensures better visibility and discourages malicious activity through increased surveillance presence.
Adjust Camera Angles for Clear, Wide Coverage
To get the best coverage, you need to optimize your camera angles so they capture the widest area possible. Make sure to guarantee unobstructed views like trees or furniture that could block the view. Properly adjusting your cameras ensures clear footage and reduces blind spots. Additionally, considering camera placement best practices can significantly enhance your overall security system’s effectiveness. Proper power tool setup and maintenance can also prevent issues like glare or dead zones caused by equipment malfunction or improper positioning. Integrating nanotechnology-enabled sensors may further improve detection accuracy and durability in various environmental conditions.
Optimize Camera Angles
Adjusting your camera angles is essential for guaranteeing clear, wide coverage of the area you want to monitor. Start by positioning the camera lens at an ideal mounting height—usually around eye level or slightly higher—to prevent obstructions and minimize blind spots. Tilt and swivel the camera to cover the entire zone effectively, avoiding areas prone to glare or reflections. Confirm the lens is angled downward slightly to capture details without distortion. Keep in mind that too steep an angle can limit the field of view, while too shallow may miss important details. Regularly test different angles to find the best balance between coverage and clarity. Properly optimized camera angles maximize your security and reduce the need for constant adjustments.
Minimize Obstructions for Clarity
Optimizing camera angles isn’t just about positioning the lens; it’s also about guaranteeing nothing blocks the view. To achieve this, focus on obstruction removal by clearing any objects that may interfere with the camera’s line of sight. Proper camera alignment is vital—adjust the angle so it captures the widest possible area without obstructions. Check for trees, furniture, or decorations that could cast shadows or block important zones. Regularly review your footage to identify blind spots or obstructions that may have appeared over time. By proactively managing obstruction removal and fine-tuning camera alignment, you’ll maximize clarity and coverage. This assures your security footage remains clear and complete, making it easier to monitor your property effectively.
Light Up Your Property and Optimize Lighting Conditions

Proper lighting is essential for ensuring your security cameras perform effectively, especially at night. Bright, well-placed lighting helps enhance night vision capabilities, making it easier to identify intruders or suspicious activity. Use motion-activated lights to conserve energy and reduce glare that can interfere with camera footage. To withstand harsh weather conditions, choose weatherproofing solutions that protect your lighting fixtures from rain, snow, and dust. Properly illuminated areas reduce shadows and dark zones, minimizing hiding spots for potential thieves. Keep in mind that consistent lighting not only improves camera clarity but also deters crime by increasing visibility around your property. By lighting up strategic spots, you create a safer environment and optimize your security system’s performance during all hours.
Balance Privacy Concerns With Security Coverage

While lighting enhances security and visibility, it can also raise privacy concerns for you and your neighbors. To strike a balance, carefully position your cameras so they cover vulnerable areas without intruding on private spaces. Consider the angles and locations that maximize security coverage while respecting boundaries. Communicate with neighbors if your cameras might capture their property, and use camera features like adjustable angles and privacy zones to limit unwanted views. This approach helps you maintain a secure property without compromising privacy. Remember, the goal is to deter intruders and monitor key zones while being considerate of others’ privacy. By thoughtfully balancing these concerns, you create a safe environment that respects everyone’s rights.
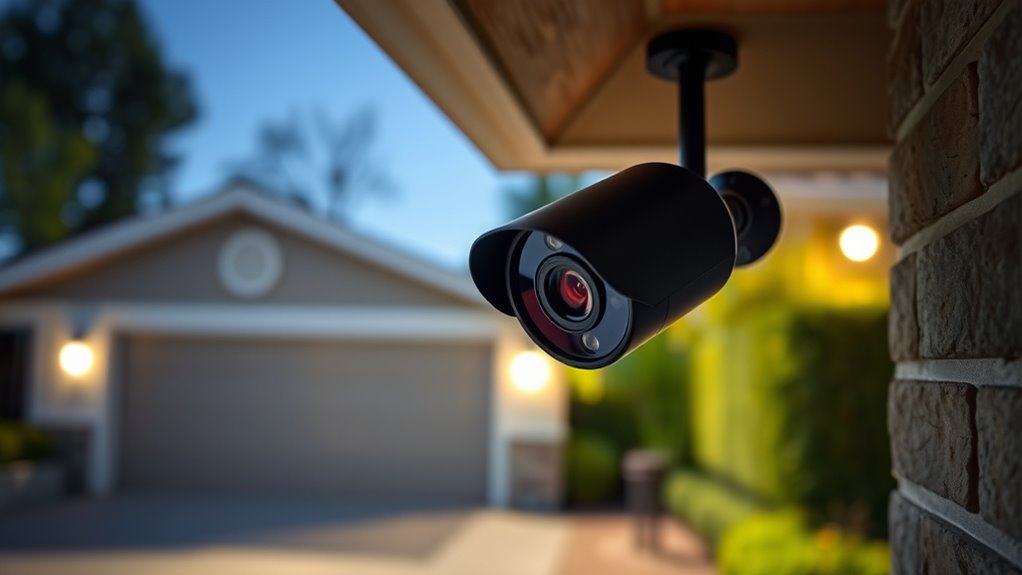
Mount Cameras at the Right Height and Use Effective Mounting Techniques
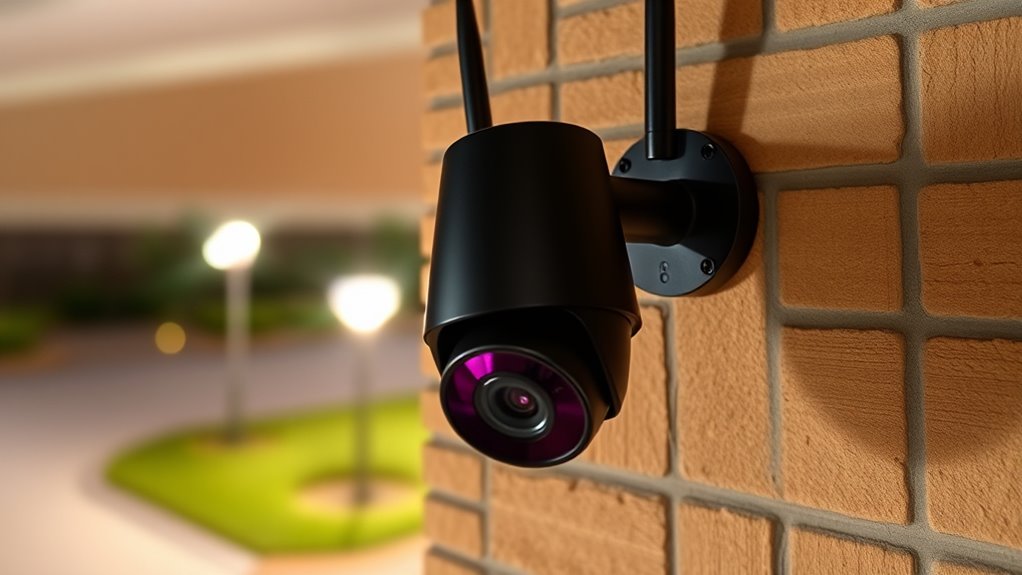
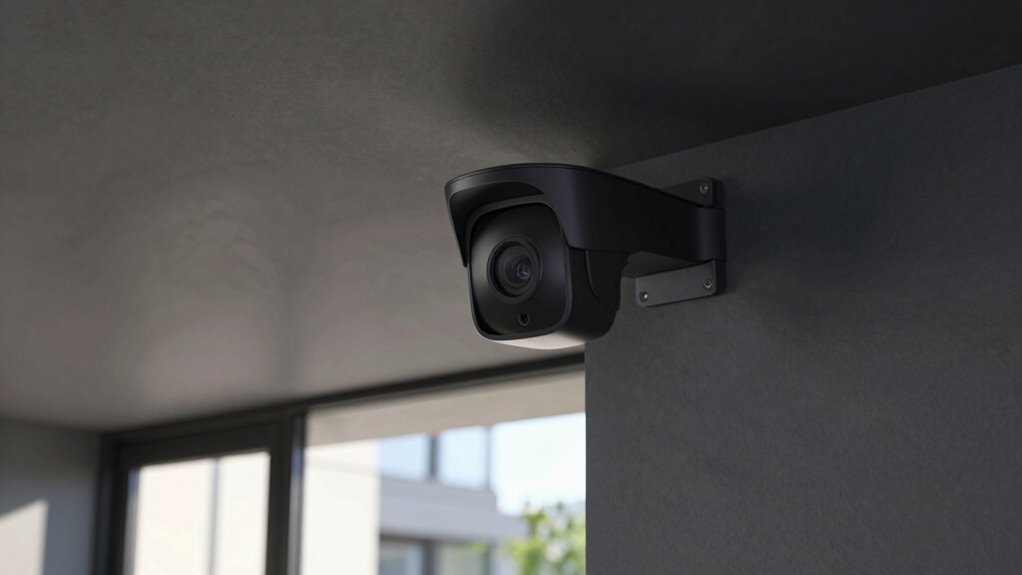
Mounting your cameras at the right height is essential for capturing clear, useful footage. The ideal camera height varies depending on the area, but generally, placing cameras around 7 to 10 feet above the ground balances visibility and deterrence. Proper mounting techniques guarantee stability and reduce the risk of tampering or theft. Use sturdy mounts that can handle environmental factors like wind or rain, and secure the camera tightly to prevent movement. Angle the camera slightly downward to cover the target area effectively while minimizing glare and blind spots. Avoid mounting too high, which can obscure details, or too low, which invites vandalism. By choosing the right camera height and employing effective mounting techniques, you optimize your security coverage.
Test and Fine-Tune Your Camera Placement for Peak Performance

Once you’ve installed your cameras, it’s crucial to test their placement to guarantee they cover the intended areas effectively. Power on the cameras and check the live feed to identify any blind spots or glare issues. Make sure your camera firmware is up to date, as updates often improve performance and security. Adjust the angle or height if needed to eliminate dead zones and optimize the field of view. Test the wireless connection using different protocols, such as Wi-Fi 5 or Wi-Fi 6, to find the most stable and fast connection, reducing lag or dropouts. Fine-tuning now helps prevent theft or data loss later. Regularly recheck the camera’s positioning after firmware updates or network changes to keep your security system performing at its best.
Frequently Asked Questions
How Often Should I Clean My Wireless Security Cameras?
You should clean your wireless security cameras at least once a month to assure clear footage. Regular camera lens cleaning removes dust, dirt, and smudges that can obscure the view. Additionally, check your camera mount maintenance to keep the camera securely positioned and avoid dead zones. If you notice reduced video quality or obstructions, clean the lens more frequently. Consistent upkeep guarantees ideal surveillance and security.
Can Weather Conditions Affect Camera Performance?
Think of your camera as a brave sailor facing the weather impact of storms. Harsh weather can challenge your camera’s durability and performance, causing blurriness or blind spots. Rain, snow, and extreme temperatures may damage the device or weaken its signals. To keep your security system sailing smoothly, guarantee your camera is weatherproof, and consider protective covers. Regular maintenance helps your camera withstand nature’s elements and stay dependable.
What Is the Best Way to Hide Cameras From Intruders?
To hide cameras from intruders, you should use concealment techniques like camouflaging them with outdoor decor or mounting them high and out of sight. Incorporate visual deterrents like fake cameras or signage to make intruders think they’re under surveillance. Position cameras discreetly near entry points or behind foliage, ensuring they’re functional while remaining hidden. These strategies help protect your cameras from theft and keep your property secure.
How Do I Ensure Continuous Power Supply for Wireless Cameras?
Think of your security system as a trusted guardian—never letting you down. To make certain continuous power, connect your wireless cameras to a reliable power source, like a dedicated outlet or solar panel. Keep backup batteries on hand to power your cameras during outages. Regularly check the battery levels and consider using a UPS (Uninterruptible Power Supply) for added peace of mind, so your surveillance stays active no matter what.
Are There Legal Restrictions on Camera Placement in Residential Areas?
You should check local privacy laws and property rights before placing your cameras in residential areas. Many jurisdictions restrict camera placement to avoid invading neighbors’ privacy, especially if cameras capture private spaces like yards or windows. You must respect property boundaries and avoid public areas unless permitted. Always guarantee your placement complies with legal regulations to prevent potential disputes or legal issues related to privacy violations.
Conclusion
Remember, the best security camera setup isn’t just about high-tech gadgets or perfect angles—sometimes, it’s about avoiding glaring mistakes. Ironically, overthinking glare or dead zones can distract you from the simple truth: a well-placed camera at the right height often does more than the fanciest features. So, focus on smart placement, and you’ll find that even a modest camera can keep your property secure—without the glare or gaps you least expect.