
To get taller, fluffier bread in your bread maker, store yeast in airtight containers in the fridge or freezer to keep it fresh. Use warm water between 75°F and 80°F to activate the yeast, and let it foam before adding it to your dough. Make sure to keep the dough in a warm, draft-free place during rising to boost volume. Keep these tips in mind, and you’ll see better lift—learn more to perfect your loaf.
Key Takeaways
- Store yeast in airtight containers in the refrigerator or freezer to maintain its leavening power.
- Bring refrigerated or frozen yeast to room temperature before use for optimal activation.
- Use water between 75°F and 80°F to activate yeast, promoting strong rise and taller loaves.
- Keep dough in a warm, draft-free environment during fermentation for better gluten development and height.
- Ensure proper timing and ingredient handling, such as activating yeast separately, to optimize dough rise and loaf volume.
airtight yeast storage containers
As an affiliate, we earn on qualifying purchases.
As an affiliate, we earn on qualifying purchases.
How Proper Yeast Storage Affects Your Bread’s Height
Proper yeast storage is essential if you want your bread to rise tall and light. When yeast is stored correctly, it maintains its potency, ensuring ideal yeast fermentation. Fresh yeast ferments more efficiently, producing the gases needed to lift dough and create a airy texture. If yeast is exposed to moisture or heat, its activity diminishes, leading to weaker fermentation. This results in dough with less elasticity and a denser crumb. Proper storage keeps yeast dry and cool, preserving its ability to produce carbon dioxide during proofing. As a result, your dough remains elastic and responsive, helping it stretch easily without tearing. Ultimately, good yeast storage directly influences your bread’s height and overall quality by supporting consistent fermentation and dough elasticity.
bread maker yeast packet
As an affiliate, we earn on qualifying purchases.
As an affiliate, we earn on qualifying purchases.
The Best Ways to Store Yeast for Freshness and Rise

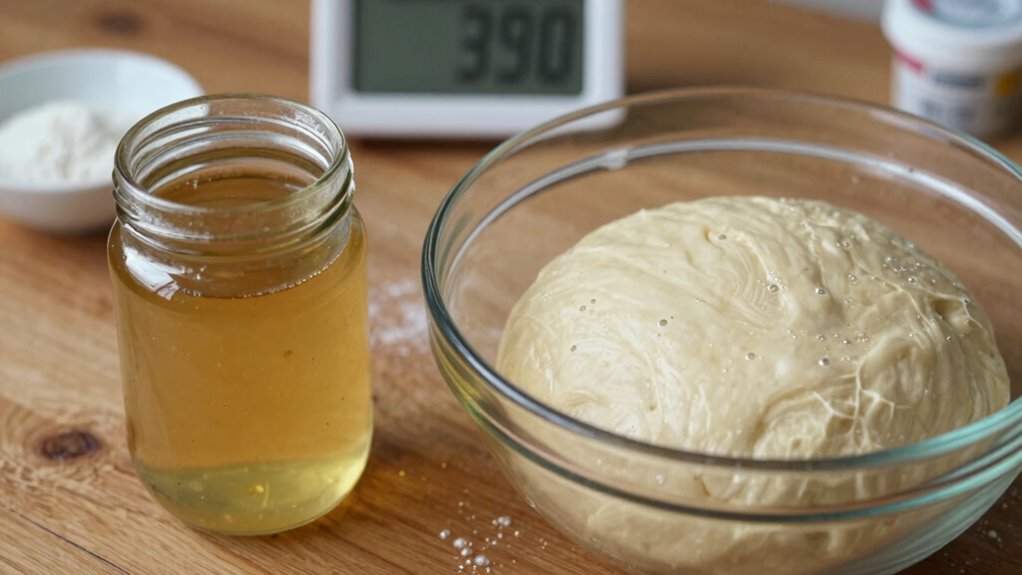
Storing yeast correctly can make a noticeable difference in how well your bread rises. To maintain yeast freshness, keep it in airtight storage containers that prevent exposure to moisture and air. Small glass jars or plastic containers with tight-fitting lids work well. If you buy yeast in bulk, divide it into portions and store them separately to avoid repeated exposure. For best freshness, keep yeast in the refrigerator or freezer, especially if you won’t use it within a few weeks. When stored properly, yeast retains its leavening power longer, ensuring your loaves rise tall and fluffy. Proper storage also helps preserve the potency of yeast, which is crucial for achieving optimal rise and texture in your bread. Always check the expiration date before use, and if you notice a bad smell or clumping, it’s time to replace it. Proper storage is key for perfect bread. Additionally, understanding electrical safety when handling appliances like bread makers can help prevent accidents in your kitchen. Properly stored yeast can also help reduce waste, saving you money and ensuring consistent baking results. To further enhance your baking success, consider monitoring room temperature during proofing to optimize yeast activity. Being aware of storage conditions can also contribute to maintaining yeast quality over time.
instant read thermometer for bread dough
As an affiliate, we earn on qualifying purchases.
As an affiliate, we earn on qualifying purchases.
Choosing the Right Yeast Type for Tall, Fluffy Loaves
To achieve tall, fluffy loaves, choosing the right yeast is vital, as different types offer varying levels of strength and fermentation characteristics. First, active dry yeast provides reliable fermentation, giving your dough enough elasticity to rise high. Second, instant yeast works faster and produces vigorous fermentation, resulting in a lighter texture. Third, fresh yeast delivers strong dough elasticity and ideal yeast fermentation, perfect for larger, taller loaves. Understanding these differences helps you select the best yeast for your desired rise. The right yeast enhances dough elasticity, allowing it to stretch without tearing. Additionally, understanding fermentation process can help you optimize your bread-making technique for taller loaves. Proper fermentation times directly influence the dough development and final loaf height. Knowing how different yeast types affect fermentation can help you choose the best option for your baking needs. Selecting the appropriate yeast type is a key step, as it impacts both the rise and texture of your bread, ultimately helping you achieve taller loaves.
proofing box for bread rising
As an affiliate, we earn on qualifying purchases.
As an affiliate, we earn on qualifying purchases.
When and How to Add Yeast for the Best Rise
Timing your yeast addition is key to a good rise, so you’ll want to add it at the right stage of mixing or kneading. Make sure your yeast is stored properly in a cool, dry place to keep it active and effective. Using the correct techniques, like warm water or precise measurements, helps guarantee your dough rises perfectly every time. Proper storage conditions are essential for maintaining yeast vitality and ensuring optimal fermentation.
Timing for Yeast Addition
Adding yeast at the right moment is crucial for achieving a perfect rise in your bread. Proper fermentation timing ensures your yeast activates effectively, producing the gas needed for a taller loaf. To enhance this, consider these steps:
- Add yeast before liquids: This prevents premature activation and allows even fermentation.
- Mix yeast with dry ingredients first: This helps control fermentation timing, ensuring yeast activates at the right moment.
- Activate yeast separately (if using active dry yeast): Dissolve it in warm water with a pinch of sugar, then add it once foamy, signaling ideal fermentation timing.
Proper Yeast Storage Methods
Ensuring your yeast is stored properly is essential for maintaining its potency and achieving the best rise in your bread. Check the yeast expiration date before use; expired yeast may not activate properly, resulting in a dense loaf. Store yeast in a cool, dry place, ideally in an airtight container, to prevent moisture and air exposure. For longer storage, keep yeast in the refrigerator or freezer, where lower storage temperature slows down yeast deterioration. This helps preserve its leavening power until you’re ready to bake. Always bring refrigerated or frozen yeast to room temperature before adding it to your dough, ensuring ideal activation. Proper Yeast storage techniques are crucial for maintaining freshness and maximizing rise potential. Additionally, understanding the yeast activation process can help you troubleshoot if your dough isn’t rising as expected. Proper storage methods keep your yeast fresh and potent, leading to taller, lighter loaves every time. Maintaining the correct storage conditions also minimizes the risk of contamination or spoilage.
Techniques for Optimal Rise
For the best rise, it’s crucial to introduce yeast at the right moment in your bread-making process. Proper timing ensures ideal yeast activation and dough fermentation, leading to taller loaves. To master this, consider these techniques:
- Add yeast early in the process, mixing it with warm liquid and a touch of sugar to jumpstart activation.
- Allow the dough to ferment in a warm, draft-free environment, giving yeast time to produce carbon dioxide.
- Avoid rushing the rise; patience during dough fermentation results in better volume and texture.
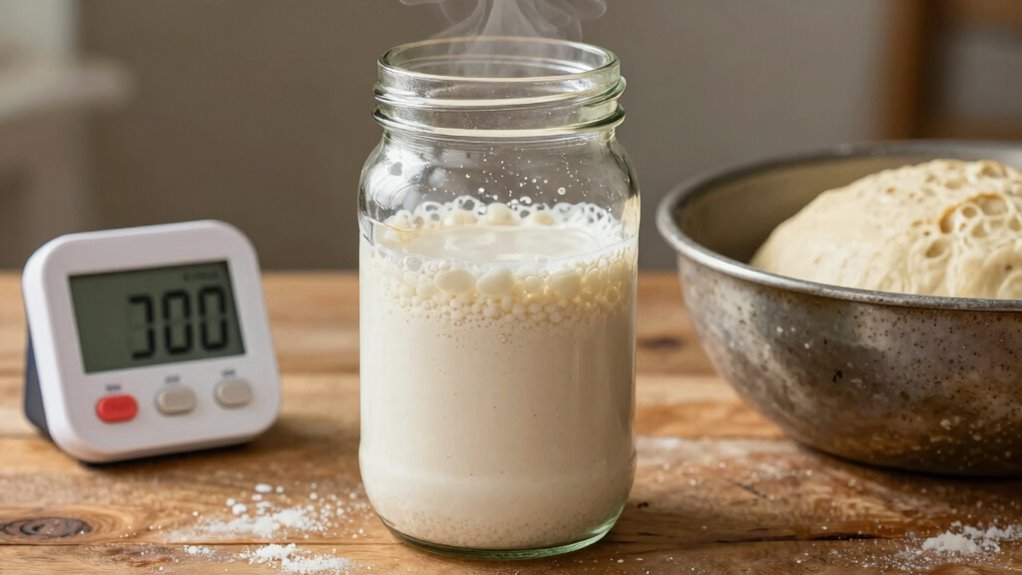
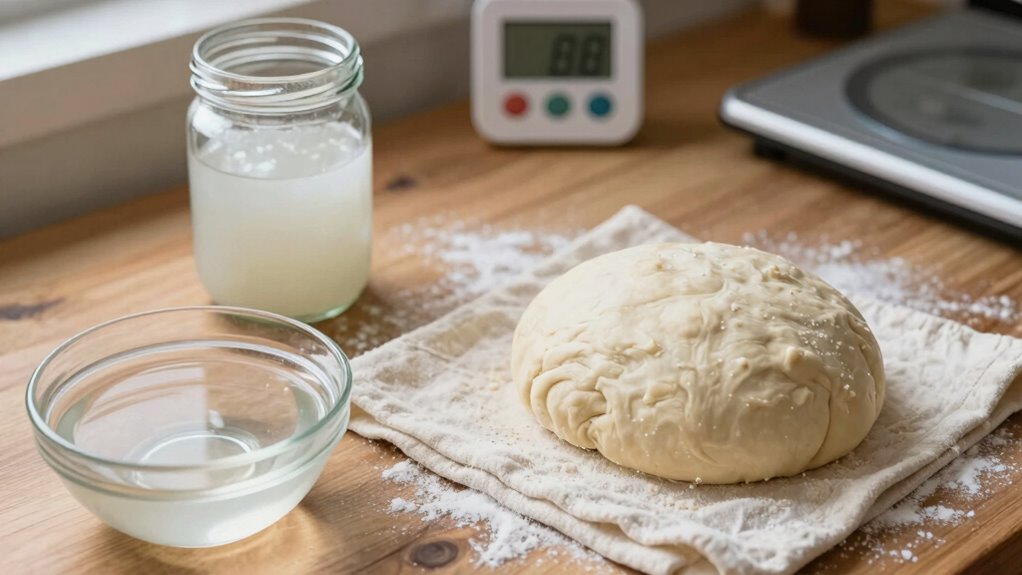
Temperature Tips for Activating Yeast and Raising Dough
The right temperature is essential when activating yeast and raising dough, as it directly affects how well the yeast ferments and how the dough rises. For ideal dough fermentation, aim for temperatures between 75°F and 80°F. Too cold, and yeast activity slows, preventing good oven spring; too hot, and you risk killing the yeast. To activate yeast, use warm water within this range to ensure lively fermentation. When raising dough, keep it in a warm, draft-free area to promote consistent rising. Maintaining proper temperature helps develop a strong gluten structure and guarantees taller, well-risen loaves. Additionally, understanding how temperature impacts yeast activity can help you fine-tune your baking process for optimal results. Remember, precise temperature control during these stages directly impacts the dough’s ability to ferment effectively and produce that desirable oven spring. Properly managing temperature consistency ensures your bread rises evenly and achieves the ideal texture. Consistent temperature management can also prevent over-proofing or under-proofing your dough, leading to better loaf quality.
Common Mistakes That Prevent Yeast From Rising and How to Avoid Them

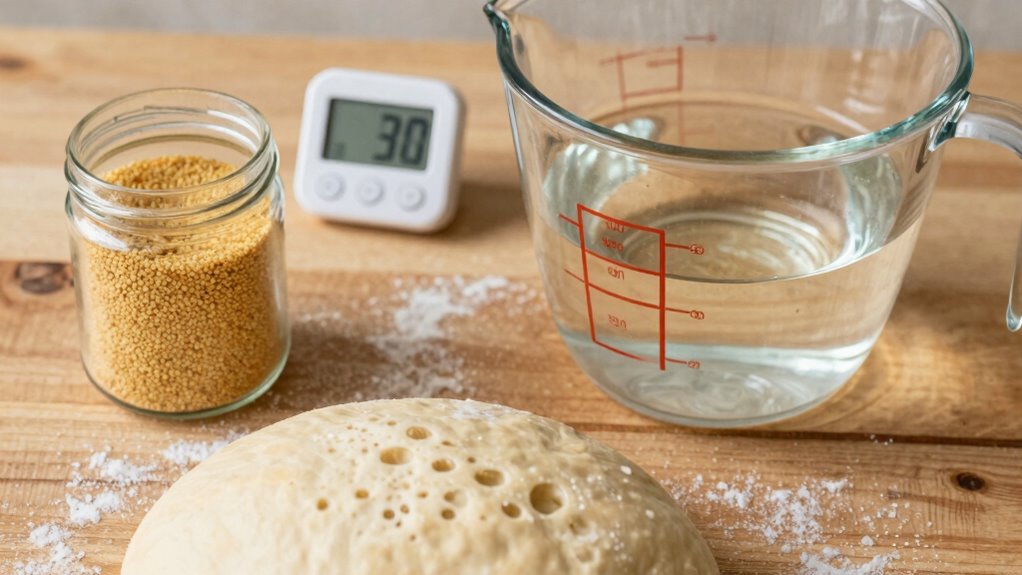
One common mistake that prevents yeast from rising is using water that’s too hot or too cold during activation. Temperature plays a vital role in yeast activation and dough fermentation. If the water is too hot, it kills the yeast; too cold, and activation slows or stops. To avoid this, consider these tips:
- Use water between 105°F and 110°F, ensuring proper yeast activation.
- Avoid overmixing or rushing dough fermentation, which can hinder rising.
- Check the yeast’s freshness — expired yeast won’t activate properly.
- Proper yeast storage is essential to maintain its effectiveness over time.
- Store yeast in a cool, dry place to preserve its potency and ensure consistent rising results.
- Maintaining proper temperature control during fermentation helps yeast function optimally.
Adjusting Yeast Amounts and Timing for Different Bread Recipes

Adjusting the amount of yeast and timing can make a big difference in your bread’s outcome. You might need to use more yeast for quick recipes or less for delicate loaves. Keep in mind that specific recipes often require tailored adjustments to get the best rise and texture. Incorporating considerations like Free Floating elements can help optimize fermentation times and loaf height.
Yeast Quantity Variations
Since yeast is the key leavening agent in bread making, adjusting its amount can substantially influence your results. Too much yeast can cause rapid rising and a yeasty flavor, while too little may result in dense loaves. Here are three tips for yeast quantity variations:
- Adjust yeast measurements based on the recipe and desired rise time—less for slow fermentation, more for quicker proofs.
- Consider storage techniques—keep yeast in an airtight container in the fridge or freezer to maintain freshness, especially if you buy in bulk.
- Experiment with small batches when modifying yeast amounts, so you can fine-tune the balance without risking large waste.
Timing Adjustments Needed
Modifying yeast amounts isn’t the only way to control bread rise; timing plays a vital role too. Adjusting the fermentation period allows you to influence how the dough develops, especially for taller loaves. Longer fermentation enhances yeast activity, giving the dough more time to achieve proper elasticity and rise steadily. If you’re working with a dough that’s too elastic or resists stretching, reducing fermentation time can prevent over-expansion and collapse. Conversely, extending the rise period helps develop structure in denser recipes. Keep an eye on your dough’s elasticity throughout the process. Proper timing ensures optimal yeast fermentation, which results in a well-shaped, tall loaf. Experiment with your bread machine’s timing settings to find the perfect balance for each recipe’s unique needs. Utilizing smart kitchen appliances can also help automate and monitor fermentation times for consistent results. Remember that ambient temperature also influences fermentation speed, so adjusting your environmental conditions can further refine your results. Additionally, understanding how yeast activity responds to different conditions can help you better predict and control your bread’s rise. Being aware of fermentation control techniques allows you to fine-tune the process for optimal loaf height.
Recipe-Specific Tips
Different bread recipes require tailored yeast amounts and timing to achieve the best results. Adjusting yeast guarantees proper fermentation, which affects yeast nutrition and bread texture. For taller loaves, consider these tips:
- Use slightly more yeast in recipes with dense ingredients to promote better rise and easier bread slicing.
- For recipes with added sugars or fats, reduce yeast slightly to prevent over-fermentation and preserve yeast nutrition.
- Alter proofing times based on the recipe; longer rises can develop flavor and structure but may affect timing for taller loaves.
Troubleshooting Flat or Dense Loaves: What Went Wrong?
When your bread turns out flat or dense, it’s often because something in the process went wrong, preventing the loaf from rising properly. Poor yeast fermentation is a common cause, which can result from expired yeast, incorrect temperature, or insufficient kneading. Additionally, improper ingredient ratios or overmixing can lead to increased bread density. Here’s a quick look at common issues:
| Cause | Solution |
|---|---|
| Yeast not fermenting | Use fresh yeast and ensure warm water activates it |
| Overmixing the dough | Mix just until ingredients combine; avoid overworking |
| Incorrect ingredient ratios | Follow recipe carefully for proper rise |
Pay attention to yeast activity and ingredient balance to troubleshoot effectively.
Tips for Consistently Baking Taller, Fluffier Bread With Your Bread Maker
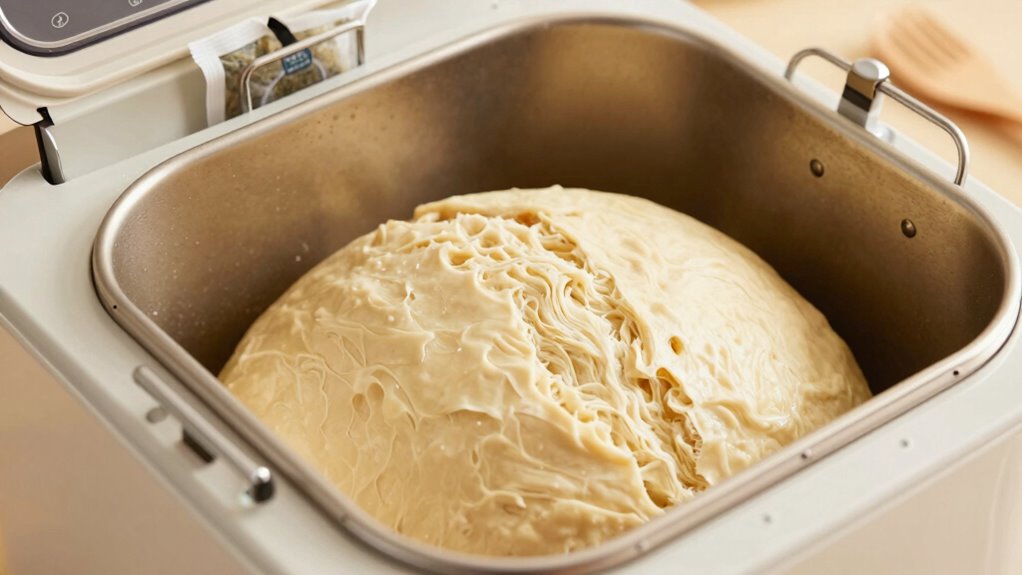
Achieving taller, fluffier bread with your bread maker often comes down to fine-tuning your technique and ingredients. To improve gluten development, consider these tips:
- Use bread flour instead of all-purpose flour for better structure.
- Slightly increase the kneading time to develop stronger gluten networks.
- Experiment with ingredient substitutions, like adding vital wheat gluten, to enhance elasticity and loft.
Proper gluten development traps more gas, giving your loaf height and fluffiness. Be careful not to overmix, which can break down gluten strands. Also, ensure your measurements are precise—accuracy impacts rise. By adjusting these factors, you’ll consistently produce taller, lighter loaves, making your baking results more satisfying and professional-looking.
Frequently Asked Questions
Can Adding More Yeast Always Lead to Taller Bread?
Adding more yeast doesn’t always lead to taller bread. While increasing yeast quantity can boost bread height, too much can cause over-fermentation, resulting in a dense texture or uneven rise. To get the best height, use the recommended yeast amount and guarantee proper proofing. Pay attention to your dough’s fermentation process, and you’ll achieve a taller, well-structured loaf without risking overly dense bread.
How Does Humidity Affect Yeast Performance and Loaf Height?
Did you know that humidity can influence yeast performance by up to 30%? Higher humidity levels improve yeast hydration, leading to better fermentation and taller loaves. When humidity control is off, yeast may struggle to activate properly, resulting in denser bread. To maximize height, keep your environment consistent, ensuring proper yeast hydration and stable humidity. This helps your dough rise excellently, producing the tall, airy loaves you desire.
Should I Adjust Yeast Amounts for Different Bread Types?
Yes, you should adjust yeast quantity for different bread types to achieve ideal bread texture. For denser breads like rye or whole wheat, increase yeast to help the dough rise properly. Conversely, for lighter breads like baguettes, use less yeast to prevent overproofing. Experiment with yeast amounts to find the perfect balance, ensuring your loaves have the desired height and texture every time.
Is It Better to Proof Yeast Separately or Directly in the Bread Maker?
It’s better to proof instant yeast directly in the bread maker, especially if you’re short on time. However, if you’re using cold proofing methods, you might prefer to activate the yeast separately in warm water first. This guarantees the yeast is active and helps your dough rise properly. Cold proofing can slow down fermentation, so proofing yeast separately gives you more control over the process and results in taller, fluffier loaves.
How Do Altitude Changes Influence Yeast Activation and Bread Rise?
Altitude effects can considerably influence yeast activation and bread rise. At higher elevations, the lower air pressure causes dough to rise faster, so you might need to reduce the amount of yeast or decrease rising times. Conversely, at lower altitudes, yeast activation may be slower, requiring longer proofing. Adjust your recipe accordingly by monitoring dough development, ensuring proper rise and tall loaves without over-proofing or under-proofing.
Conclusion
Think of your bread as a soaring kite — with the right yeast, timing, and care, it rises effortlessly, reaching new heights each time. When you master storage and activation, you’re guiding your dough like a skilled pilot, ensuring it takes flight with perfect height and fluffiness. Keep experimenting and adjusting, and soon, your bread will dance in the sky, a beautiful symbol of your patience and skill in every delicious, tall loaf you create.