To prevent LED strip lights from peeling, start by thoroughly cleaning the surface with alcohol wipes or a mild cleaner to remove dust, grease, and old paint. Smooth out uneven areas with sanding or scraping, and make certain the surface is dry before applying. For textured or uneven surfaces, use a primer or suitable adhesive to improve bonding. Proper surface prep is key to long-lasting adhesion—keep going to discover detailed steps for different surfaces and common issues.
Key Takeaways
- Clean the surface thoroughly with alcohol or a mild cleaner to remove dust, grease, and residues before installing LED strips.
- Sand rough or uneven surfaces to create a smooth, flat area for better adhesion of LED strip tape.
- Remove old paint, wallpaper, or peeling coatings to ensure a clean, stable surface free of bumps or debris.
- Use appropriate primers on challenging surfaces to improve adhesive bonding and prevent peeling over time.
- Confirm the surface is completely dry and free of dust or moisture before applying LED strip lights.

Armacost Lighting RibbonFlex Home 24V RGB+W Hardwire LED Strip Light Kit, Multicolor, 16 ft (423511)
Displays 25 preset colors, plus white; UL Listed
As an affiliate, we earn on qualifying purchases.
As an affiliate, we earn on qualifying purchases.
Why Surface Preparation Is Critical for LED Strip Adhesion
Proper surface preparation is essential to guarantee your LED strip lights stick firmly and stay in place. The surface texture plays a significant role; smooth, clean surfaces ensure better adhesion, while rough or uneven textures can cause peeling or detachment. When dealing with paint types, oil-based paints tend to create a more durable surface, but they also require thorough cleaning before applying adhesive. Water-based paints are easier to clean but may not provide as strong a bond if not properly prepared. You need to remove dust, grease, or residues that can weaken adhesion. By understanding your surface’s texture and paint type, you can choose the right cleaning and prep methods, ensuring your LED strips stay securely attached for the long run. Additionally, considering the contrast ratio of your surrounding environment can help optimize the visual impact of your LED lighting setup. Proper surface testing can also help identify potential adhesion issues before installation, especially when working with various surface materials that may react differently to adhesives. Conducting a surface adhesion test prior to installation can save time and prevent future peeling problems.

CURAD Alcohol Prep Pads (Pack of 4 Boxes), 400 Pieces of Medium Isopropyl Alcohol Wipes Individually Wrapped, First Aid Alcohol Swabs for Cuts & Scrapes, Medical Alcohol Pads for General Cleansing
Curad Alcohol Prep Pads are thick to provide excellent cleansing action
As an affiliate, we earn on qualifying purchases.
As an affiliate, we earn on qualifying purchases.
Essential Tools and Materials for Surface Prep
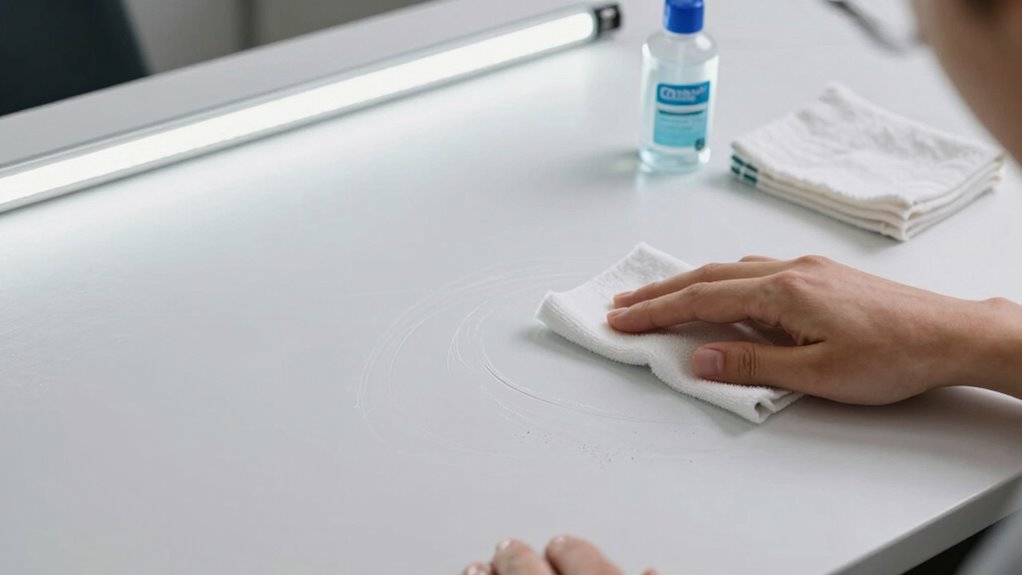
To guarantee your surface is ready for LED strip installation, you’ll need the right tools and materials to effectively clean and prepare the area. First, gather a clean cloth or microfiber towel to remove dust and debris. Second, use a mild cleaner or alcohol-based solution to ensure adhesive compatibility and remove grease or residue. Third, if paint removal is necessary, have a plastic scraper or gentle sanding tools on hand to smooth surfaces without damaging the wall. Additionally, ensuring the surface is free of dust, grease, and loose paint helps create a clean, smooth surface that promotes strong adhesion. Confirming the area is free of dust, grease, and loose paint prevents peeling and ensures your LED strips stay securely in place. Proper surface prep is essential for a long-lasting, professional-looking installation.

9" Drywall Sander with 360° Swivel Head – Premium Manual Hand Sander for Walls & Ceilings – Hook & Loop Sanding Pad for Smooth Wall Cleaning, Polishing & Drywall Repair
Versatile Sanding Tool – This 9-inch drywall pole sander is perfect for large-area sanding, making it ideal for…
As an affiliate, we earn on qualifying purchases.
As an affiliate, we earn on qualifying purchases.
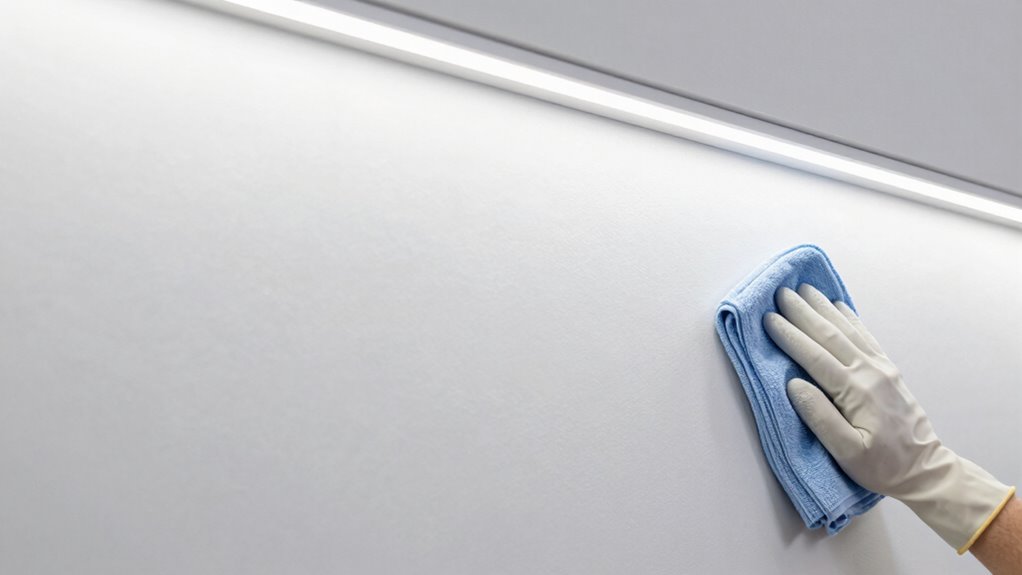
How to Clean and Smooth Walls, Cabinets, and Surfaces for LED Strips

Before installing LED strip lights, you need to make certain your surfaces are clean and smooth. Start by removing any old paint or wallpaper, as peeling or uneven layers can cause the adhesive to fail. For paint removal, use a scraper or chemical remover to get rid of flaking or rough patches. When stripping wallpaper, carefully peel it off, ensuring no remnants remain that could create bumps or texture. Once the surface is free of loose materials, wash the area with a mild cleaner to eliminate dust, grease, or residue. Dry thoroughly to prevent moisture from affecting adhesion. Smoothing out imperfections with fine-grit sandpaper ensures a flat, even surface, making your LED strip installation long-lasting and neat. Additionally, performing a quick surface test can verify that your prepared area maintains proper adhesion over time.

Zinsser 286258 Bulls Eye 1-2-3 All Surface Primer, Quart, Gray
Interior/Exterior use on new or previously painted drywall, concrete, wood, masonry, metal and glossy or difficult surfaces
As an affiliate, we earn on qualifying purchases.
As an affiliate, we earn on qualifying purchases.
Step-by-Step Guide to Preparing Different Surfaces for LED Strips
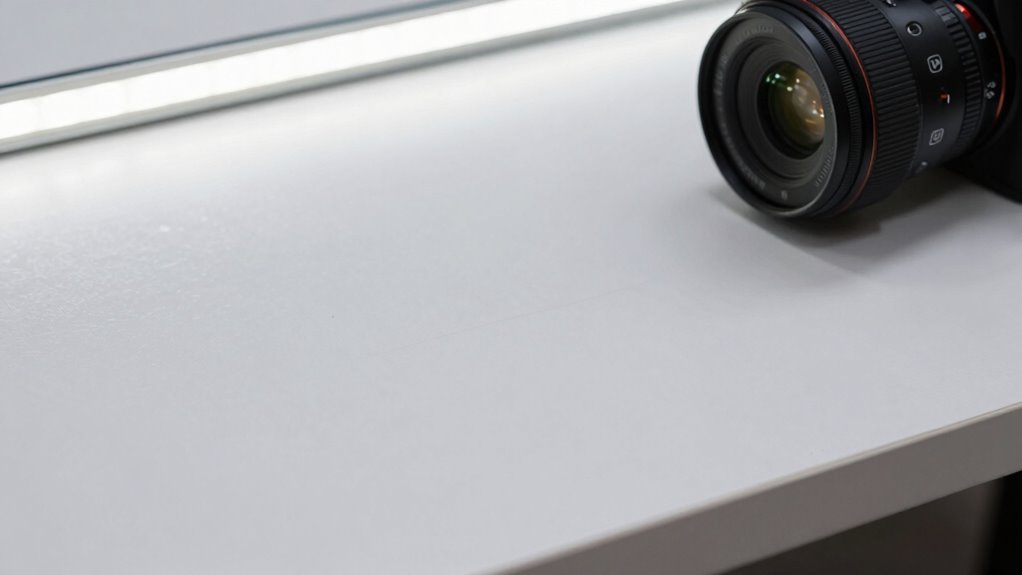
Preparing different surfaces for LED strip lights involves specific steps to guarantee ideal adhesion and a clean finish. First, identify the mounting options suitable for your surface texture—smooth, textured, or uneven. For smooth surfaces, cleaning with alcohol-based wipes is usually enough. For textured or uneven surfaces, consider sanding or applying a primer to create a more uniform base. Next, ensure your surface is completely dry and free of dust, grease, or debris. Proper surface preparation helps prevent peeling and ensures long-lasting LED installation. Additionally, choosing the right adhesive or mounting method tailored to your surface type can significantly improve the durability of your LED strips. When selecting adhesives, consider surface compatibility to ensure proper bonding and longevity. Using an appropriate surface primer can also enhance adhesion on challenging surfaces and extend the life of your LED installation. Applying the correct surface preparation techniques can further optimize adhesion and prevent future issues. Finally, select an appropriate adhesive or mounting channel that fits your surface and lighting needs.
Troubleshooting Peeling, Bubbling, and Adhesion Problems After Prep
Even with thorough surface preparation, you might encounter peeling, bubbling, or adhesion issues when installing your LED strip lights. Adverse surface conditions, like roughness or unevenness, can hinder proper sticking. Sometimes, improper primer application leads to weak bonds, causing problems later. To troubleshoot, check if the surface is clean, dry, and smooth. If bubbles appear, gently lift the strip and reapply pressure, ensuring no debris remains. Peeling often results from insufficient primer or poor surface prep. Use a high-quality primer suited for your material, and ensure it’s fully dry before applying the LED strip. Additionally, understanding proper surface prep techniques can help prevent these issues before they start, as proper surface preparation is crucial for long-lasting adhesion. Moreover, selecting the right adhesion promoter can significantly improve the durability of your installation. Being aware of surface conditions can help you identify potential problems early and choose the best preparation methods.
Frequently Asked Questions
How Long Should I Wait After Surface Prep Before Installing LED Strips?
You should wait at least 24 hours after surface prep before installing LED strips to make certain proper adhesion curing. During this time, let the surface dry completely, avoiding any moisture or dust that could compromise adhesion. This waiting period allows the surface to fully dry and the adhesive to cure, ensuring your LED strips stay securely in place and prevent peeling. Patience now means a longer-lasting, better-looking installation.
Can I Use Household Cleaning Products for Surface Cleaning?
Think of your surface like a clean canvas—household cleaners can leave residues that cause your LED strips to peel. It’s best to avoid harsh chemicals and stick with isopropyl alcohol or specialized cleaners. Household cleaning products often contain residues or oils that compromise adhesion. Always rinse thoroughly and let the surface dry completely before installation, ensuring your LED strips stay firmly in place and look great for years.
Are There Any Surfaces Unsuitable for LED Strip Installation?
You should avoid installing LED strip lights on textured surfaces, as they can prevent proper adhesion and cause peeling. Smooth surfaces are ideal because they allow the adhesive to stick firmly. If you try to place them on uneven or rough textures, the tape may not stay in place. Always clean and dry the surface thoroughly before applying the lights, and steer clear of surfaces that can’t be cleaned well or are too irregular.
What Environmental Conditions Affect LED Strip Adhesion Longevity?
Environmental conditions like high humidity and temperature fluctuations can considerably impact your LED strip’s adhesion longevity. You should maintain humidity control and ensure temperature stability in the installation area. Excess moisture can weaken the adhesive, causing peeling, while extreme temperature changes can cause the adhesive to expand or contract, reducing its grip. Keep the environment consistent and dry for the best results, ensuring your LED strips stay securely in place longer.
How Often Should I Re-Apply Surface Prep for Ongoing Adhesion?
A stitch in time saves nine, so you should re-apply surface prep every six months to guarantee ongoing adhesion. Regular surface maintenance and adhesion testing help catch any loosening early. If you notice peeling or reduced brightness, it’s time for a fresh prep. Staying proactive keeps your LED strip lights sticking strong, saving you effort and ensuring a sleek look for your space.
Conclusion
Think of surface prep like laying a solid foundation for a house—without it, everything else can crumble. When you take the time to clean and smooth your surfaces, you’re creating a perfect canvas for your LED strip lights to stick and shine brightly. Skipping or rushing this step is like building on quicksand—peeling and bubbling will follow. Invest in proper prep, and your LEDs will stay put, lighting up your space beautifully and reliably.