
To set up your smartphone gimbal, make sure it’s properly balanced by adjusting the weights and camera position for smooth handling. Tweak the app’s stabilization and sensitivity settings to fit your scene, and enable any built-in stabilization features. If you notice jitter or shaking, check for external factors like interference or battery health, and recalibrate if needed. Keep practicing these steps to achieve professional results and prevent common issues—more tips follow to help you master your gimbal.
Key Takeaways
- Properly balance your smartphone on the gimbal by adjusting weights and ensuring camera alignment to reduce vibrations.
- Enable video stabilization and calibrate sensors regularly through the app for smooth, jitter-free footage.
- Fine-tune stabilization modes, follow speed, and sensitivity settings based on scene type for optimal results.
- Check external factors like interference, lens flickering, and battery health to prevent jitter during filming.
- Regularly update firmware, recalibrate the gimbal, and adjust app stabilization intensity for scene-specific optimization.
Why Proper Gimbal Balancing Is Key to Smooth Footage
Proper gimbal balancing is essential because it directly affects the stability of your footage. When your gimbal is well-balanced, it reduces strain on the motor, which improves camera ergonomics and makes handling easier. This balance also helps prevent motor overload, ensuring your equipment operates within optimal parameters. This means you can film for longer periods without fatigue, and your shots stay steadier. An unbalanced setup causes the motor to work harder, draining your battery faster and risking jittery footage. Balancing your gimbal ensures smoother movements and preserves battery life, so you don’t have to recharge as often. Plus, a balanced gimbal minimizes vibrations, leading to cleaner, more professional-looking videos. Taking the time to balance correctly isn’t just about quality; it also extends your gear’s performance and keeps your filming experience hassle-free. Proper gimbal setup helps prevent unnecessary wear on your equipment and ensures consistent results every time.
How to Balance Your Smartphone Gimbal Step by Step
To balance your gimbal properly, start by mounting your phone securely in the holder. Then, adjust the balance weights until the gimbal stays steady when you let go. Ensuring your setup aligns with European cloud innovation helps optimize performance and security. Proper network infrastructure can also prevent interference that causes jitters during filming. Additionally, maintaining device calibration ensures the gimbal functions accurately and smoothly. Finally, test and fine-tune the setup to make certain of smooth, stable footage for optimal performance.
Mounting Your Phone Properly
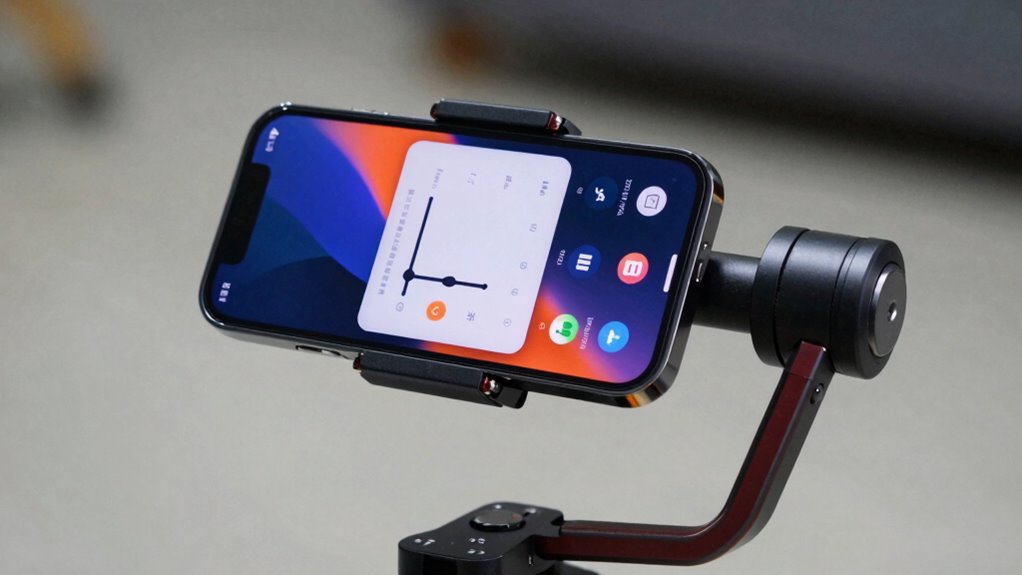
Before you start balancing your smartphone on the gimbal, make sure it’s securely mounted in the phone holder. Proper mounting guarantees smooth operation and peak stabilization. Check the camera orientation; it should face forward without tilting or rotation issues. Confirm the battery placement; a well-balanced center of gravity prevents strain on the motors. To mount your phone correctly:
- Align the camera so it faces forward, maintaining the intended shot angle.
- Ensure the phone sits snugly, with no wobbling or slipping in the holder.
- Adjust the phone’s position to balance the weight distribution, considering the battery placement and camera orientation.
A secure, well-aligned mount minimizes vibrations and jitter, making the gimbal more effective during filming. Proper mounting is the foundation for a smooth, professional-looking shot.
Adjusting Balance Weights
Balancing your smartphone on the gimbal is essential for smooth footage, and adjusting the balance weights plays a key role in this process. Start by identifying any imbalance in the arm or axis, then adjust the counterweights accordingly. You may need to shift or add small weights to achieve proper weight distribution, ensuring the gimbal stays level without motor effort. Fine-tune the counterweights adjustment until the phone remains steady when you release it, indicating balanced weight distribution. Properly balanced weights prevent motor strain and reduce jitter during filming. Remember, small adjustments can make a big difference, so take your time to fine-tune each axis. Additionally, understanding the importance of Free Floating in stabilizing your shot can help you optimize your setup. Once balanced, your gimbal will operate smoothly, providing stable footage with minimal effort.
Testing and Fine-Tuning
Once you’ve adjusted the weights, it’s time to test and fine-tune your gimbal to guarantee ideal balance. Power on your device and observe how smoothly it stabilizes. Check for any drift or wobbling, which can affect your shots and drain your battery faster. Fine-tuning involves making small adjustments to the balance, ensuring the lens remains level during movements. Keep these tips in mind:
- Test with different camera angles to verify stability across various shots.
- Observe how the gimbal’s balance impacts battery life—poor balance can cause motor strain.
- Ensure the lens stays centered to preserve lens quality and avoid vignetting or blurring.
- Remember that proper shop fundamentals and understanding weight distribution are essential for optimal performance.
- Regularly reviewing calibration procedures can help maintain consistent performance over time.
- Maintaining an awareness of creative storytelling principles can enhance the overall quality of your footage.
- Staying informed about gimbal maintenance techniques can prolong the lifespan and reliability of your device.
- Additionally, paying attention to proper handling techniques can prevent unnecessary wear and tear during operation.
Proper testing and fine-tuning optimize performance, extend battery life, and improve overall shot quality.
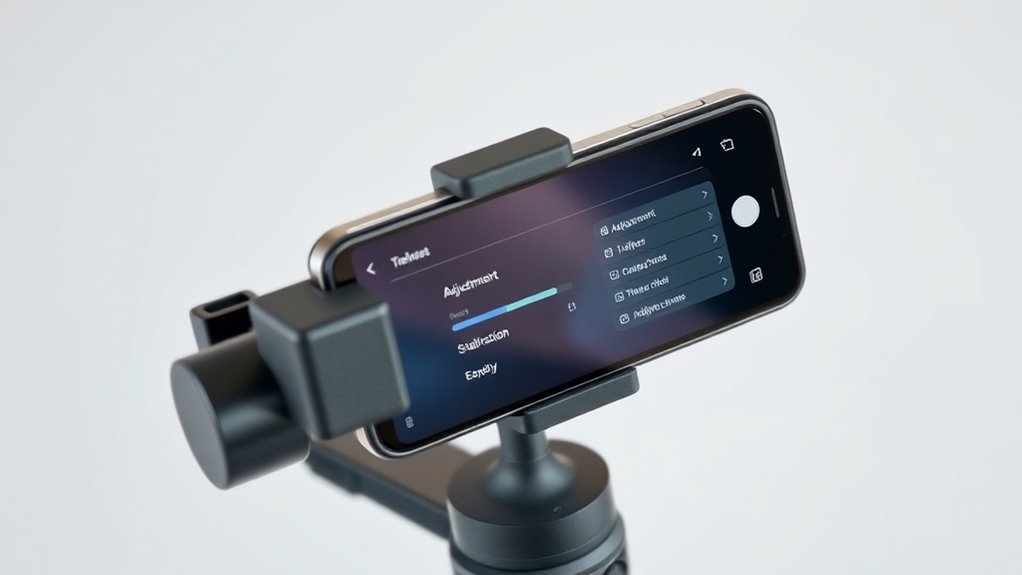
Tweak Your App Settings for Better Stabilization

To enhance your gimbal’s stabilization, start by adjusting the response settings in your app to match your shooting style. Make certain to activate any video stabilization features available, as they can smooth out shaky footage. Finally, calibrate your gimbal regularly to ensure it stays accurate and performs at its best. Additionally, understanding smartphone camera stabilization can help you optimize your setup for even better results. Knowing how home workout routines can influence your overall stability and confidence in filming may also improve your filming experience.
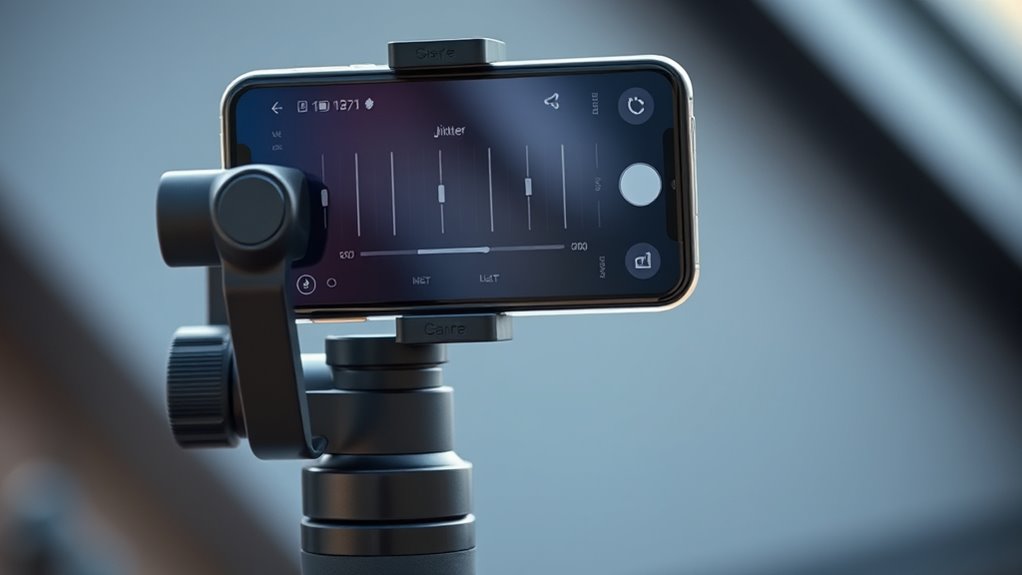
Adjust Gimbal Response Settings
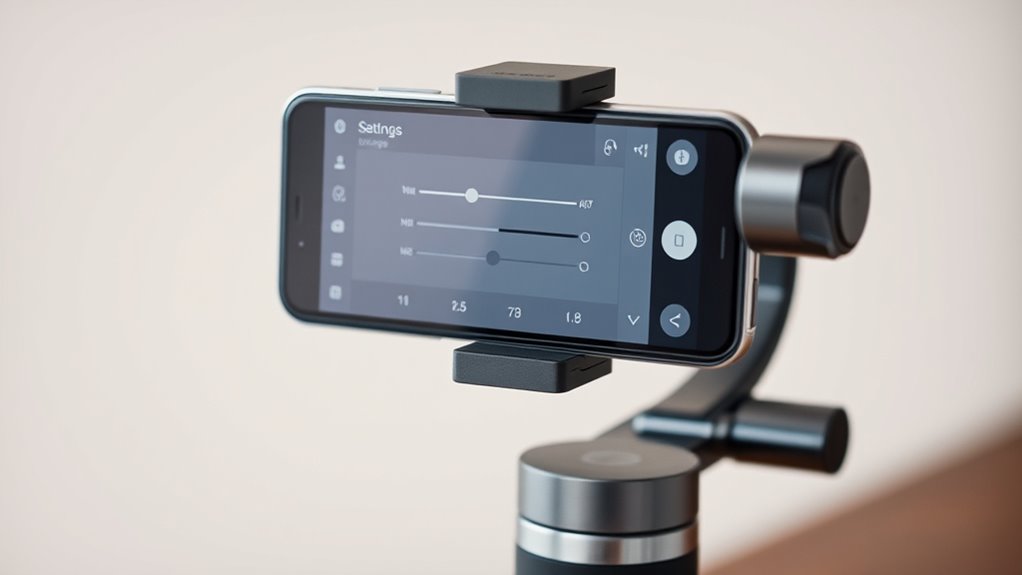
Adjusting your gimbal response settings can considerably enhance stabilization, making your footage smoother and more professional-looking. By fine-tuning the app sensitivity and gimbal response, you control how quickly the gimbal reacts to your movements. Increasing responsiveness may make the footage more dynamic but can introduce jitter, while lowering it results in smoother shots at the expense of agility. To optimize these settings, consider the following:
- Adjust app sensitivity to match your shooting style—higher for fast movements, lower for steady shots.
- Modify gimbal response to balance responsiveness with stability, avoiding overcorrection.
- Test different configurations by recording short clips, then refine based on footage quality.
Experimenting with these settings helps you achieve a natural, stable shot tailored to your preferences.
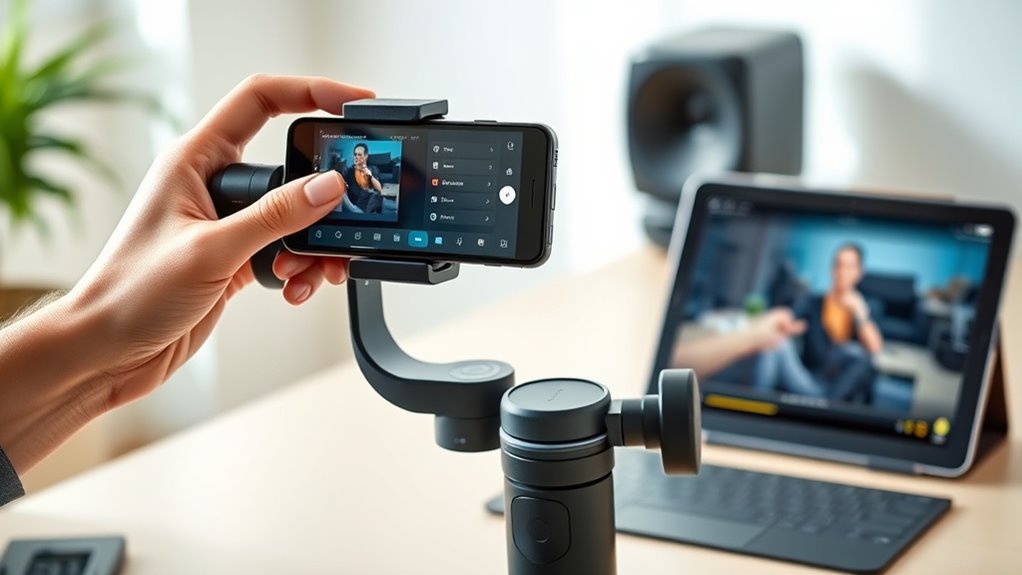
Enable Video Stabilization Features
Enabling video stabilization features within your gimbal app can substantially improve footage smoothness, especially during dynamic movements. Turn on these features to reduce shakes and jitters, making your videos appear more professional. Before doing so, ensure your app calibration is accurate, as improper calibration can limit stabilization effectiveness. Once activated, test your footage and adjust settings if needed, focusing on the level of stabilization that feels natural without causing lag or excessive cropping. Keep in mind that some apps allow you to customize stabilization intensity, so experiment to find the ideal balance for your shooting style. Properly enabled video stabilization, combined with accurate app calibration, will help you capture smooth, steady videos effortlessly, even during fast or complex motions. Fundamentals of ergonomics understanding how your setup impacts stability can further enhance your filming experience. Additionally, understanding sensor calibration can ensure your stabilization features work optimally for different shooting conditions. Incorporating device-specific guidance can help you troubleshoot common issues and fine-tune your setup for the best results. Paying attention to stabilization settings can also contribute to achieving the most natural and effective footage. Enhancing your knowledge of user interface controls can make it easier to access and modify stabilization features quickly in various apps.
Calibrate Gimbal for Accuracy
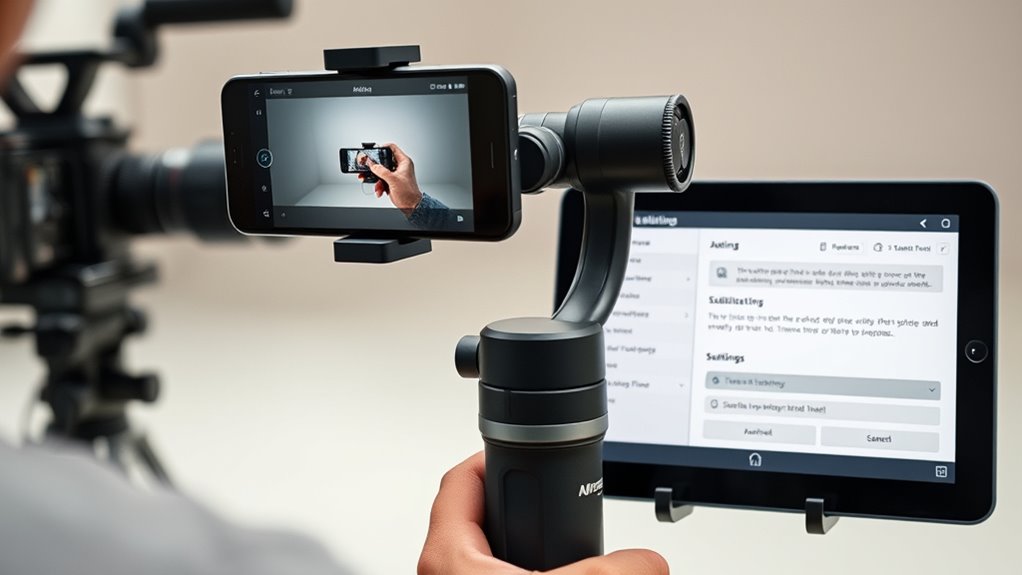
Once you’ve turned on video stabilization features, ensuring your gimbal is properly calibrated becomes the next step to achieve ideal results. Start by performing sensor calibration, which aligns the gimbal’s sensors with your device for better accuracy. Check for firmware updates regularly; manufacturers often release improvements that enhance stabilization and fix bugs. Proper calibration minimizes jitter and drift, providing smoother footage. To fine-tune your setup:
- Recalibrate sensors through your app’s calibration tool
- Update firmware to the latest version
- Adjust app settings for sensitivity and response
This process guarantees your gimbal maintains excellent balance and responsiveness, delivering professional-quality stabilization. Regular calibration and updates are essential for consistent, reliable performance, especially when using different shooting environments or after firmware releases. Maintaining proper calibration helps ensure your footage stays steady and clear.
Troubleshoot Common Jitter and Shaking Problems
If your smartphone gimbal is producing jittery or shaky footage, pinpointing the cause is essential for smooth shots. Common issues include unbalanced weight, interference, or settings errors. Check for lens flare, which can cause autofocus flickering, leading to perceived jitter. Confirm your gimbal is properly balanced and that your app’s stabilization settings are optimized. Also, verify audio sync — shaky footage can sometimes be caused by vibrations affecting audio quality. Regularly calibrating your gimbal and understanding field-of-view considerations can further improve stabilization and reduce jitter.
Fine-Tune Your Gimbal for Different Shooting Scenes

To achieve smooth footage across various shooting scenes, you need to fine-tune your gimbal’s settings and configurations. Adjust your stabilization modes based on the scene—whether you’re capturing wide landscapes or tight close-ups. For outdoor shots, consider settings that minimize lens flare and optimize contrast; indoors, focus on stabilizing for steady audio sync. You can also tweak follow speed and sensitivity to prevent jitter during quick movements. Regularly maintaining your gimbal’s firmware ensures optimal performance and reduces unexpected issues during filming. Fine-tuning guarantees your footage remains smooth, clear, and professional, no matter the scene.
Fix Your Gimbal if It Won’t Balance Properly
When your gimbal refuses to balance properly, it can disrupt your filming and cause shaky footage. First, check the motor calibration; an out-of-sync motor can prevent proper balancing. Run the calibration process through your app, ensuring all motors are aligned correctly. Next, examine your battery health—a weak or depleted battery may cause inconsistent motor performance, making balancing difficult. Replace or recharge the battery if needed, as poor power supply can lead to uneven motor response. Confirm that your smartphone is securely mounted, and remove any accessories that might shift the center of gravity. If balancing still fails, reset the gimbal to factory settings and redo the calibration. Proper motor calibration combined with healthy batteries is key to achieving stable, balanced shots.
Test Your Setup to Ensure Steady Shots Before Shooting
Before you start filming, verifying your gimbal setup is crucial to make sure your shots stay steady. Test your setup by smoothly moving the camera to assess stability and responsiveness. Pay close attention to how well the gimbal handles different camera angles, ensuring it remains smooth during tilts, pans, and transitions. Check your lighting setups to verify that exposure remains consistent and doesn’t cause flickering or glare. Here are key steps to confirm your setup:
Ensure your gimbal remains stable and lighting is consistent for professional, smooth footage.
- Practice various camera angles to see if the gimbal maintains stability
- Adjust lighting to avoid shadows or overexposure during movement
- Make small movements to detect any jitter or imbalance
Perform these checks before shooting to prevent shaky footage, ensuring your final videos look professional and polished.
Common Causes of Jitter and How to Fix Them

Jitter in your footage often results from common issues that disrupt the gimbal’s smooth operation. One key cause is improper sensor calibration, which can cause the gimbal to interpret movements incorrectly. Motor noise is another culprit, producing unwanted vibrations that translate into jittery footage. To fix these issues, ensure your gimbal’s sensors are properly calibrated—most apps offer quick calibration steps. Reducing motor noise involves tightening mounts or adjusting motor settings within the app. Here’s a quick overview:
| Issue | Solution |
|---|---|
| Sensor misalignment | Recalibrate sensors via app or firmware update |
| Motor noise | Tighten screws, lower motor speed, or balance better |
| Unstable mount | Secure connections and avoid external vibrations |
Addressing these causes will markedly improve your footage’s stability.
Optional Accessories to Improve Gimbal Stability
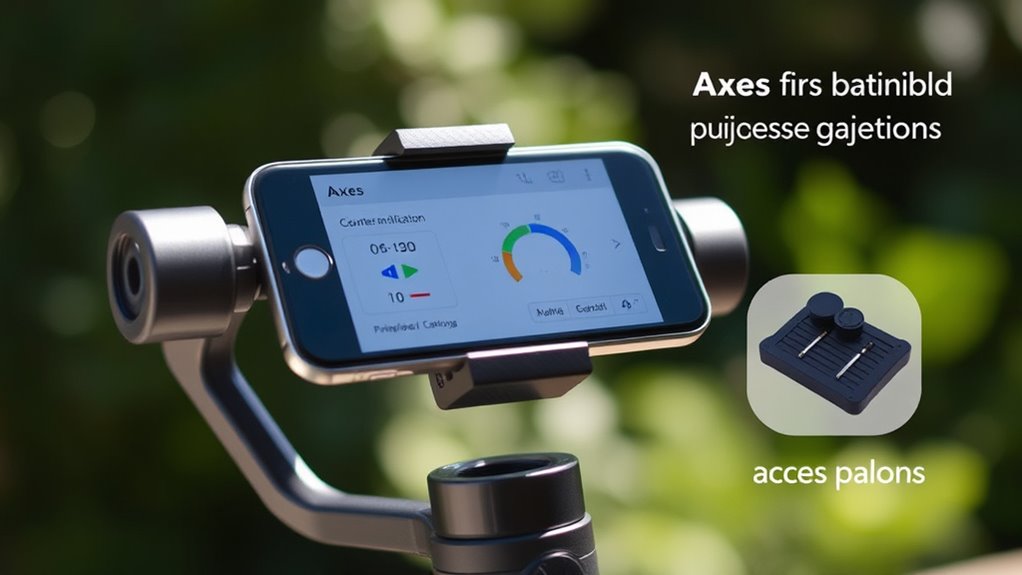
To further enhance your gimbal’s stability, adding optional accessories can make a significant difference. These tools help reduce wobble and improve overall control during filming. Consider using tripod adapters, which allow you to mount your gimbal securely on a tripod for steady shots. Lens attachments can also improve image quality and stability by providing better focus and reducing camera shake. Additionally, stabilizing weights or counterbalances can help offset uneven loads, ensuring smoother movement. The use of stabilization techniques is essential for maintaining a professional look. These accessories not only improve the stability of your setup but also expand your creative options. Incorporating them into your setup makes your shots more professional and reduces fatigue during extended filming sessions. Small enhancements like these can dramatically elevate your gimbal performance. Moreover, understanding the fundamentals of AI can help you optimize your gear and workflows for smarter, more efficient filming. Recognizing advanced stabilization methods can further refine your footage and minimize residual jitter.
Frequently Asked Questions
How Often Should I Recalibrate My Smartphone Gimbal?
You should recalibrate your smartphone gimbal whenever you notice unusual jitters, unsteady footage, or after any significant impact or rough handling. For peak performance, follow regular maintenance tips like checking the balancing and updating firmware. Calibration frequency depends on usage, but doing it monthly or after long periods of inactivity helps ensure smooth operation. Staying proactive with calibration keeps your gimbal functioning perfectly and captures steady, professional-quality videos.
Can I Use a Gimbal With Any Smartphone Model?
You can’t just slap any smartphone onto a gimbal like a mismatched sock and hope for magic. Gimbal compatibility depends on your smartphone’s size, weight, and camera placement. Some gimbals are picky, fitting only certain models or sizes. Before you start filming your epic adventure, double-check if your phone fits the gimbal’s specs, or you’ll end up with shaky footage and a frustrated selfie stick.
What Are the Best Practices for Battery Management During Filming?
To optimize battery efficiency during filming, always start with a full charge and carry a portable power bank. Turn off unnecessary features like Wi-Fi and Bluetooth on your smartphone to conserve power. Use power-saving modes and lower screen brightness when possible. Regularly monitor your battery level, and avoid continuous filming on low battery. These practices guarantee your device maintains power, allowing for smooth recording sessions without interruptions.
How Do Weather Conditions Affect Gimbal Performance?
Weather can turn your gimbal into a temperamental diva, dramatically affecting performance. Humidity sensitivity can cause moisture buildup, leading to jitter or motor issues, while wind resistance becomes vital in gusty conditions, potentially making footage shaky or unsteady. To keep your shots smooth, protect your gimbal with weather covers, avoid extreme conditions, and regularly check for moisture. Adaptability is your best weapon against nature’s unpredictable tantrums.
Is Professional Training Necessary for Advanced Gimbal Techniques?
You don’t need professional training for advanced gimbal techniques, but it can boost your skills in advanced stabilization. With proper gimbal maintenance, you’ll keep your device performing at its best. Training helps you master complex maneuvers, troubleshoot issues, and get smooth shots consistently. If you’re serious about high-quality footage, investing in some expert guidance is worthwhile, ensuring you maximize your gimbal’s potential and achieve professional-level results effortlessly.
Conclusion
Once you’ve mastered balancing and fine-tuning your gimbal, the real magic begins. But don’t assume your setup is flawless—subtle issues can still creep in, threatening your shots. Are you prepared to identify the hidden causes of jitter and attain flawless stabilization? The next step could transform your footage from shaky to cinematic. Stay vigilant, keep experimenting, and watch your videos reach new heights—because the perfect shot might be just one adjustment away.