
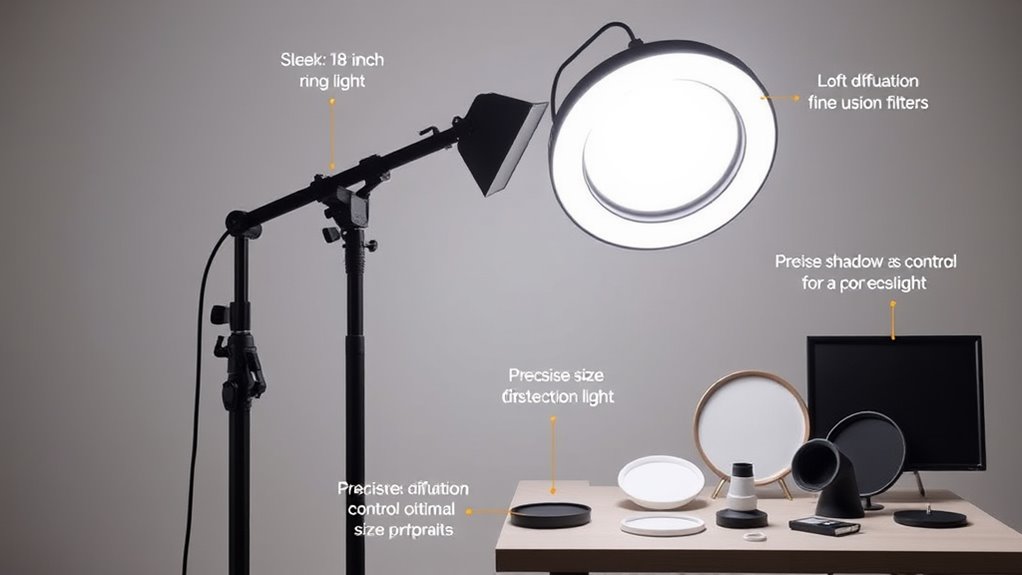
To master ring light size, diffusion, and shadow control, you need the right setup for your photography goals. Larger rings provide softer, more even lighting, ideal for portraits and product shots, while smaller ones offer more control for close-ups. Proper diffusion reduces harsh shadows and hot spots, so choose materials like acrylic or fabric based on your softness needs. Position your light carefully, using accessories to refine shadows. Keep experimenting, and you’ll discover how each element enhances your images—if you continue exploring, you’ll learn even more.
Key Takeaways
- Choosing the right ring light size depends on your photography needs, such as close-ups or full-body shots.
- Diffusion materials like fabric or acrylic impact light softness, shadow reduction, and overall image quality.
- Proper light positioning and diffusion control minimize harsh shadows and ensure flattering, even illumination.
- Larger ring lights provide softer, more even light, ideal for professional portraits and product photography.
- Adjusting diffusion and light distance helps customize light quality, contrast, and color temperature for optimal results.
How to Choose the Right Ring Light Size for Your Photography Needs
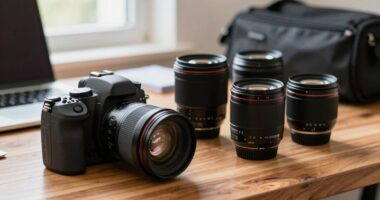
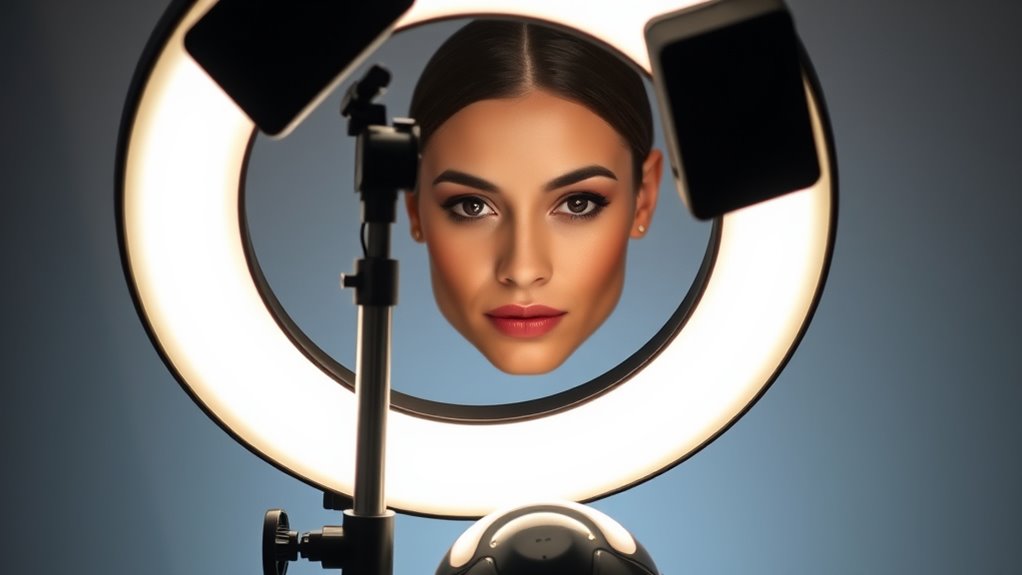
Choosing the right ring light size depends largely on your photography needs and the type of shots you want to achieve. If you prefer close-up portraits or detailed makeup work, a smaller, more portable ring light with adjustable color temperature offers convenience and control. Larger ring lights provide broader, more even illumination, ideal for full-body shots or group photos. Consider power options too; some lights have built-in rechargeable batteries, giving you flexibility on location, while others require wall outlets. The size influences how the light disperses and the intensity you can attain, so think about your workspace and shooting style. Matching the ring light size with your desired color temperature and power setup ensures excellent lighting, making your photos look professional and well-lit. Additionally, understanding light diffusion can help you achieve softer, more flattering illumination for your subjects. A well-chosen size also impacts the shadow control, allowing you to manage shadows effectively for a more polished look.
How Ring Light Diffusion Affects Softness and Light Quality
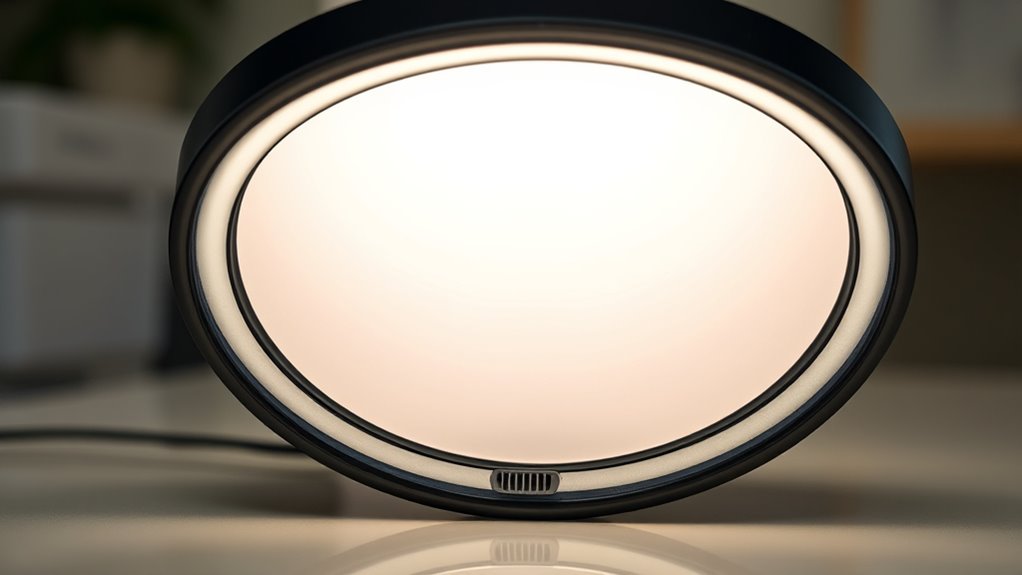
The diffusion material you choose can considerably boost light softness and improve overall light quality. Different types of diffusion, like fabric or plastic, affect how evenly the light spreads and how many shadows appear. Mastering shadow reduction techniques and selecting the right diffusion helps you achieve professional, flattering results. Additionally, understanding light behavior allows you to optimize diffusion choices for different shooting conditions and desired effects. Recognizing how diffusion materials influence light dispersion enables more precise control over shadow softness and contrast. The type of diffusion material also impacts the light’s color temperature, which is crucial for achieving accurate skin tones and color reproduction. Moreover, selecting appropriate diffusion can help manage glare and reduce harsh reflections, enhancing overall image quality. Being aware of light diffusion principles can further refine your lighting setups and improve your overall photography or videography outcomes.
Light Softness Enhancement
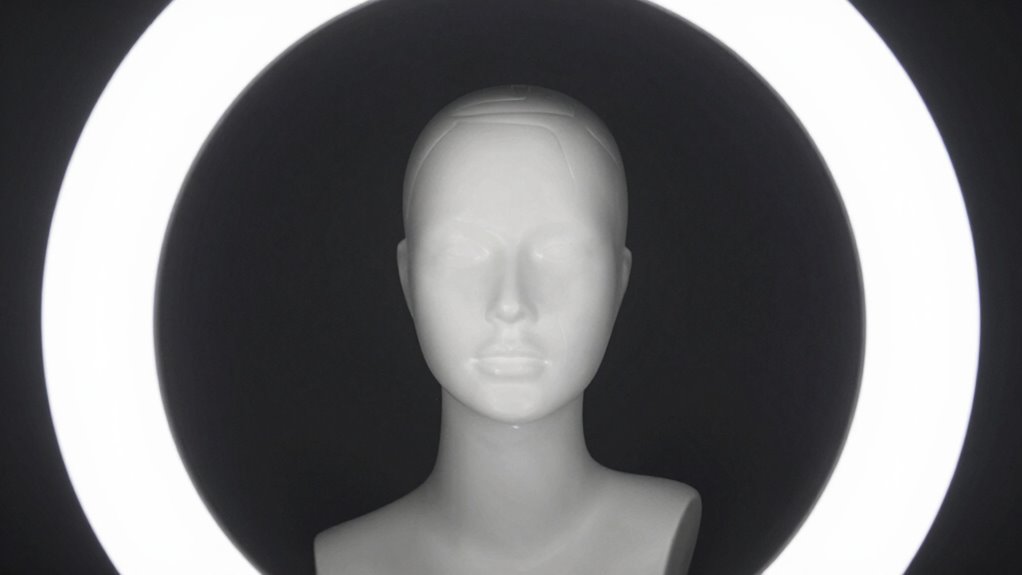
Ever wondered how the diffusion properties of a ring light influence the softness and overall quality of your light? When diffusion is optimized, it spreads light evenly, reducing harsh shadows and creating a smooth, gentle glow. This effect enhances softness, making your skin appear more natural and your features more flattering. Adjusting color temperature ensures your light matches the mood or environment, further improving overall light quality. Power regulation allows you to fine-tune brightness without sacrificing diffusion integrity, maintaining consistent softness. The right diffusion setup ensures the light is neither too harsh nor too flat, giving you control over the softness level and color consistency. Additionally, selecting the proper diffuser material can significantly impact light diffusion and quality, helping you achieve the desired softness and effect. By mastering these elements, you can achieve professional-quality lighting that enhances your visuals seamlessly.
Diffusion Material Types
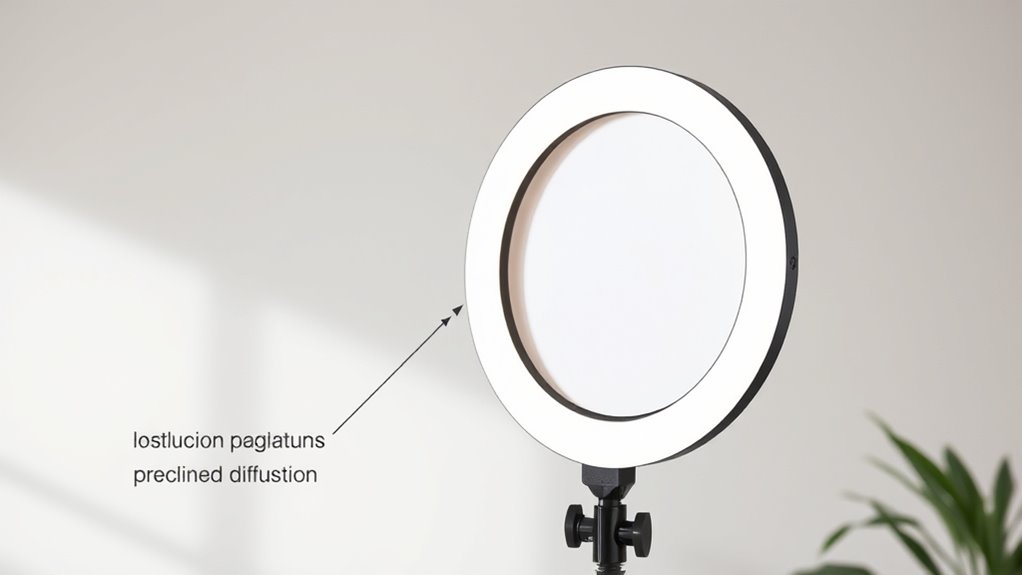
Different diffusion materials substantially impact the softness and overall light quality of your ring light. For example, acrylic diffusers offer a smooth, even spread, enhancing LED longevity by reducing heat buildup. Fabric diffusers, like nylon or silk, provide a softer, more natural glow, but may require careful handling to prevent damage. The choice of material influences how much light is diffused, which affects your power settings; denser diffusers often need higher settings to achieve the desired brightness. Thinner materials produce a more transparent light, while thicker ones create a more subdued, softer effect. Selecting the right diffusion material balances your desired softness with the durability and efficiency of your LED light, ensuring consistent, high-quality illumination without sacrificing longevity.
Shadow Reduction Techniques
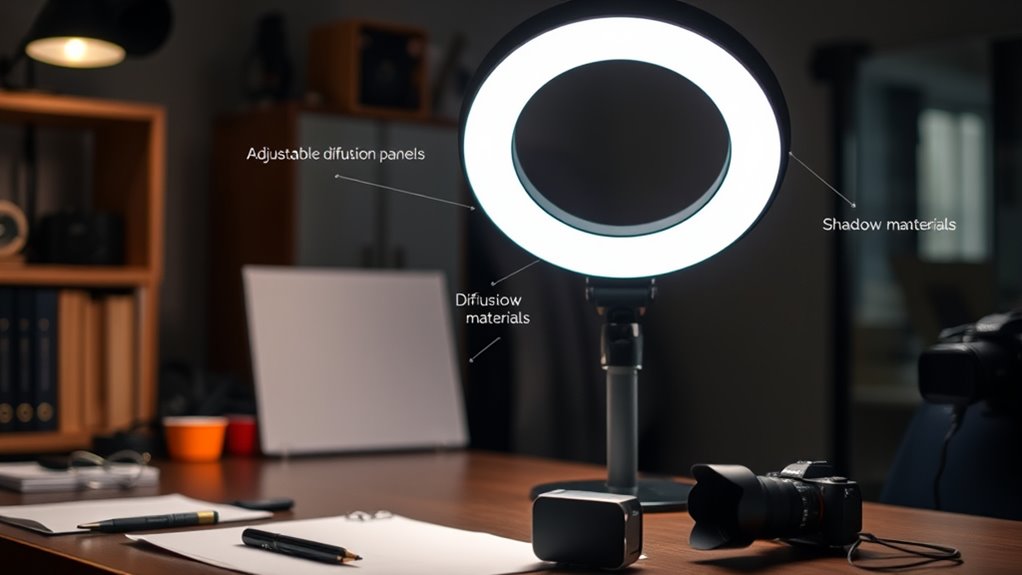
Choosing the right diffusion material plays a crucial role in reducing unwanted shadows when using a ring light. Proper diffusion softens the light, creating a more even illumination with fewer harsh shadows. It also influences the color temperature, helping you maintain accurate skin tones and consistent light quality. Thicker or multi-layered diffusion materials can lower the power output slightly, so you might need to adjust your light’s settings to compensate. Conversely, lighter diffusion allows more light through, preserving brightness while still reducing sharp shadows. By selecting diffusion that balances softness and light intensity, you can control the quality of your light, ensuring it’s flattering and natural-looking. This approach helps you achieve professional results with minimal shadows and ideal color consistency. Additionally, understanding how wall decor can influence your filming environment might enhance the overall aesthetic. Incorporating diffusion techniques effectively can also optimize your setup for various shooting conditions, leading to more consistent and high-quality footage. Using diffusion materials thoughtfully can further enhance the softness and overall quality of your lighting setup, making your videos look more polished and professional. Properly managing light quality through diffusion allows for greater control over shadows, ensuring your subject is beautifully lit in every shot.
Which Ring Light Size Is Best for Portraits or Product Shots?
Choosing the right ring light size depends on your shooting needs. If you want to capture fine details, a small ring light is ideal; for more versatility, a medium size works well. For a soft, even glow, a large ring light is your best option, especially for portraits or product shots. Additionally, considering the light diffusion properties can help you achieve the desired shadow control and overall lighting quality. Incorporating sound healing vibrations into your setup can even influence mood and focus during shoots, creating a more relaxed environment. Understanding the light quality and how it interacts with diffusion can further enhance your lighting setup and results, ensuring optimal lighting conditions for your photography. Properly balancing diffusion materials can also play a key role in shaping the final image outcome.
Small for Detail
Ever wondered which small ring light is best for capturing fine details in portraits or product shots? A compact size is ideal for macro focus, allowing you to zero in on intricate textures and features without overwhelming your subject. Smaller ring lights provide concentrated, even illumination that highlights subtle details, making them perfect for close-up work. Pay attention to the color temperature; an adjustable or daylight-balanced light ensures accurate color reproduction, essential for product photography. The compact size also means easier handling and positioning, giving you greater control over your shot. While larger rings offer broader coverage, a small ring light excels at emphasizing fine details with precision, making it your go-to choice for macro-focused portrait and product photography. Additionally, understanding the lighting quality of your ring light can significantly impact the clarity and depth of your images.
Medium for Versatility
A medium-sized ring light strikes a balance between size and functionality, making it highly versatile for both portraits and product shots. Its size allows you to easily adjust the color temperature to match different environments or creative ideas, whether you want a warm glow or a cooler tone. You can also fine-tune the power settings to achieve the perfect brightness without overexposing your subject or product. This adaptability guarantees consistent lighting across various setups, saving you time and effort. The medium ring light’s size offers enough coverage for even lighting effects while remaining portable enough for different shooting locations. Overall, it’s an ideal choice for creators looking for flexibility without sacrificing quality. Understanding light diffusion is essential to controlling shadows and achieving professional results. Additionally, mastering light modifiers can further enhance your control over shadow softness and highlight placement, especially when adjusting for different lighting conditions and desired visual effects. Exploring diffusion materials can help optimize light quality and improve the overall look of your images.
Large for Softness
A larger ring light extends the soft, even illumination that’s ideal for portraits and product shots, creating a gentle glow that minimizes harsh shadows. Its size guarantees more uniform light distribution, which helps achieve a flattering skin tone and smooth textures. When choosing a large ring light, consider color temperature; a consistent temperature ensures your subject’s skin tones stay natural and accurate. Power consistency is also essential, as it prevents flickering and maintains even brightness throughout your shoot. A larger size often offers better diffusion options, enhancing softness without sacrificing detail. This combination of size, stable power, and adjustable color temperature allows you to create professional-quality images with a delicate, flattering light that highlights your subject’s best features. Additionally, understanding the principles of lighting design can help you optimize your setup for various photographic needs. For example, light placement plays a crucial role in controlling shadows and achieving the desired mood for your images. Proper diffusion methods can further refine the softness and overall quality of the light, ensuring your photos look polished and professional.
Tips for Achieving Even Diffusion and Avoiding Hot Spots

Achieving even diffusion and avoiding hot spots requires careful placement and adjustment of your ring light. Start by positioning the light at an ideal distance to ensure the light spreads evenly across your subject. Adjust the color temperature to match your environment, preventing uneven tones that can create hotspots. Keep an eye on your power settings; too high can cause bright spots, while too low may result in uneven lighting. Use diffusion accessories, like softboxes or diffusers, to further smooth out the light. Regularly check the light’s output while making adjustments, and consider testing different angles to find the most even distribution. Properly calibrating these elements helps you achieve a consistent, professional look without distracting hot spots.
Controlling Shadows With Ring Light Placement and Accessories

Controlling shadows effectively starts with strategic ring light placement. Position your light directly in front of your subject to minimize harsh shadows and ensure even illumination. Adjust the color temperature to match your environment—warmer tones soften shadows, while cooler tones can create a stark contrast. Using accessories like diffusers or softboxes attached to your ring light can further reduce unwanted shadows by spreading light more evenly. Don’t forget to tweak your power settings; increasing brightness can fill in shadows, but avoid overexposure that causes hot spots. Experiment with different placements and accessories to find the balance that produces smooth, controlled shadows. This approach gives you precise control over shadow intensity and placement, resulting in a polished, professional look.
How to Adjust Your Ring Light Setup for Portraits and Product Photography
To get the most flattering portraits and sharp product shots, you need to adjust your ring light setup based on your subject. Start by selecting the right ring light color; for portraits, a warmer tone creates a natural glow, while cooler tones suit product photography. Adjust the power settings to control brightness—higher power enhances detail and highlights, but avoid overexposure. For portraits, set the light at a moderate level to soften shadows and evenly illuminate your face. For products, increase the power to reduce reflections and bring out fine details. Keep in mind that small adjustments can make a big difference in the final image. Experiment with both the ring light color and power settings until you achieve the desired look that complements your subject.
Common Mistakes to Avoid When Diffusing Light and Managing Shadows
Many beginners overuse diffusers, which can soften light too much and reduce detail. Ignoring shadow placement leads to uneven lighting or unwanted dark spots in your shot. Poor light positioning often results in flat images that lack depth and dimension.
Overusing Diffusers Incorrectly
While diffusers can soften light and reduce harsh shadows, overusing them can have the opposite effect, making your images appear flat and lacking contrast. When you rely too heavily on diffuser materials, the light becomes overly diffuse, diminishing depth and texture. To avoid this, pay attention to shadow techniques and how they interact with your diffuser choice. For example, if you cover your ring light with multiple layers of diffuser, you might create a uniform glow but lose the subtle gradations that add dimension. Similarly, using thick or overly translucent diffuser materials can eliminate all shadow detail, resulting in a washed-out look. Always balance diffusion with direct light, ensuring your shadows remain controlled and purposeful, rather than flattened and featureless.
Ignoring Shadow Placement
Ignoring shadow placement can undermine your lighting setup by creating unflattering or unnatural results. If you don’t pay attention to shadow angles, shadows may fall in awkward spots, distracting from your subject or distorting features. Properly managing shadows ensures they complement your composition rather than detract from it. Also, neglecting background contrast caused by shadow placement can make your subject blend into the background or appear disconnected. By adjusting your ring light and diffusion, you control shadow angles, softening or sharpening shadows as needed. This balance helps create a more professional look and highlights your subject effectively. Always evaluate how shadows fall in your scene, and make small adjustments to enhance contrast and ensure shadows enhance, rather than hinder, your overall image.
Poor Light Positioning
Are you positioning your light sources correctly? Poor placement can ruin your shot. First, avoid placing the ring light too high or low, which causes unflattering shadows and uneven color temperature. Second, keep the light at eye level or slightly above to evenly illuminate your face. Third, be mindful of your power settings; too bright or dim can distort skin tones and affect color temperature. Fourth, don’t forget to diffuse the light properly—direct light creates harsh shadows, while diffused light softens them. Proper positioning guarantees consistent color temperature and balanced shadows. Adjust your light’s distance and angle to achieve even, flattering illumination. Remember, good light positioning is key to professional-looking results and prevents common mistakes that diminish image quality.
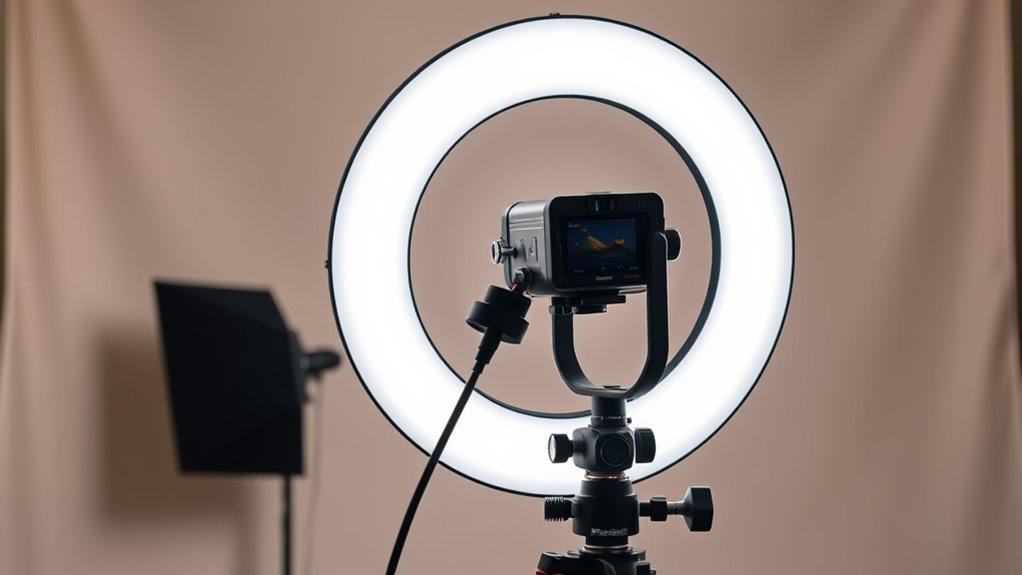
Best Practices for Setting Up Your Ring Light for Video and Photos

To achieve the best lighting for your videos and photos, it’s essential to set up your ring light properly. Begin by adjusting the power settings to ensure the light isn’t too harsh or too dim; aim for even, soft illumination. Next, set the color temperature to match your environment or desired mood—warm for a cozy look, cool for a professional feel. Position your ring light directly in front of your face or subject, slightly above eye level, to minimize shadows and create a flattering catchlight in your eyes. Use a dimmer if available to fine-tune brightness. Avoid placing the light too close or too far, which can distort color or cause uneven lighting. Proper setup enhances clarity, reduces shadows, and delivers a professional finish to your visuals.
What to Consider When Investing in a Professional Ring Light
When investing in a professional ring light, it’s crucial to take into account your specific needs and how the features align with your creative goals. Focus on key factors like:
- Color temperature – Choose a light with adjustable settings to match natural tones or create dramatic effects.
- Power options – Consider models with multiple power sources, such as AC or battery, for flexibility on set.
- Brightness levels – Confirm the light offers sufficient lumens to illuminate your subject clearly.
- Build quality – Look for durable materials and adjustable stands for longevity and stability.
Balancing these elements helps you select a ring light that enhances your work, whether for photography, videography, or live streaming.
Troubleshooting Lighting Problems: Shadows, Hot Spots, and Uneven Illumination
Even the best professional ring lights can produce uneven results if not set up properly, leading to issues like shadows, hot spots, and inconsistent illumination. To troubleshoot, first check your color temperature; mismatched settings can create unnatural shadows or color casts. Adjust the power settings to make certain the light is evenly distributed—sometimes reducing intensity in certain areas helps eliminate hot spots. Use the dimming options to fine-tune brightness, avoiding overly bright or dark spots. Position the ring light directly in front of your subject and ensure it’s centered to minimize shadows. If you notice uneven illumination, consider diffusing the light further or repositioning it. Properly balancing color temperature and power settings helps achieve smooth, even lighting across your scene.
Frequently Asked Questions
How Does Ring Light Size Influence Shadow Control?
A larger ring light provides softer shadows because its size allows for more even light distribution, reducing harshness. When you adjust the light placement, a bigger ring shape helps minimize unwanted shadows on your face, offering better shadow control. Conversely, smaller ring lights can create more defined shadows due to their concentrated light. Choosing the right size depends on your desired shadow softness and how you want to shape your light for ideal results.
What Diffuser Types Best Soften Harsh Ring Light Reflections?
To soften harsh ring light reflections, opt for diffusers made from materials like frosted acrylic or nylon fabric, which effectively scatter light. These diffuser materials minimize reflections by diffusing light evenly, reducing glare and harsh shadows. For reflection minimization, choose soft, translucent diffusers that spread light smoothly across your subject. This creates a more flattering, gentle glow, perfect for achieving professional-looking photos or videos without distracting bright spots.
Can Adjustable Ring Lights Improve Shadow Management?
Yes, adjustable ring lights can dramatically improve shadow management. You see, as you tweak the power output, shadows soften or sharpen, revealing more precise color accuracy. Imagine controlling the light‘s intensity to highlight your best features while minimizing harsh shadows. This flexibility allows you to balance brightness and diffusion, giving you perfect control over your lighting environment. With adjustable settings, you’re in charge of creating the ideal, shadow-free shot every time.
How Does Color Temperature Affect Diffusion and Shadow Appearance?
Color temperature effects influence how your diffusion appears and how shadows look. Cooler temperatures (around 5600K) produce bluish light, making shadows appear harsher and more defined, while warmer temperatures (around 3200K) soften shadows and create a cozy, amber glow. The shadow color influence depends on the temperature you choose; adjusting it allows you to control whether shadows are subtle or pronounced, enhancing your lighting setup for the desired mood.
Are There Specific Accessories to Enhance Diffusion and Shadow Control?
Yes, you can use specific accessories like light modifiers such as diffusers, softboxes, or fabric covers to enhance diffusion and shadow control. Reflector techniques also help bounce light, softening shadows and creating a more even glow. These tools allow you to fine-tune your ring light’s output, giving you better control over the softness and shadow placement, ensuring your lighting looks professional and flattering for every shot.
Conclusion
Now that you know how size, diffusion, and placement shape your lighting, picture yourself in a studio bathed in a soft, even glow. Shadows fade away like whispers, hot spots disappear behind a gentle veil, and your subject shines flawlessly. With the right ring light setup, you create a luminous scene where every detail pops, and your photos or videos become mesmerizing works of art. Light up your creativity and watch your vision come to life.