To set up your front and rear dash cams, start by choosing suitable models with features like night vision and wide-angle lenses, and guarantee SD cards are Class 10 or higher for smooth recording. Plan your wiring carefully using tools like fuse taps and wire clips, and position cameras for clear views. Set parking mode with motion detection, and regularly maintain your system. For detailed steps and tips, keep exploring to get the most out of your dash cam setup.
Key Takeaways
- Use appropriate wiring methods such as fuse taps or hardwiring for clean, reliable power connections.
- Mount cameras securely with proper angles to capture clear footage without obstructions.
- Format SD cards with FAT32 or exFAT, and enable loop recording and parking mode features for continuous coverage.
- Connect the dash cam to a stable power source, verifying voltage and fuse compatibility with a multimeter.
- Regularly inspect and maintain wiring, SD cards, and firmware to ensure optimal performance and footage security.
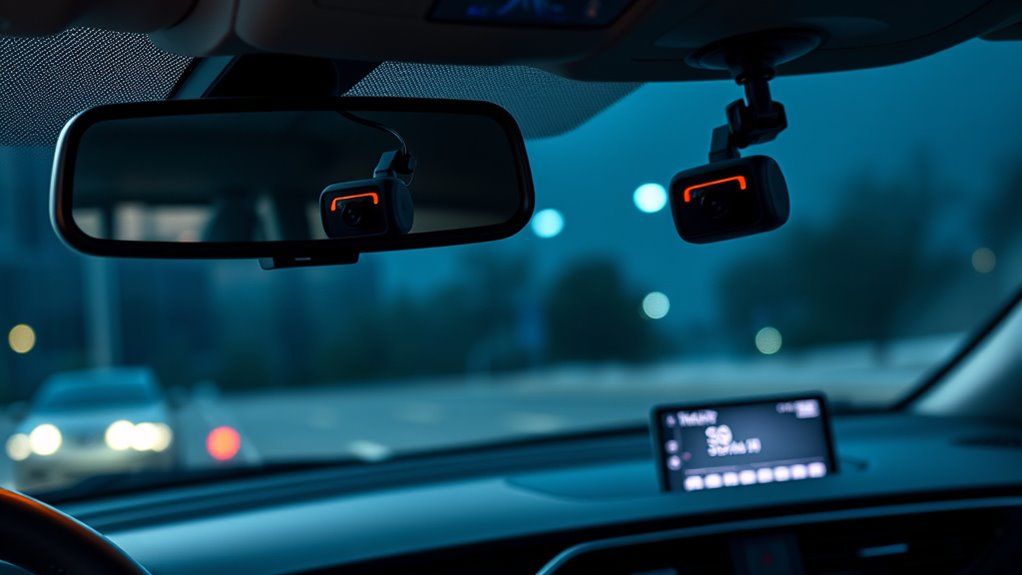
front and rear dash cam with night vision
As an affiliate, we earn on qualifying purchases.
As an affiliate, we earn on qualifying purchases.
Why Installing Front and Rear Dash Cams Boosts Vehicle Safety and How to Plan Your Setup
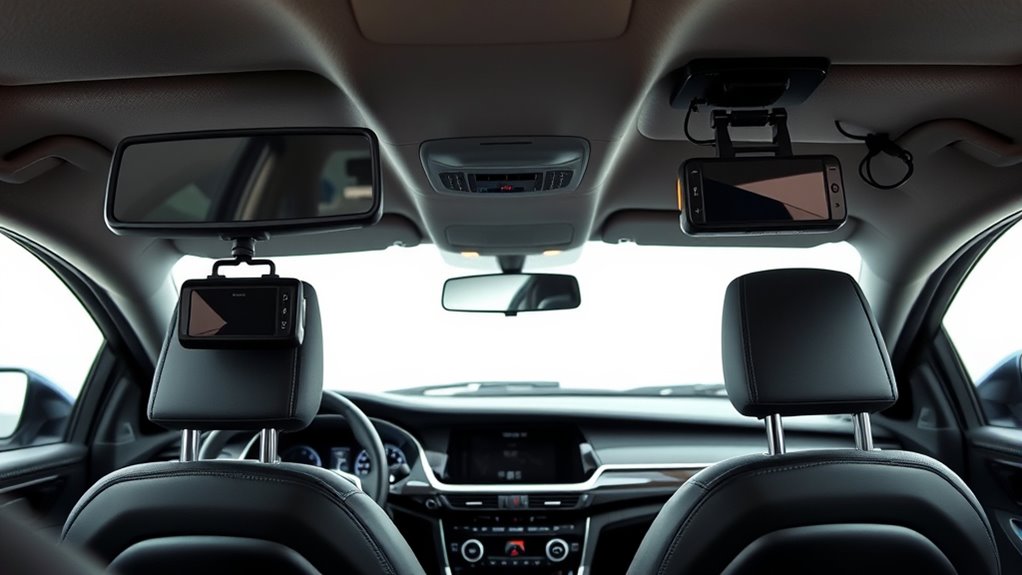
Installing both front and rear dash cams considerably enhances your vehicle’s safety by providing clear footage of your drives and any incidents that occur. This setup not only captures vital evidence but also improves your overall driving experience. When planning your dash cam placement, consider dashboard aesthetics; a sleek, unobtrusive setup maintains your vehicle’s interior style. Properly positioned cameras minimize distractions, supporting driver comfort by reducing the need to adjust or worry about blind spots. Dual cameras give you all-encompassing coverage, making it easier to document accidents or disputes. Additionally, thoughtful wiring ensures a clean look, preventing clutter that can distract or impede your driving. Navigation and mapping explainers can help optimize camera placement for maximum coverage and safety. Choosing the right installation techniques can further improve the durability and functionality of your setup, ensuring consistent performance over time. Understanding net worth can also inform your budget considerations for quality equipment and accessories, ensuring a balance between cost and reliability. Considering smart home integration features for your vehicle, like remote monitoring or alerts, can further enhance your dash cam system’s capabilities. Incorporating proper wiring methods can also help prevent electrical issues that might compromise your camera system.
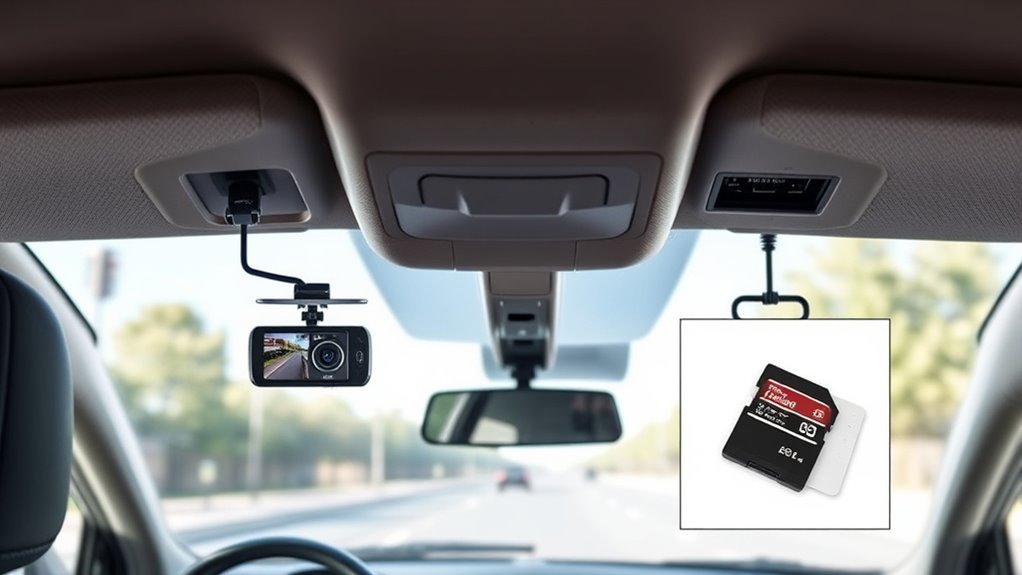
high capacity SD card for dash cam
As an affiliate, we earn on qualifying purchases.
As an affiliate, we earn on qualifying purchases.
How to Choose the Right Dash Cams and SD Cards for Your Vehicle
Choosing the right dash cams and SD cards is key to ensuring your setup performs reliably and captures clear footage. First, consider your vehicle’s compatibility, including size and power source, to select a dash cam that fits seamlessly. Look for dash cam accessories that enhance functionality, like night vision, wide-angle lenses, or GPS. Make sure the dash cam supports SD cards with sufficient capacity and speed, such as Class 10 or higher, to record high-quality video without lag. Always verify that the SD card is compatible with your dash cam model. Additionally, European cloud standards influence the development of reliable and secure storage options, ensuring your footage remains protected. By choosing a dash cam suited to your vehicle and pairing it with the right SD card, you’ll achieve ideal performance and reliable recording in various driving conditions. Also, consider storage capacity and speed to prevent recording interruptions and ensure footage quality. Ensuring compatibility with Vetting – wave and wind conditions can further improve your dash cam’s durability and performance in different environments.
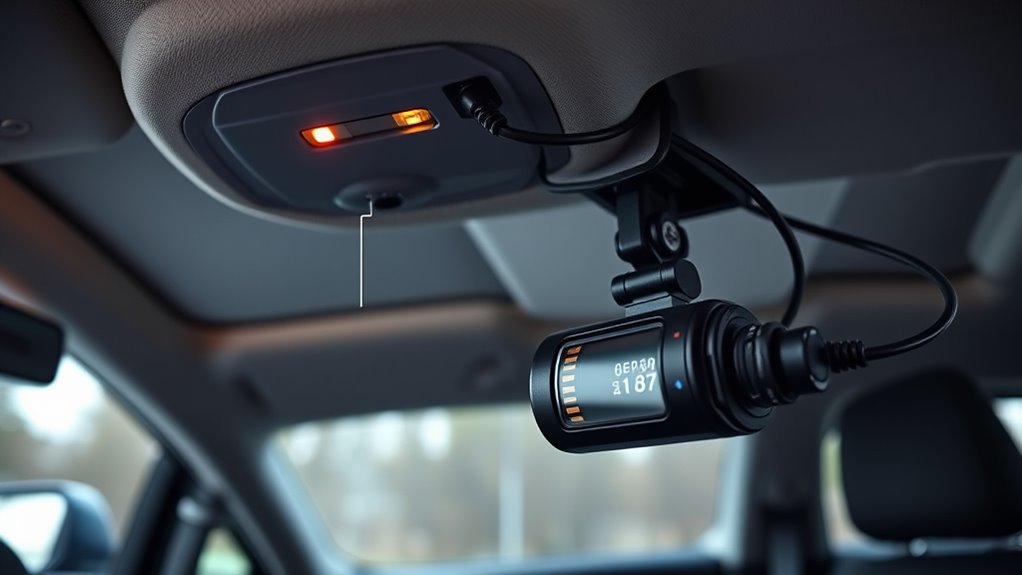
dash cam wiring kit with fuse taps
As an affiliate, we earn on qualifying purchases.
As an affiliate, we earn on qualifying purchases.
Planning Your Dash Cam Wiring: Tools, Power Options, and Placement Tips
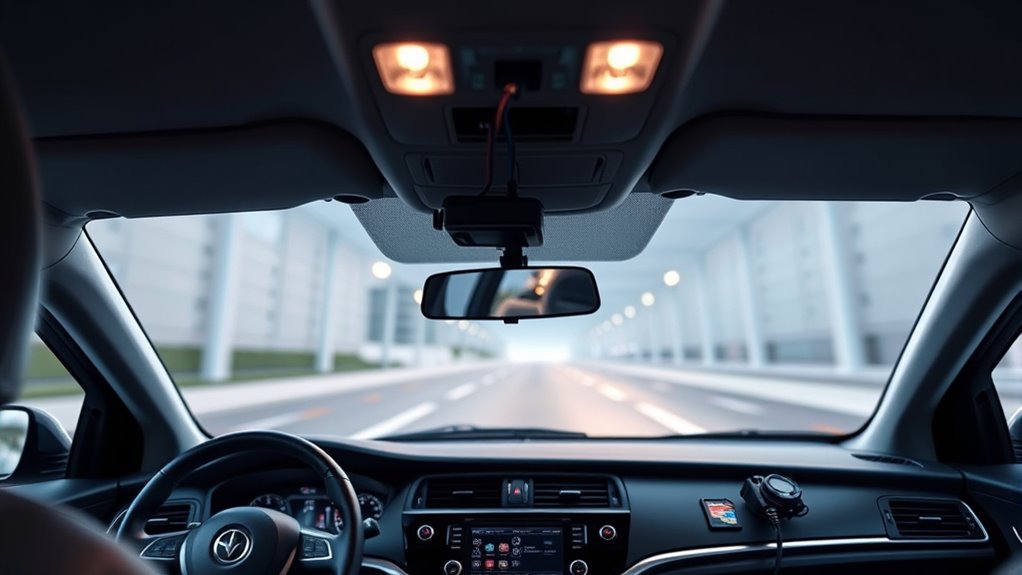
Planning your dash cam wiring carefully guarantees your setup is neat, reliable, and unobtrusive. Start by gathering the right tools, like wire clips, fuse taps, and a multimeter, to keep everything tidy. Consider your power options: hardwiring to your vehicle’s fuse box, using a cigarette lighter socket, or exploring wireless alternatives with dash cam accessories that offer easier installation. Placement is key—aim for a clear, unobstructed view without interfering with airbags or controls. Keep these tips in mind:
- Use cable organizers to hide wires neatly
- Choose power sources that suit your driving habits
- Opt for wireless alternatives if wiring is complex
- Verify your dash cam’s placement for ideal coverage
- Keep extra dash cam accessories handy for adjustments
This approach ensures a seamless, professional-looking setup.
dual dash cam system with parking mode
As an affiliate, we earn on qualifying purchases.
As an affiliate, we earn on qualifying purchases.
How to Wire Your Dash Cams to Power and Ground Safely and Correctly
Properly wiring your dash cam to the vehicle’s power and ground points makes certain reliable operation and safety. Start by ensuring your dash cam’s power cable is compatible with your vehicle’s battery and electrical system. Use the correct fuse tap or direct wiring method to connect to a constant or switched power source, depending on your needs. Secure cables neatly to prevent interference or damage, practicing good cable management. Keep wiring away from moving parts, hot surfaces, and sharp edges. Confirm the ground connection is solid and free of paint or corrosion to prevent power issues. Proper wiring not only protects your dash cam’s performance but also helps avoid electrical problems and potential damage to your vehicle’s electrical system. Additionally, verifying that your wiring adheres to electrical safety standards ensures long-term reliability and safety. Using appropriate wiring techniques can further enhance the durability and safety of your installation.
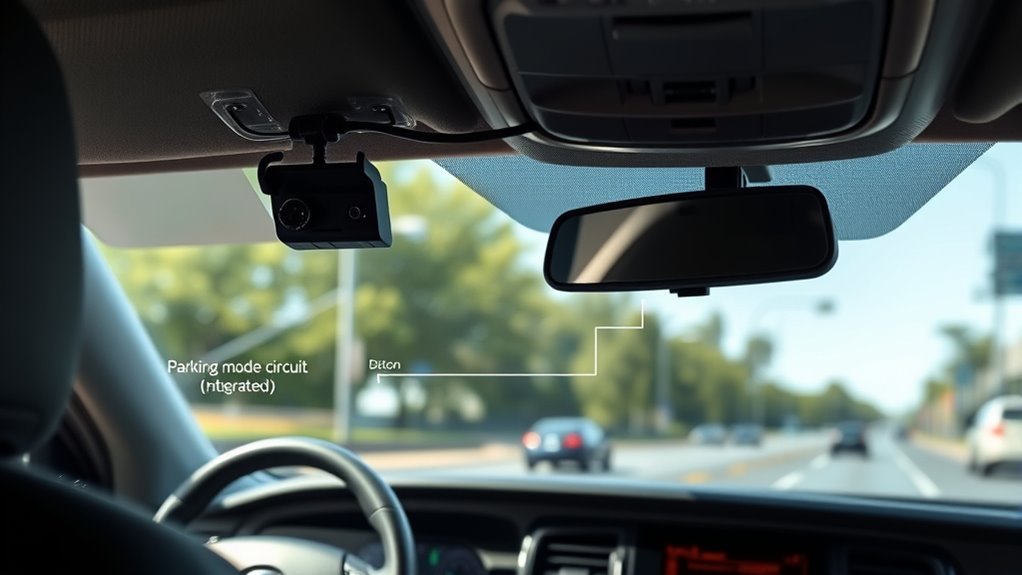
Setting Up Parking Mode: Keep Your Dash Cams Monitoring When You’re Away
To keep your dash cam monitoring while you’re away, setting up parking mode is essential. This feature uses motion detection and GPS integration to activate recording when it detects movement or impact around your vehicle. It provides peace of mind, knowing your car is protected even when you’re not there. To maximize parking mode, consider these tips:
- Enable motion detection to catch any suspicious activity
- Use GPS integration to activate parking mode based on your vehicle’s location
- Adjust sensitivity settings to avoid false triggers
- Connect to a reliable power source to ensure continuous monitoring
- Regularly check and update your dash cam’s firmware for peak performance
With these steps, your dash cam becomes an effective security tool, safeguarding your vehicle around the clock.
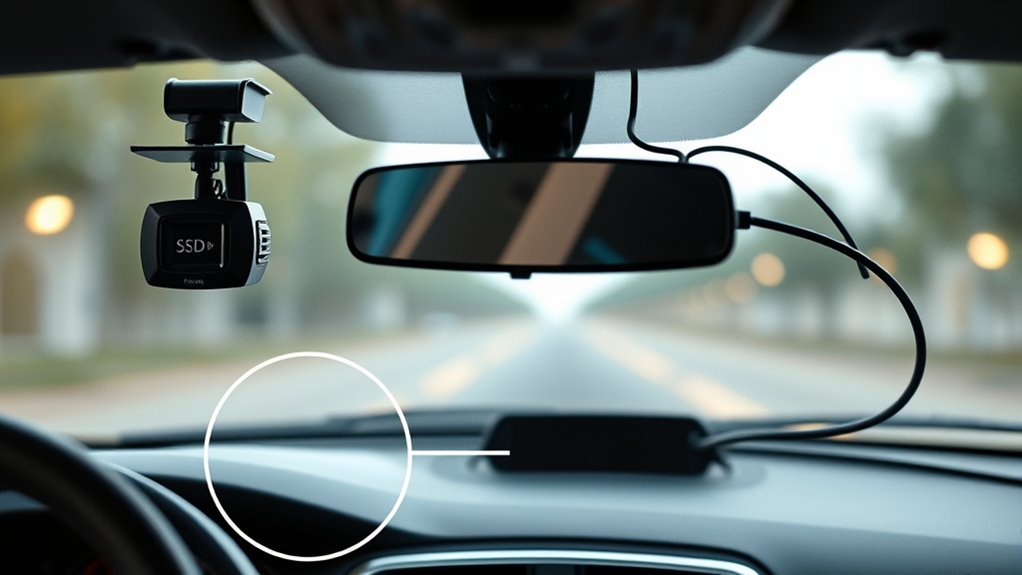
How to Format and Install SD Cards for Continuous Recording and Looping
Ensuring your SD card is correctly formatted and installed is essential for reliable continuous recording and looping. Start by performing SD card formatting using your computer or the dash cam’s menu, which prepares the card for ideal performance. Use the recommended file system, typically FAT32 or exFAT, depending on your card size and camera specifications. Proper SD card formatting prevents corruption and guarantees smooth loop recording setup. Additionally, consult the manufacturer’s guidelines for specific formatting instructions to avoid compatibility issues. Insert the formatted SD card into your dash cam, making sure it clicks securely into place. Once installed, verify that the dash cam recognizes the card and that the loop recording setup is enabled. This setup allows your dash cam to overwrite the oldest footage automatically, providing continuous coverage without running out of storage. Streamline Your Life With Easy Document Management
Common Wiring and Power Problems and How to Fix Them
Power supply issues and loose wiring are common causes of dash cam problems. You should check all connections to guarantee they’re secure and working properly. Troubleshooting these areas can save you time and keep your camera functioning smoothly. Additionally, inspecting for ear wax odor or other unusual smells can help identify potential electrical or component issues that may affect your dash cam’s performance. Regularly inspecting the electrical connections can prevent unexpected failures and ensure consistent power delivery. Ensuring proper power management can prolong the lifespan of your dash cam and improve overall reliability. Properly managing power consumption can also help avoid draining your vehicle’s battery unexpectedly. Understanding circuit integrity is crucial for diagnosing persistent power issues and maintaining system stability.
Power Supply Troubleshooting
Many common wiring and power issues with dash cams stem from loose connections, incorrect wiring, or insufficient power sources. These problems can cause battery drain, sudden shutdowns, or erratic recording. To troubleshoot effectively, check your wiring connections first. Ensure the fuse selection matches your dash cam’s power requirements to prevent overloads. Verify that the power cable is securely connected, and inspect for damaged wires. If your dash cam still experiences power issues, consider the following:
- Confirm the fuse isn’t blown or mismatched
- Check for loose connectors or frayed wiring
- Test your vehicle’s power outlet for consistent voltage
- Ensure your battery isn’t draining faster than normal
- Use a multimeter to verify proper voltage and fuse continuity
Addressing these points helps resolve power supply troubles quickly.
Secure Wiring Connections
Loose or damaged wiring connections are a common cause of dash cam malfunctions, leading to power interruptions or unstable recordings. To prevent this, verify all wiring is secure and well-insulated. If you’re using a wireless installation, double-check the signal strength and connection points, as weak links can cause power drops. For models with a battery backup, make sure the backup power source is properly connected and charged. Avoid loose connectors or frayed wires that could disconnect during driving. Use electrical tape or heat shrink tubing to reinforce connections and protect against vibrations and moisture. Regularly inspect wiring for damage or corrosion. Proper wiring ensures consistent power, whether through wired connections or wireless setups, and keeps your dash cam functioning smoothly. Additionally, consider reviewing wiring basics to ensure safe and reliable installation practices, as proper wiring techniques are essential for system reliability.
Adjusting Camera Angles and Placement for Clear Footage
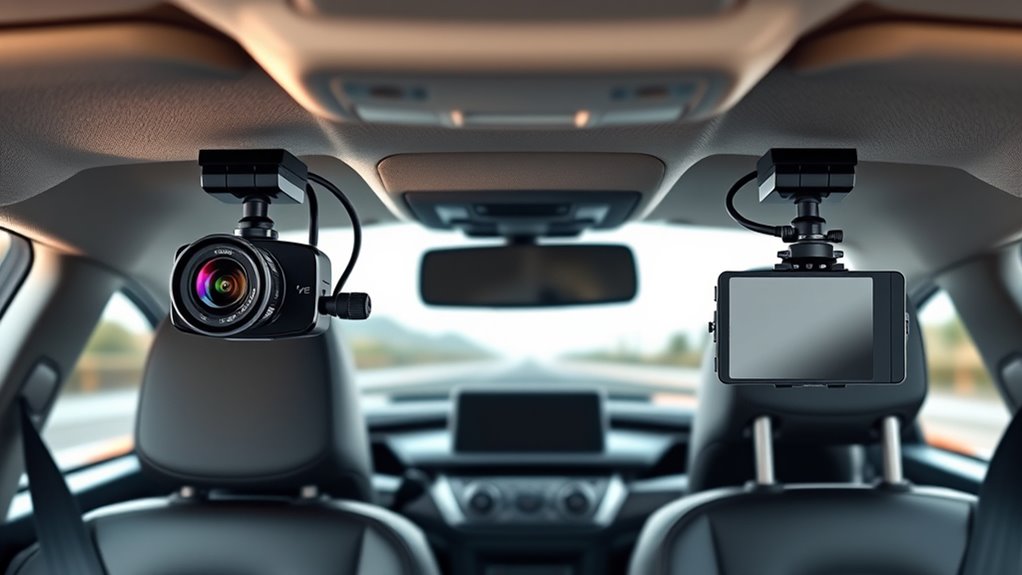
To guarantee your dash cam captures clear footage, it’s vital to carefully adjust its angles and placement. Proper camera angle adjustment ensures the lens covers the road ahead without blind spots. Start by positioning the mounting position so the camera is centered and level, avoiding obstructions like rearview mirrors or windshield tags. Test different angles to find the best view, making sure license plates are readable and the horizon isn’t tilted. Keep in mind, a slightly downward tilt prevents glare and reflections. Regularly check your adjustments, especially after windshield cleaning or weather changes. To make it easier:
Ensure your dash cam is level, centered, and slightly tilted downward for clear, unobstructed footage.
- Make certain the camera is level and centered
- Avoid mounting near airbags or vents
- Tilt the camera slightly downward
- Keep the lens clean for clear footage
- Adjust for different lighting conditions
Additionally, periodically reviewing your footage can help verify that your camera setup continues to perform optimally, especially as conditions change or if you notice any blurriness. Incorporating proper positioning techniques can further enhance your footage quality and ensure comprehensive coverage.
Tips for Maintaining and Updating Your Dash Cam System
Regularly maintaining and updating your dash cam system guarantees it continues to function properly and provides reliable footage. Start by checking your dash cam’s battery maintenance; ensure the battery stays charged, especially if you use parking mode or extended recording. If your system has a removable or built-in battery, follow the manufacturer’s guidelines for charging and replacement to prevent failures. Firmware updates are essential for improving performance, fixing bugs, and adding features. Regularly visit the manufacturer’s website or app to download and install the latest firmware. Keeping your dash cam updated and well-maintained guarantees maximum operation, reduces the risk of malfunctions, and guarantees you’re always capturing clear, trustworthy footage when you need it most. Proper maintenance practices help extend the lifespan of your device and ensure consistent reliability.
Final Checks and Troubleshooting Before You Hit the Road

Before hitting the road, double-check that your dash cam is securely mounted to prevent any movement or detachment. Make sure the power connection is solid and the device turns on properly. Doing these quick checks now can save you from surprises later. Additionally, verifying the SD card is properly formatted and has sufficient storage can prevent data loss during recording. Ensuring your setup incorporates good ergonomics can also help you monitor footage comfortably and avoid strain during adjustments.
Secure Mounting Checks
Ensuring your dash cam is securely mounted is essential for clear footage and reliable performance. Check that the mount has good mounting stability, preventing any wobbling or shifting while driving. Verify that the camera angles are correctly aligned to capture the road ahead and, if applicable, the rear view. Gently shake the camera to ensure it stays in place without movement. Confirm that the wiring isn’t pulling or tugging the mount, which could loosen it over time. Finally, double-check that the mount adheres firmly to the windshield or dash, and tighten any screws if necessary.
- Confirm the mount is firmly attached
- Test for mounting stability with gentle shakes
- Ensure camera angles are correctly aligned
- Check wiring for tension or pulling
- Tighten any loose screws or clips
Final Power Verification
To guarantee your dash cam is ready to record reliably, you need to perform a final power check before hitting the road. First, verify that the camera powers on and stays active when the engine is off, especially if you plan to use parking mode. Check your vehicle’s battery maintenance to ensure the power source is stable and capable of supporting your dash cam’s needs. Also, review and update the firmware to the latest version; firmware updates often fix bugs and improve power management. Confirm that the SD card is properly inserted and has enough storage. If your dash cam uses a hardwire kit, ensure all wiring connections are secure. Performing these final checks helps prevent power issues and guarantees your dash cam records smoothly during your drive.
Frequently Asked Questions
How Do I Prevent My Dash Cam Wiring From Interfering With Vehicle Controls?
To prevent your dash cam wiring from interfering with vehicle controls, carefully plan your wire routing. Keep wires away from pedals, steering columns, and airbags, and secure them firmly using clips or adhesive mounts. Make certain compatibility with your dashboard by selecting appropriate cable lengths and connectors. Test the controls after installation to confirm nothing is obstructed, and regularly check the wiring to maintain dashboard compatibility and safe vehicle operation.
What’s the Best Way to Hide Wires for a Clean Installation?
Worried wires will ruin your car’s look? The best way is to use wire concealment and cable management techniques. Tuck the wires along edges, behind panels, or under trim for a seamless look. Use adhesive clips or zip ties to keep cables tight and organized. This not only hides the wires but also prevents them from interfering with controls, giving your install a clean, professional appearance.
How Long Do SD Cards Typically Last Before Needing Replacement?
SD cards typically last between 1 to 3 years, depending on usage, storage longevity, and quality. You should regularly check your SD card for errors and perform maintenance by formatting it periodically to prevent data corruption. Avoid filling it to capacity and handle it carefully to extend its lifespan. Replacing your SD card every couple of years ensures reliable recording and maximum performance for your dash cam.
Can I Upgrade My Dash Cam System Later Without Rewiring?
Yes, you can upgrade your dash cam system later without rewiring by choosing wireless models. When considering wireless upgrades, check compatibility considerations like power sources, mounting options, and app connectivity. Many newer dash cams offer easy Wi-Fi or Bluetooth setup, allowing you to replace or add cameras without disturbing existing wiring. Just verify the new system matches your vehicle’s power setup and features for a smooth upgrade process.
What Are Common Signs of a Failing Dash Cam or SD Card?
Imagine your dash cam as your trusty sidekick, but even heroes face issues. Signs of a failing dash cam or SD card include blurry or corrupted footage, frequent crashes, or camera reliability drops. You might notice the SD card isn’t saving videos properly or shows error messages. These signs indicate the SD card lifespan is ending or the camera needs maintenance. Keep an eye on performance to make certain of your safety and footage quality.
Conclusion
Now that you’ve mastered the mechanics of your dash cam setup, you’re ready to relax and drive confidently. With wise wiring, perfect placement, and proper parking mode, you’ll watch your vehicle’s safety soar. Stay savvy with system updates, troubleshoot swiftly, and enjoy the peace of mind that comes with a well-wired, well-watched dash cam. Drive safely, stay secure, and let your smart setup serve as your silent sentinel on every journey.