
To instantly improve your mirrorless photos, focus on three key settings: autofocus, exposure, and white balance. Choose an autofocus mode that suits your subject, like single point or face detection, for sharp images. Adjust exposure settings using manual mode or exposure compensation to keep your shots bright and clear. Finally, set the white balance to match your environment for accurate colors. Mastering these adjustments will boost your skills—keep exploring to learn even more tips for stunning photos.
Key Takeaways
- Use manual focus to ensure sharpness in challenging lighting or detailed scenes.
- Adjust white balance to match your environment for more accurate colors.
- Master exposure settings—shutter speed, aperture, ISO—for brighter, clearer images.
- Switch to manual mode to control exposure and focus precisely for consistent results.
- Experiment with autofocus modes like single point or face detection to enhance focus accuracy.
Adjust Your Camera Settings for Better Photos

To get better photos with your mirrorless camera, you need to understand and modify its settings. Start with manual focus to gain precise control over your subject. Switch from autofocus to manual focus when shooting in low light or intricate scenes, ensuring sharpness where it matters most. Additionally, set the white balance to match your environment; this prevents color casts and keeps your photos true to life. Use the camera’s white balance presets or customize it for exact results. Adjusting these settings helps you avoid over-relying on automatic modes, giving you more creative control. Practice switching between manual focus and white balance adjustments to develop your skills and produce consistently better images. This approach ensures your photos look professional and vibrant every time. Understanding and adjusting camera settings is essential to mastering your device and achieving stunning results. Developing a good grasp of camera controls allows you to respond quickly to changing conditions and capture high-quality images with confidence. Additionally, familiarizing yourself with image quality settings can further improve the clarity and detail in your photos. Learning about camera settings also helps you understand how different options impact your overall photo quality and creative possibilities. Knowing how to optimize contrast ratios can make a significant difference in capturing images with better depth and realism.
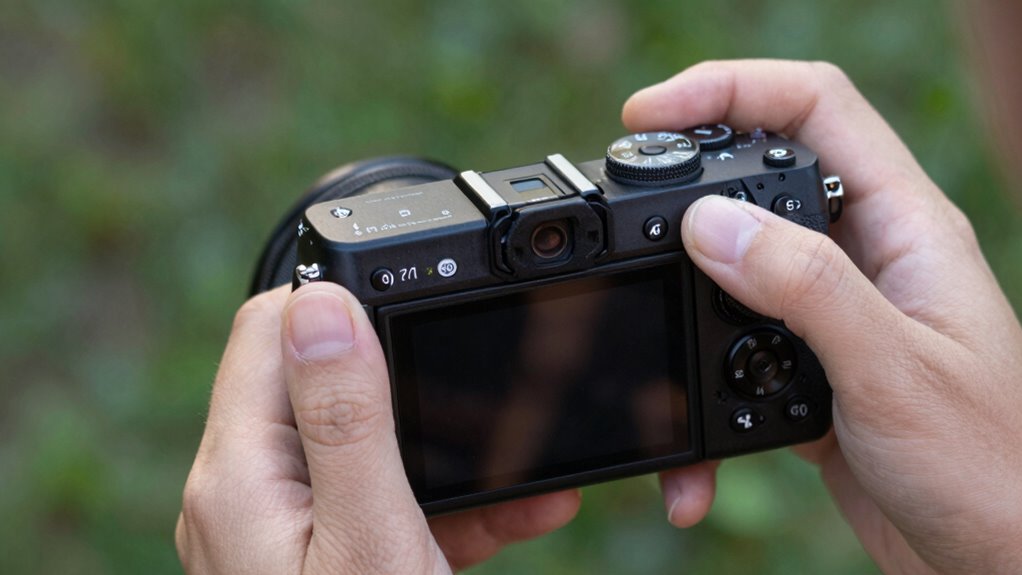
Pick the Autofocus Mode That Works for You
Once you’ve adjusted your camera settings for ideal control, choosing the right autofocus mode can make a big difference in your photos. Your camera offers various autofocus modes, each suited for different focusing techniques and situations. Whether you’re capturing fast-moving subjects or creating beautiful portraits, selecting the appropriate mode helps guarantee sharp images. Experiment with options like single point, continuous, or face detection to see what works best for you. Remember, the right autofocus mode can boost your confidence and elevate your photos instantly. Understanding autofocus modes and how they function allows you to troubleshoot and optimize your camera’s performance for better results. Additionally, familiarizing yourself with camera settings can help you adapt quickly to different shooting environments and improve overall image quality. Being aware of how different autofocus modes interact with various lighting conditions can further enhance your ability to capture clear, well-focused photos in any environment. Developing a good understanding of focusing techniques can also help you achieve more professional-looking images across diverse scenarios, especially when combined with knowledge of autofocus system behavior and limitations.
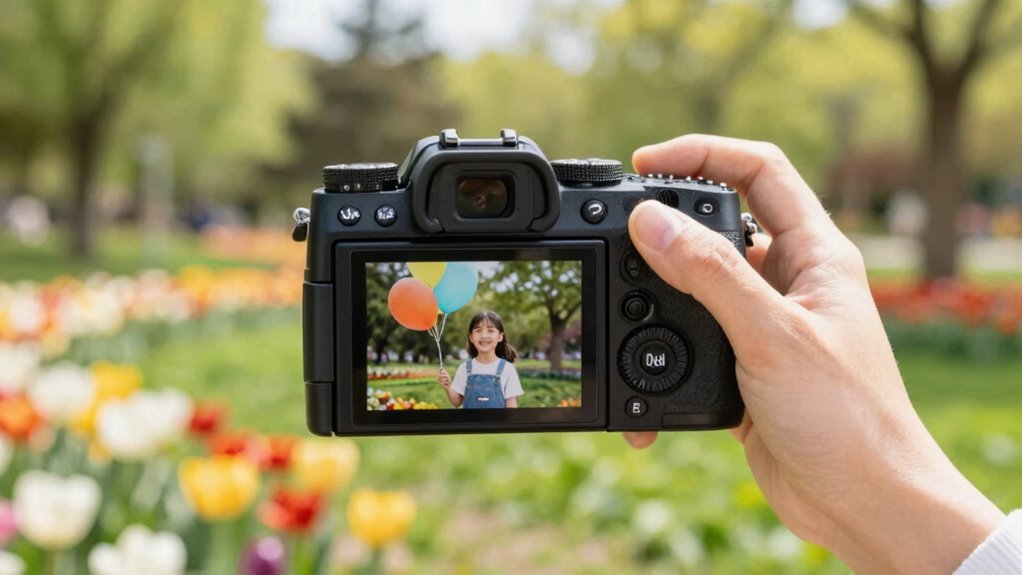
Set Exposure to Capture Bright, Clear Shots

Properly setting your exposure guarantees your photos are bright, clear, and well-balanced. To achieve this, start by calibrating your sensor regularly to ensure accurate light readings. Next, pay attention to lens selection, as different lenses let in varying amounts of light, affecting exposure. Use your camera’s exposure compensation or manual mode to control shutter speed, aperture, and ISO, maintaining proper balance. If your images appear too dark or washed out, adjust these settings accordingly. Proper sensor calibration ensures your camera’s metering is reliable, while choosing the right lens helps optimize light intake. Additionally, understanding sensor calibration can help ensure your camera’s metering remains accurate over time. Regularly updating your camera’s firmware can also improve its navigation and mapping capabilities, resulting in more accurate exposure adjustments. Being aware of your camera’s dynamic range allows you to better capture scenes with high contrast, preventing loss of detail in shadows or highlights. Developing a good understanding of exposure triangle fundamentals will further refine your control over photo quality. By fine-tuning exposure and selecting the best lens for your scene, you’ll capture sharp, vibrant images that truly stand out.
Frequently Asked Questions
How Do I Update My Camera’s Firmware?
To update your camera’s firmware, start by visiting the manufacturer’s website for the latest firmware updates. Download the update file to your computer, then transfer it to your camera’s memory card. Insert the card into your camera, follow the on-screen instructions, and carefully complete the firmware update process. Regular camera maintenance, including firmware updates, guarantees your camera performs at its best and stays compatible with new features.
What Lenses Are Best for Beginners?
Choosing the right lenses is like finding your photography compass. For beginners, kit lenses with versatile focal lengths, like 18-55mm, are perfect—they cover wide-angle to portrait shots easily. Prime lenses, such as 50mm f/1.8, are great for sharp images and low light. Start with these lens types, experiment with focal lengths, and soon you’ll see your skills grow like a blooming flower.
How Can I Improve Low-Light Photography?
To improve your night photography, start by increasing your ISO settings to make your camera more sensitive to light. Use a wider aperture on your lens to let in more light, and stabilize your camera with a tripod to prevent blur. Experiment with longer shutter speeds to capture more detail in low-light scenes. These adjustments help you get clearer, brighter photos even in challenging lighting conditions.
How Do I Use Manual Focus Effectively?
Manual focus is your camera’s compass in a foggy landscape. To use it effectively, start with autofocus techniques like focus lock to lock onto your subject, then switch to manual to fine-tune. Use focus peaking if available, which highlights in-focus areas, making precise adjustments easier. Practice slowly turning the focus ring until your subject is sharp, giving you full control for stunning, crisp images every time.
What Accessories Should I Consider for My Mirrorless Camera?
You should consider a sturdy tripod to stabilize your shots, especially for landscapes or long exposures. Look for lightweight options like the Manfrotto Befree or Joby GorillaPod. Also, invest in reliable camera storage options such as high-capacity SD cards or portable external drives to keep your photos safe and organized. These accessories enhance your shooting experience and guarantee you’re always prepared for any creative opportunity.
Conclusion
By mastering just these three settings, you can instantly improve your photos and make the most of your mirrorless camera. Did you know that beginners who actively adjust autofocus and exposure see a 30% boost in photo quality? Don’t be afraid to experiment and find what works best for you. With a little practice, you’ll start capturing stunning shots that truly stand out—so go ahead, take your skills to the next level today!