
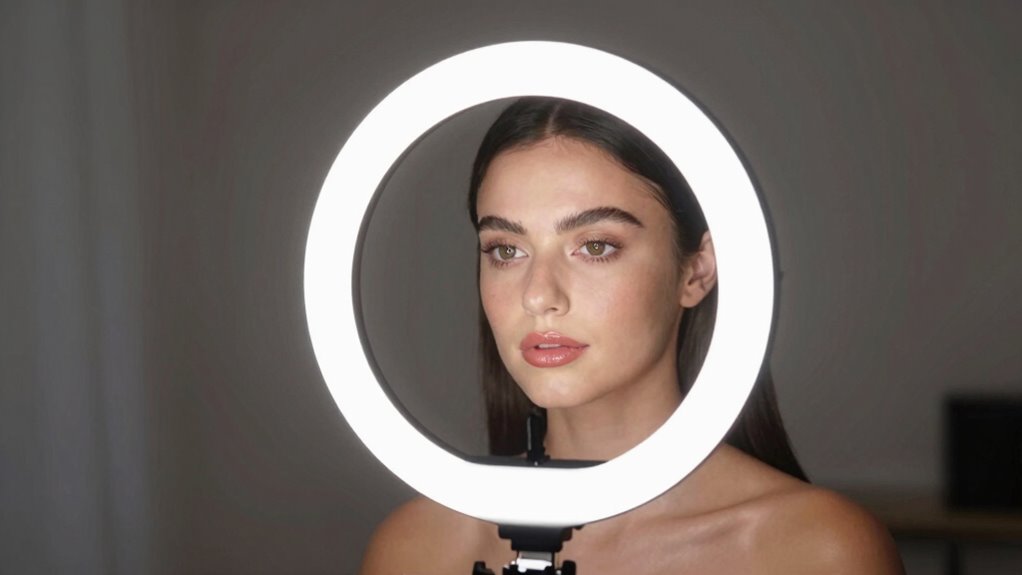
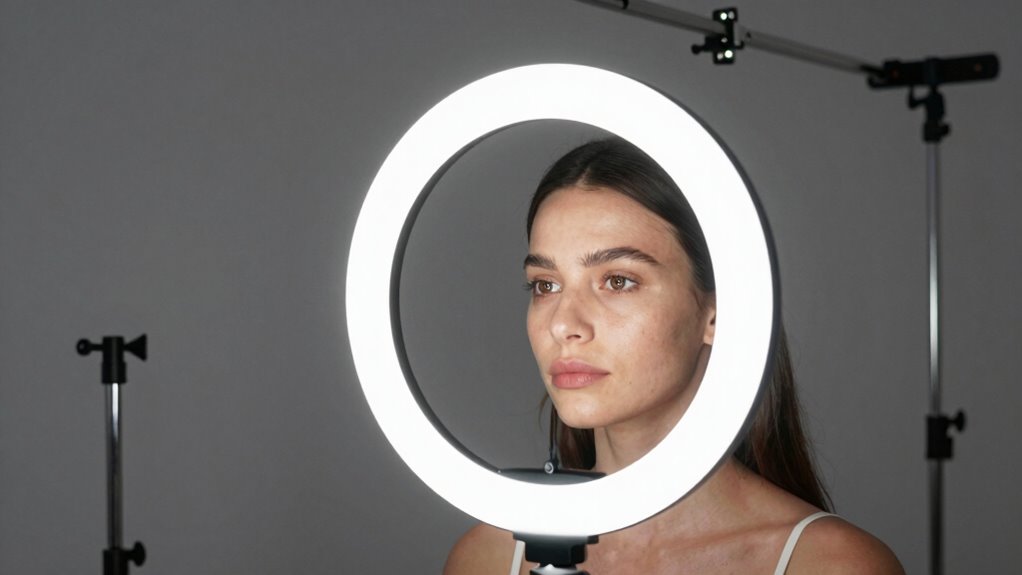
To instantly remove harsh shadows with your ring light, position it at eye level and angle it about 45° above your face, keeping it directly facing or slightly off-center. Adjust the height and tilt downward to emphasize your features evenly while minimizing shadows. Using diffusion covers softens light edges, and fine-tuning brightness controls help achieve a balanced glow. Continue optimizing your setup, and you’ll discover even more tips for perfect lighting every time.
Key Takeaways
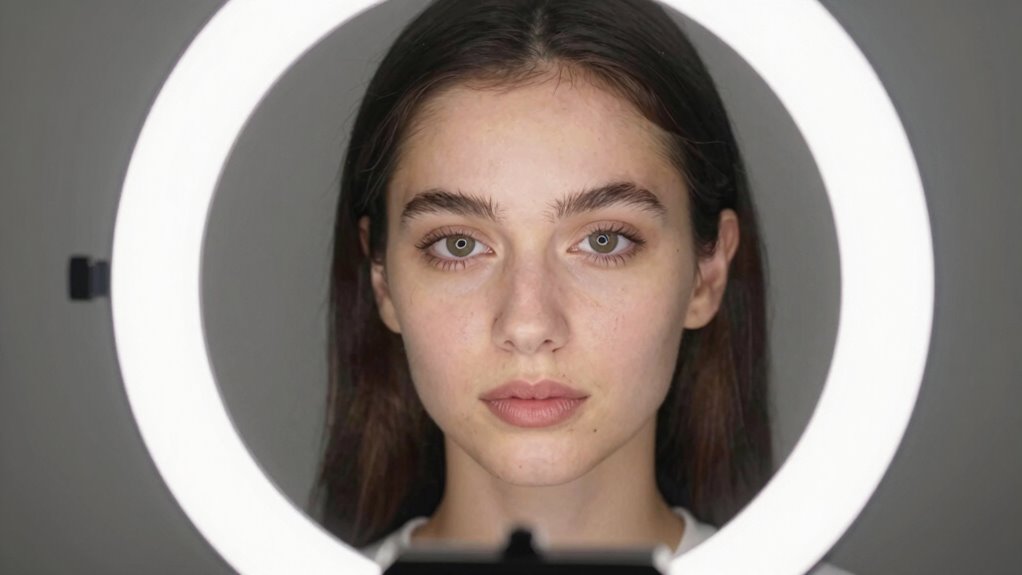
- Position the ring light directly in front of you at eye level for even, shadow-free illumination.
- Slightly tilt the ring light downward, about 45° above face, to minimize unflattering shadows.
- Keep the light about 1-3 feet from your face, adjusting distance to control shadow softness and brightness.
- Use diffusion covers to soften harsh edges and reduce shadows caused by direct lighting.
- Reassess and adjust the height, angle, and distance regularly to maintain optimal shadow reduction.

UBeesize 12'' LED Ring Light with 62'' Tripod Stand, Selfie Ring Light for Video Recording, Live Streaming, TikTok & YouTube, Compatible with iPhone & Android (Black)
【12” Powerful LED Ring Light with 240 LEDs】This upgraded 12-inch ring light features 240 high-efficiency LEDs delivering 10W…
As an affiliate, we earn on qualifying purchases.
As an affiliate, we earn on qualifying purchases.
Why Proper Lighting Makes Your Selfies Look Better
Good lighting is essential if you want your selfies to look their best. Proper lighting enhances your features and creates a polished look. Pay attention to color temperature; a warm tone can give your skin a healthy glow, while cooler tones can create a fresh, crisp appearance. Light diffusion plays a vital role by softening harsh shadows and reducing glare, making your skin appear smooth and even. Using a ring light with adjustable settings allows you to control both color temperature and light diffusion, ensuring your selfies are well-lit without unflattering shadows. When lighting is optimized, your photos look more professional and appealing. Additionally, understanding how to set up your lighting equipment safely and effectively can significantly improve your results. Incorporating the right lighting angles can further eliminate unwanted shadows and highlight your best features effortlessly. Proper lighting placement is also crucial to avoid flat or uneven illumination, making your selfies stand out even more. To achieve the best results, consider experimenting with different lighting configurations to find what best complements your features. Adjusting your lighting setup according to your environment can also help you achieve consistent, high-quality photos.
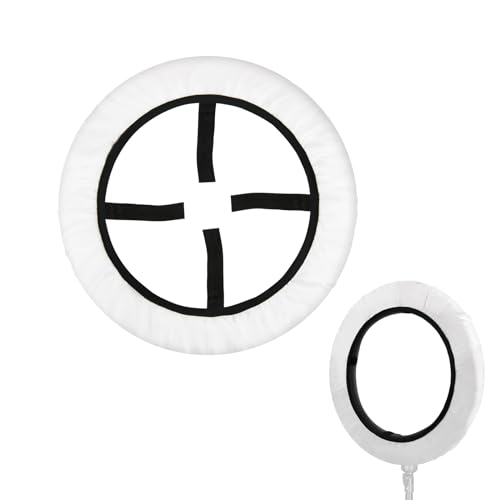
Cosmos 2 Pcs Ring Ligter Diffuser Soft Cover White Light Diffuser Cloth for Photography Video Studio, Fits 12" to 14" Ring Light
Ring Light Diffuser: this soft diffuser cover for ring light can effectively soften the light to reduce highlights…
As an affiliate, we earn on qualifying purchases.
As an affiliate, we earn on qualifying purchases.
How to Position Your Ring Light for Flattering Selfies
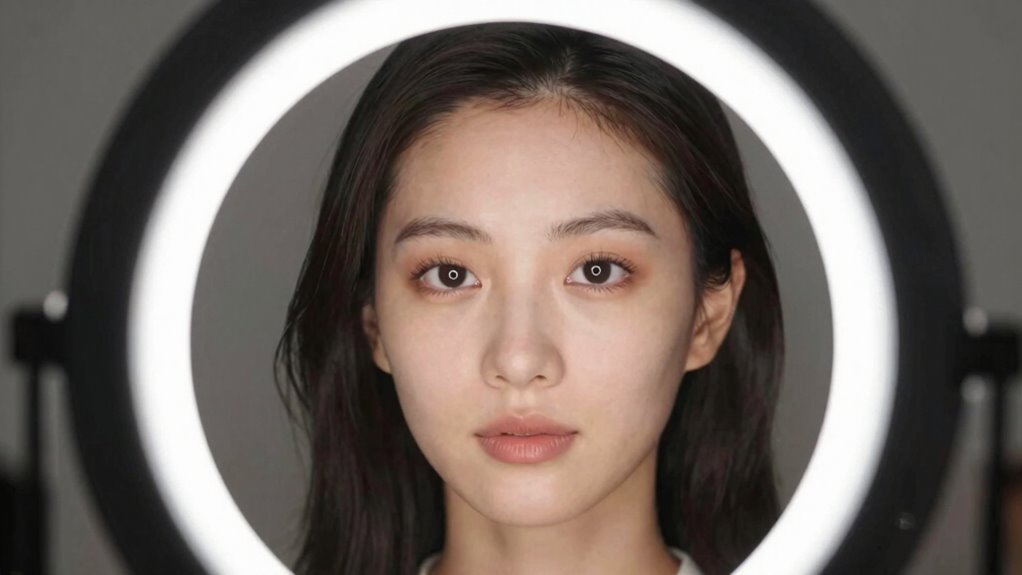
To achieve the most flattering selfies with your ring light, proper positioning is key. Start by placing the ring light at eye level to guarantee even light distribution and minimize shadows. Keep the light directly in front of you, about 45 degrees above your face, to enhance your features and avoid unflattering shadows under your chin or nose. Adjust the distance of the light to control brightness; closer lights create a softer glow, while farther lights add more contrast. Good light positioning helps with shadow management, reducing harsh shadows that can distort your look. Experiment with angle and height until you find a setup that highlights your best features naturally. Proper placement ensures your selfie is well-lit, balanced, and visually appealing. Creating a joyful environment through mindful lighting choices can also boost your confidence and well-being during photo sessions.
UBeesize 12'' LED Ring Light with 62'' Tripod Stand, Selfie Ring Light for Video Recording, Live Streaming, TikTok & YouTube, Compatible with iPhone & Android (Black)
【12” Powerful LED Ring Light with 240 LEDs】This upgraded 12-inch ring light features 240 high-efficiency LEDs delivering 10W…
As an affiliate, we earn on qualifying purchases.
As an affiliate, we earn on qualifying purchases.
Adjusting Your Ring Light to Minimize Shadows
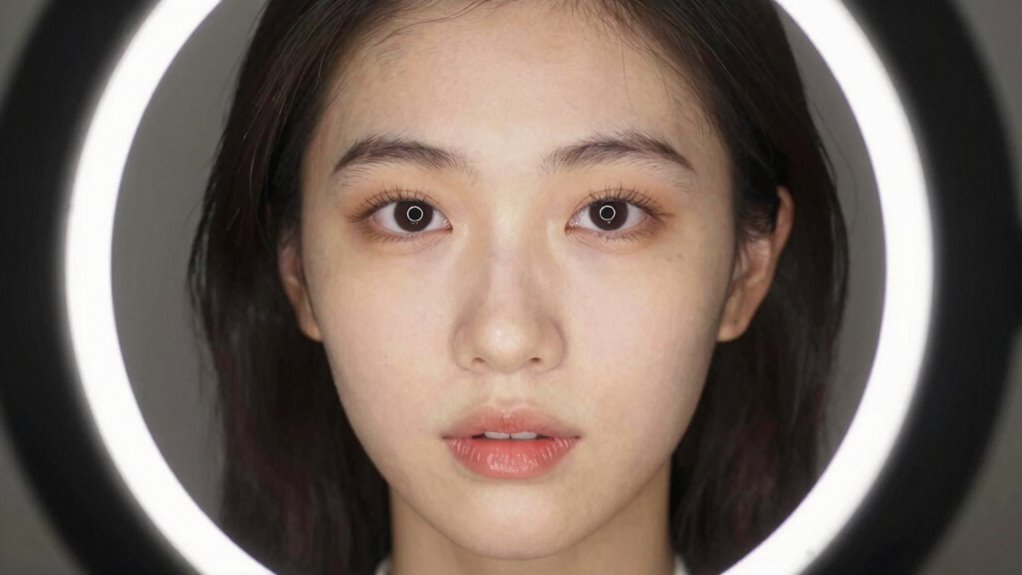
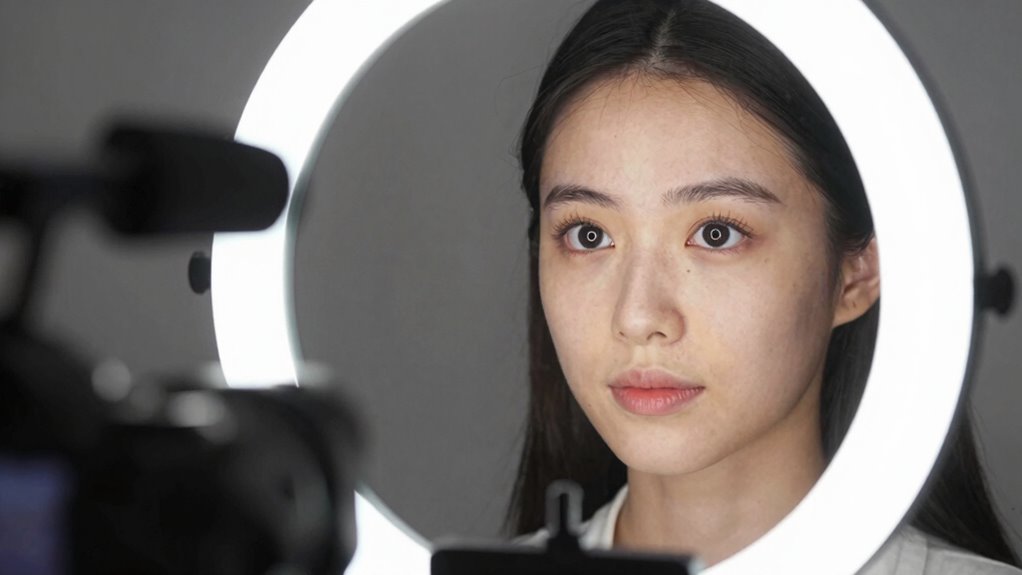
Adjusting your ring light effectively can considerably reduce unwanted shadows and create a more balanced, professional look. To minimize shadow castings, focus on optimizing diffuse coverages and positioning. First, adjust the height and angle of your ring light so it’s directly facing your face, reducing harsh shadows underneath your chin or nose. Second, use the diffusion coverages provided with your ring light—these soften the light, preventing sharp shadow edges. Third, experiment with distance; moving the ring closer or further can help balance light spread and shadow reduction. Proper positioning and diffusion ensure even lighting, minimizing shadow castings and producing a natural, flattering glow. These adjustments are essential for achieving professional-quality video with minimal shadows.
![Weilisi 12" Selfie Ring Light with 63" Tripod Stand, Dimmable LED Ring Light with Phone Holder and Wireless Remote, [2-in-1] RGB & Selfie Stick for Photography/Makeup/Live Stream/YouTube](https://m.media-amazon.com/images/I/412xW8KroAL._SL500_.jpg)
Weilisi 12" Selfie Ring Light with 63" Tripod Stand, Dimmable LED Ring Light with Phone Holder and Wireless Remote, [2-in-1] RGB & Selfie Stick for Photography/Makeup/Live Stream/YouTube
【Dimmable Light & Upgraded Lamp Beads】: Weilisi 12" Ring Light provides 3-color lighting modes, Warm Light, Cool White,…
As an affiliate, we earn on qualifying purchases.
As an affiliate, we earn on qualifying purchases.
Using Your Ring Light’s Features to Perfect Your Lighting
Your ring light comes equipped with a variety of features designed to enhance your lighting setup and achieve a professional look. One key feature is adjustable color temperature, allowing you to switch between warmer or cooler tones to match your environment or mood. You can fine-tune this setting to create a natural, flattering glow or a more dramatic effect. Additionally, power settings give you control over brightness levels, helping you avoid overexposure or underexposure. Understanding light modulation and experimenting with these features can help you optimize your lighting for different scenarios, ensuring your face is evenly lit and shadows are minimized. Mastering the use of color temperature and power adjustments will elevate your video quality and give your content a polished, professional appearance. Incorporating connected equipment and app controls can further refine your lighting setup for a seamless, high-quality video experience. Understanding lighting setup and how to balance your equipment will help you achieve more consistent results, especially when considering light positioning techniques for optimal shadow reduction. Exploring natural lighting effects can also enhance your overall video quality by complementing your ring light’s settings.
Testing and Fine-Tuning Your Ring Light Setup

Testing and fine-tuning your ring light setup is essential to achieve the best possible lighting for your videos. Proper adjustments ensure even light diffusion and eliminate harsh shadows. Start by experimenting with the power settings to find the ideal brightness that flatters your face without overexposing. Next, observe how the light diffusion affects the overall softness; adjusting the distance or adding diffusers can improve this. Additionally, paying attention to the lighting principles behind shadow creation and diffusion can help you make more informed adjustments. Understanding how passive voice can impact clarity and engagement is also helpful for refining your writing. Incorporating simple setup strategies can also help streamline your lighting adjustments. Being mindful of your home environment and background can further enhance your video quality. To achieve a natural and flattering look, consider light positioning techniques that minimize unwanted shadows. Through these tweaks, you’ll optimize your lighting setup for professional-looking videos.
Common Mistakes That Cause Shadow Problems in Ring Light Setups
Even with careful fine-tuning, common mistakes can cause unwanted shadows in your ring light setup. One frequent error is poor light diffusion, which leads to harsh shadows and uneven lighting. If your ring light isn’t diffused enough, it creates strong shadow casting on your face or background. Additionally, positioning the light too close or too far can cause unwanted shadow effects; too close may create intense shadows, while too far reduces effectiveness. Another mistake is misalignment—if the ring light isn’t centered or angled incorrectly, shadows may fall in unflattering spots. Proper light diffusion techniques are essential for softening shadows and achieving a balanced look. Finally, neglecting to test different angles before filming can result in avoidable shadows. Paying attention to these details ensures your light diffusion minimizes shadow casting, giving you an even, professional look. Proper lighting setup is essential for achieving a shadow-free, flattering appearance on camera.
Finding the Best Ring Light Angles for Your Face Shape
Your face shape influences which ring light angles will look best on camera. For oval faces, adjusting the light to highlight your features creates a balanced glow, while round faces benefit from lighting that elongates your appearance. By customizing your angle, you can achieve a flattering, professional look tailored to your face shape. Additionally, understanding the fundamentals of lighting setup helps you optimize your workspace for a confident and comfortable appearance. Recognizing how narcissistic traits influence self-presentation can also inform how you position your lighting to project confidence. Selecting the right best safety glasses for 2024 ensures your eyes are protected during your lighting adjustments and video shoots. Incorporating AI-powered tools can further enhance your content creation process by providing personalized lighting recommendations and lighting calibration techniques to perfect your setup.
Angle Adjustments for Oval Faces
To flatter an oval face with a ring light, adjusting the angle is key. Since oval faces are well-balanced and showcase natural symmetry, you can experiment with slight shifts to enhance your features. Position the ring light slightly above eye level to highlight your face’s symmetry while softening shadows. Modify the lighting color to complement your skin tone and add warmth or coolness as needed. Proper lighting angles are essential for achieving a natural and flattering look, especially when aiming to reduce harsh shadows. Consider these adjustments:
- Tilt the ring light downward for a more direct, flattering glow that emphasizes cheekbones.
- Shift the light slightly off-center for a dynamic, less uniform look that enhances natural contours.
- Vary the angle to find the perfect balance between face symmetry and shadow reduction, creating a polished, professional appearance.
- Remember that lighting positioning tools can help you achieve consistent and ideal illumination tailored to your face shape.
- Adjusting the light placement can make a significant difference in how your features are highlighted and shadowed, ensuring you look your best on camera.
- Utilizing adjustable lighting equipment allows for precise control over light direction, which is especially beneficial for capturing the most flattering image of your face.
Lighting Tips for Round Faces
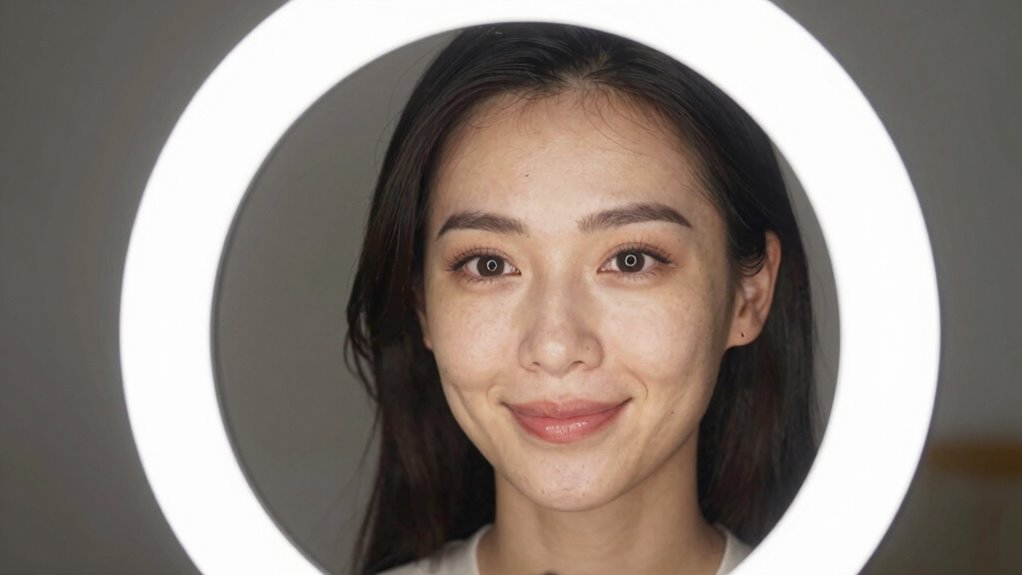
Are you wondering how to position your ring light to best flatter a round face? The key is to place the light slightly above eye level and directly in front. This angle creates a gentle, even glow that minimizes shadows and accentuates your features. When doing makeup application, this lighting helps you see your face clearly and avoid harsh lines. For camera settings, keep the brightness moderate to prevent overexposure, which can emphasize roundness. Experiment with slight adjustments—raising or lowering the light—to find the most flattering position. Remember, the goal is to create a balanced, soft illumination that highlights your natural contours without adding unflattering shadows. With the right angle, you’ll achieve a polished look that complements your face shape effortlessly.
Mounting Options to Achieve the Perfect Light Angle
Choosing the right mounting option is essential for achieving the perfect light angle with your ring light. Stability is key to ensuring your light stays in place during shoots. To optimize your setup, consider these options:
Selecting the right mount ensures stability and perfect lighting angles for professional results.
- Tripod Mounts: Use a sturdy tripod with excellent stability to position your ring light at the ideal height and angle, minimizing wobble.
- Clamp Mounts: Attach your ring light securely to desks or shelves with adjustable clamps, offering flexibility in tight spaces.
- Mounting Hardware: Select compatible mounting brackets or adapters that fit your ring light, ensuring a secure fit and easy adjustments.
These options help you control the light’s angle precisely while maintaining tripod stability, giving you professional, shadow-free illumination every time.
Troubleshooting Shadows When They Won’t Go Away
When shadows persist despite your best efforts, it often means the light isn’t positioned ideally or something is blocking it. Start by adjusting the ring light’s angle and height to reduce harsh shadows. Check the color temperature—if it’s too warm or cool, it can accentuate shadows rather than soften them. Switching to a more neutral setting might help. Also, review your power settings; increasing brightness can help fill in shadows, but be careful not to overexpose. Sometimes, dimming or adjusting the intensity of your light can create a more even glow. If shadows still won’t go away, consider repositioning additional light sources or diffusers to bounce light into shadowed areas. Proper adjustments of position, color temperature, and power are key to eliminating stubborn shadows.
Tips for Maintaining Perfect Lighting in Any Setting
Maintaining perfect lighting in any setting requires attention to detail and adaptability. To achieve consistent results, focus on adjusting your ring light’s color temperature and power settings. Properly matching the color temperature to your environment prevents unnatural hues, ensuring your skin tone looks natural. Meanwhile, fine-tuning the power settings helps control brightness and prevents overexposure or shadows.
Adjust your ring light’s color temperature and power for natural, balanced lighting in any environment.
Consider these tips:
- Always set your ring light’s color temperature to complement ambient light, avoiding harsh contrasts.
- Use adjustable power settings to tailor brightness, especially when switching between indoor and outdoor settings.
- Regularly reassess your lighting setup to maintain balance, making small tweaks to color temperature and power for *ideal* results.
Frequently Asked Questions
Can Ring Lights Be Used Effectively Outdoors?
Yes, you can use ring lights effectively outdoors, but you’ll need to take into account outdoor lighting conditions and shadow control. Position the ring light close to your face to minimize shadows and ensure even illumination. Use it in shaded areas or during cloudy days for softer light, and avoid direct sunlight to prevent glare. Properly angling your ring light enhances your video quality and makes shadows less harsh, giving you professional-looking results outside.
What Is the Ideal Ring Light Size for Small Spaces?
Imagine your cozy corner glowing with perfect light. For small spaces, a 10-12 inch ring light is ideal, offering flexible lighting angles that create soft, flattering shadows. It’s compact enough to fit without clutter, yet powerful enough to evenly illuminate your face. You’ll love how the right size helps you control shadow softness, making your videos look professional without overwhelming your space.
How Do Color Temperature Settings Affect Shadow Removal?
Adjusting the color temperature impacts shadow softness by influencing the light’s warmth or coolness. A lower color temperature (warmer light) creates softer shadows, making your features appear smoother and more natural. Conversely, higher color temperatures (cooler light) produce sharper shadows, which can emphasize textures. By fine-tuning your ring light’s color temperature, you control shadow removal, ensuring your video looks polished and well-lit without harsh shadows.
Are There Specific Ring Light Brands Known for Shadow Minimization?
You’ll find that brands like Neewer, Diva Ring Light, and Elgato have a strong reputation for minimizing shadows. Based on user reviews, these brands offer ring lights with adjustable angles and high-quality diffusers, which help reduce harsh shadows effectively. When choosing, consider their build quality and customer feedback to guarantee you get the best shadow-free lighting for your video setup.
How Long Do LED Ring Lights Typically Last?
LED ring lights usually last between 25,000 to 50,000 hours, offering impressive light longevity. That means if you use your ring light for just 3 hours daily, it could serve you for over 40 years! The bulb lifespan depends on quality, with high-end models providing longer-lasting LEDs. Regularly cleaning and avoiding overuse can extend your ring light’s lifespan, ensuring consistent, shadow-free lighting for all your videos.
Conclusion
With the right ring light setup, you’ll be able to banish harsh shadows and look your best every time. Play around with angles, adjust your light’s features, and don’t be afraid to experiment until everything’s just right. Remember, lighting is the foundation of a great shot—getting it right can make all the difference. So, don’t let shadows steal the show; take control and shine bright like a diamond!