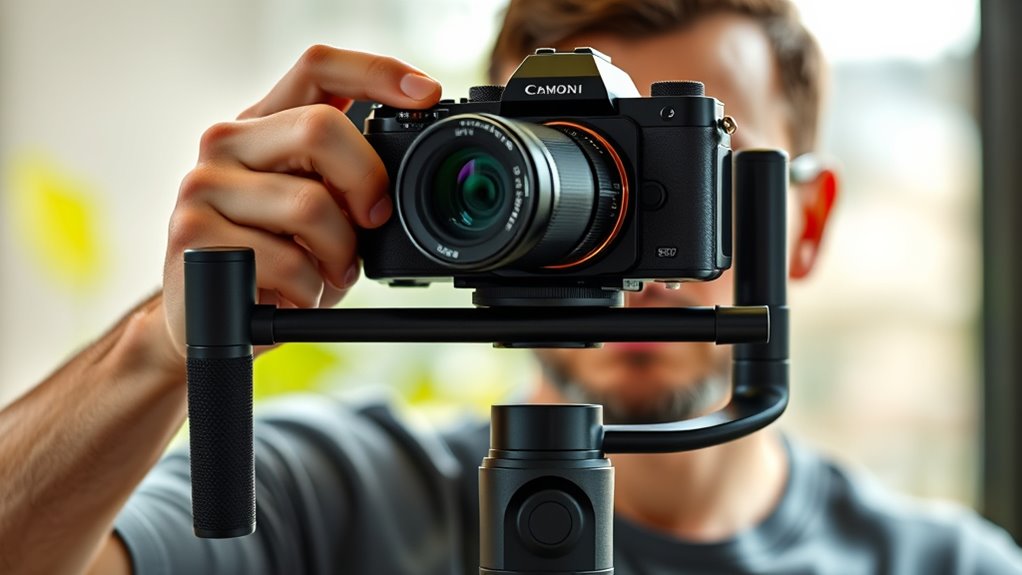
To quickly balance your mirrorless camera on a gimbal for cinematic shots, start by attaching your camera and lens securely. Balance the tilt, then the roll and pan axes, tightening screws as you go. Use a compatible quick-release plate for fast setup. Make certain the camera is level and weights are evenly distributed. Always double-check your setup before shooting to ensure smooth footage. Keep exploring for expert tips on achieving perfect balance every time.
Key Takeaways
- Attach the mirrorless camera securely on a compatible quick-release plate, ensuring lens calibration before balancing.
- Balance tilt, then roll, and finally pan axes for quick, effective stabilization.
- Use lightweight lenses and counterweights to simplify balancing and reduce motor strain.
- Fully charge batteries and tighten all screws to prevent shifts during setup and filming.
- Recheck and fine-tune balance regularly, especially after changing lenses or shooting angles for cinematic results.
Why Proper Gimbal Balance Is Key to Cinematic Footage
Proper gimbal balance is essential because it directly affects the stability and smoothness of your footage. When your gimbal is balanced correctly, it reduces strain on the motors, which helps preserve your camera’s sensor calibration, ensuring consistent image quality. An unbalanced setup causes the motors to work harder, draining your battery faster and shortening your shooting time. Maintaining proper balance minimizes vibrations and jitters, leading to more cinematic results. It also prevents motor overheating and unnecessary wear, extending the gimbal’s lifespan. By dedicating time to balancing your mirrorless camera properly, you optimize both sensor calibration and battery efficiency, giving you reliable performance and exceptional footage every time. Proper balance is the foundation of professional-looking, steady shots. Additionally, understanding the importance of contrast ratio can help you achieve richer, more detailed images in your footage. Recognizing the power efficiency of your gimbal setup can also contribute to longer shooting sessions and overall reliability.
Getting the Right Gear for Fast Mirrorless Gimbal Balancing
To balance your mirrorless gimbal quickly, you need the right gear in place. Ensuring camera compatibility and choosing the proper weight distribution techniques make a big difference. Selecting the right quick-release plate also helps streamline the setup process. Additionally, understanding the application methods of your chosen accessories can further optimize your setup efficiency. Being aware of gimbal calibration procedures ensures smoother operation and better footage quality. Properly maintaining your gear and understanding support tools can also contribute to faster and more reliable balancing.
Camera Compatibility Essentials
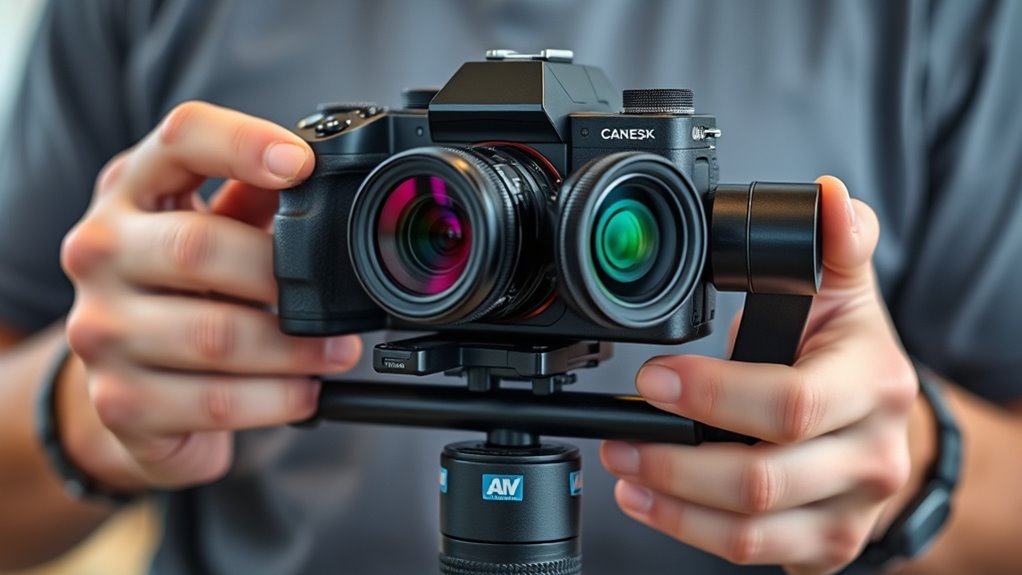
Choosing the right camera for your mirrorless gimbal is essential for quick and easy balancing. First, check sensor compatibility—smaller sensors like APS-C or Micro Four Thirds generally make balancing simpler due to lighter weights. Larger sensors, like full-frame, may require additional counterweights or careful adjustments. Next, consider lens mounting; a compatible lens with a balanced weight distribution ensures smoother operation. Lightweight lenses reduce strain on the gimbal and help you achieve faster setup times. Avoid cameras with bulky or unevenly weighted bodies, as these complicate balancing. By selecting a camera with compatible sensors and suitable lens mounts, you’ll streamline the process, saving time and effort while ensuring your footage remains stable and cinematic.
Proper Weight Distribution Techniques
Achieving quick and stable gimbal balance hinges on distributing weight effectively across your setup. Focus on proper weight distribution by ensuring the camera and accessories are balanced around the gimbal’s center of gravity. Start by placing your camera slightly forward or backward to find the spot where the gimbal feels balanced with minimal effort. Adjust the positioning of lenses, batteries, or additional gear to maintain an even weight distribution. Keep in mind that shifting the center of gravity closer to the gimbal’s motor reduces strain and improves stability. Use counterweights or mounting plates if necessary to fine-tune balance. Regularly check and re-adjust as you add or change gear, ensuring the weight distribution remains *ideal* for quick, precise balancing and smooth footage.
Quick-Release Plate Selection
Ever wonder how the right quick-release plate can speed up your gimbal setup? Choosing the correct quick-release plates guarantees quick, secure mounting and easy adjustments. Compatibility is key—select plates that fit your camera and gimbal to avoid delays. To find the best fit, review plate compatibility with your gear, considering size, screw type, and locking mechanisms. Here’s a quick comparison:
| Plate Type | Compatibility | Locking Mechanism |
|---|---|---|
| Manfrotto RC2 | Most mirrorless cameras | Lever lock |
| Arca-Swiss | Wide range of gear | Clamp lock |
| DJI Ronin-S | Specific to DJI gimbals | Quick-release latch |
| Generic Universal | Varies, check specs | Spring or screw lock |
Matching the right quick-release plates streamlines your setup, saving time and ensuring stability. Additionally, standardized mounting systems help ensure that your gear remains compatible across different brands and accessories. Properly designed plates also contribute to overall equipment durability, which is crucial during fast-paced shoots and outdoor adventures.
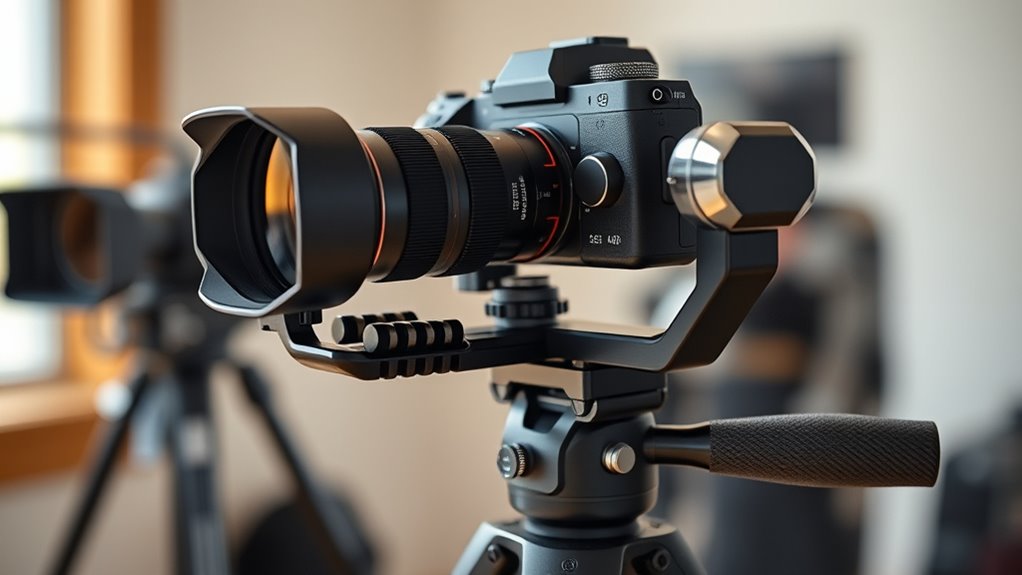
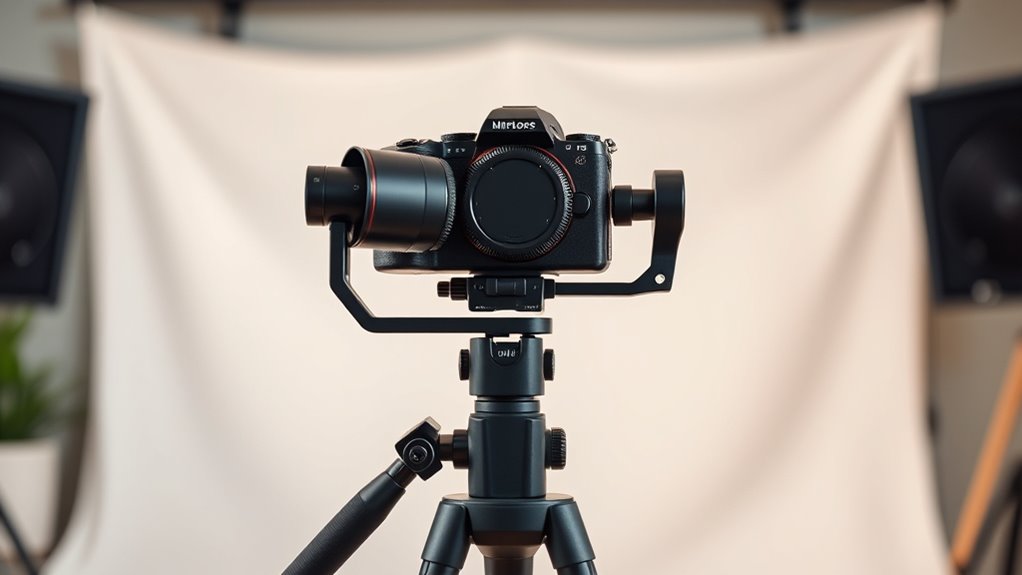
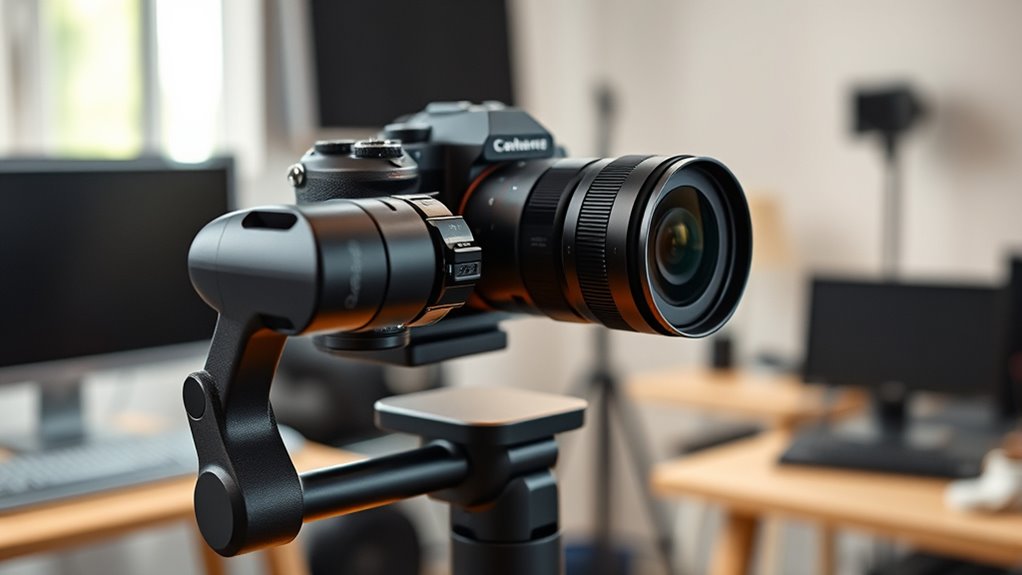
Quickly Balance Your Mirrorless Gimbal: Step-by-Step Guide

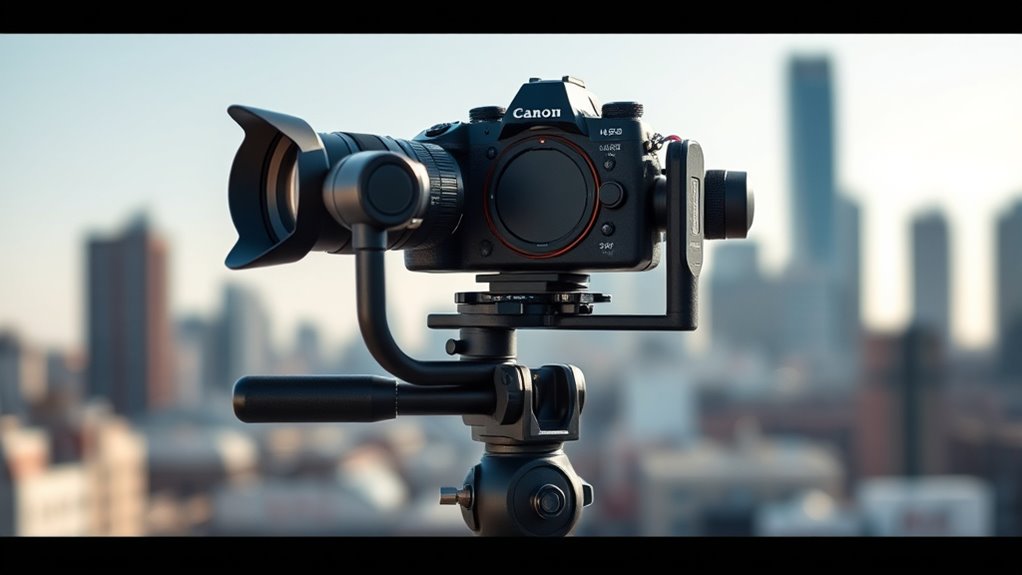
Balancing your mirrorless gimbal quickly is vital for smooth footage and easy operation. Start by ensuring your lens calibration is correct, as an uneven lens can affect balance. Attach your camera to the gimbal and adjust the tilt axis first, moving it until the camera stays level when you let go. Next, balance the roll axis by shifting the camera side to side, and then adjust the pan axis if needed. Keep in mind that battery management is essential—use a fully charged battery to avoid unnecessary weight shifts. Once all axes are balanced, tighten all screws securely. Proper balancing reduces motor strain, extends battery life, and guarantees cinematic stability in your shots.
Common Mistakes to Avoid When Balancing Your Gimbal
One common mistake is neglecting to double-check the camera’s weight distribution after initial balancing. Failing to do so can cause uneven strain on your gimbal motors, leading to shaky footage or motor burnout. Make sure your lens calibration is correct, as an unbalanced lens adds unnecessary weight and impacts stability. Also, verify your battery placement is secure; shifting batteries can throw off the balance. Always confirm that the camera’s center of gravity remains aligned after adjusting for lens and battery placement. Ignoring these details can result in poor performance and difficulty in achieving smooth shots. Properly balancing your gimbal requires attention to both initial setup and ongoing adjustments, preventing common pitfalls that compromise cinematic quality. Additionally, regularly inspecting your power tools and equipment ensures everything remains in optimal condition for consistent results, especially when handling micro-mobility gear that demands reliable performance. Incorporating advanced stabilization techniques can further enhance footage quality and reduce the need for post-production correction.
Adjusting Your Gimbal for Different Lenses and Payloads

When you switch lenses or change your camera’s payload, you need to recalibrate your gimbal to maintain proper balance. This involves fine-tuning the balance for different lens sizes and updating payload settings to match the weight. Doing so ensures smooth footage and reduces strain on your gimbal’s motors.
Balancing Different Lenses
Adjusting your gimbal for different lenses and payloads guarantees smooth operation and peak stability. When balancing, start by considering the lens weight, as heavier lenses can shift the center of gravity. Focal length also impacts balance; longer lenses tend to be front-heavy, requiring more precise adjustments. Attach the lens securely and position your gimbal to mimic your typical shooting angle. Use the tilt and roll axes to fine-tune the balance, ensuring the camera stays level without drift. Keep in mind that changing lenses with different focal lengths may necessitate rebalancing to maintain stability. Taking the time to properly balance each lens ensures fluid footage and reduces strain on your gimbal motors, ultimately delivering smoother shots and better cinematic quality. Additionally, payload distribution plays a crucial role in achieving optimal stabilization, especially when using accessories or additional equipment. Properly distributing weight across your setup helps maintain balance and prevents unnecessary wear on gimbal components.
Adjusting Payload Settings
Have you ever wondered why your gimbal feels sluggish or unresponsive after switching lenses or payloads? It’s likely because you need to adjust your payload settings. Proper payload calibration ensures your gimbal understands the weight distribution of your gear, allowing it to operate smoothly. Start by entering your new payload weight into the gimbal’s settings, then fine-tune the balance to match the new lens or accessory. Pay close attention to weight distribution—centered and evenly balanced loads reduce strain on motors and improve responsiveness. If your gimbal still feels off, recheck the balance and make small adjustments. Correct payload calibration helps your gimbal perform efficiently, providing stable, cinematic footage regardless of the lens or payload you’re using. Thermal behavior in your gimbal’s motors can also influence responsiveness, so understanding how heat affects your equipment can help maintain peak performance.
Keeping Your Mirrorless Gimbal Balanced During Shots

Maintaining proper balance on your mirrorless gimbal is essential to capturing smooth, professional shots. As you film, keep an eye on how lighting techniques affect your scene, guaranteeing your camera remains steady despite changes in light. Adjust your grip and position to maintain even weight distribution, preventing sudden shifts. During dynamic shots, stay mindful of audio optimization; stable footage minimizes disruptions caused by shaky footage that can interfere with sound clarity. Regularly check that your gimbal stays balanced, especially when changing angles or lenses. Using quick-release plates or fine-tuning knobs helps you make rapid adjustments on the fly. Staying attentive to these details ensures your footage remains smooth, cinematic, and visually compelling throughout your shoot. Additionally, understanding the weight distribution of your setup and making precise adjustments can significantly improve stability and footage quality. Properly balancing your gimbal reduces vibration transfer, leading to clearer, more professional-looking footage. To enhance your setup further, consider balance calibration techniques to fine-tune your equipment for optimal performance. Being aware of dynamic weight shifts during movement can further prevent unintended camera tilts and jerks. Moreover, maintaining a consistent center of gravity during filming helps achieve more stable and cinematic results.
Troubleshooting Tips When Your Gimbal Won’t Balance Properly
When your gimbal refuses to stay balanced, it can disrupt your shot flow and compromise footage quality. To troubleshoot, start by checking if your lens calibration is accurate; an uncalibrated lens can throw off weight distribution. Next, optimize your battery; a low battery can cause motor issues, affecting balance. Ensure your camera is securely mounted and centered on the gimbal. Also, verify that your accessories, like microphones or monitors, aren’t adding unexpected weight.
- Recalibrate your lens and camera setup
- Fully charge your batteries before shooting
- Recheck and tighten all mounting screws
- Remove unnecessary accessories for testing
Applying these tips helps restore balance and ensures smooth, cinematic footage.
Tips for Speedy Setup Before Shooting
To guarantee a quick setup before shooting, organize your gear in advance so you can assemble your gimbal efficiently. Start by checking your lens calibration to ensure your camera is ready for smooth footage. Keep extra batteries charged and perform battery maintenance regularly to avoid power interruptions during shoots. Set up your tripod or support system beforehand to save time. Attach your lens securely and balance your camera on the gimbal, following your usual quick calibration process. Having everything prepared minimizes delays and keeps your workflow streamlined. Double-check connections and settings before mounting your camera. This preparation allows you to focus on capturing cinematic shots without wasting time troubleshooting, ensuring a fast, smooth setup every time. Additionally, understanding your filtration system can help you optimize your camera’s performance and image quality during shoots. Familiarizing yourself with wilderness safety practices can also help you handle unexpected technical issues or environmental challenges more confidently. Paying attention to camera ergonomics can improve your handling and reduce fatigue during extended shoots. Being aware of quick calibration techniques can further streamline your setup process, saving valuable time on set.
Final Tips for Smooth, Cinematic Footage Every Time
Once your gimbal is set up and balanced, focusing on techniques to keep your footage smooth makes all the difference in achieving cinematic quality. To enhance camera stabilization, maintain steady movements and avoid sudden jerks. Regularly check your lens calibration to ensure sharp, professional shots. Keep your movements fluid, using your body as a natural stabilizer, and avoid abrupt stops. Practice slow, deliberate pans and tilts for a cinematic feel. Additionally, consider using slow zooms to add depth. Smooth footage also depends on proper focusing and avoiding overcorrections. Properly gimbal setup is essential for maintaining stability throughout your shots. With these tips, you’ll consistently produce professional-looking, cinematic footage that captivates viewers.
Frequently Asked Questions
How Often Should I Recalibrate My Gimbal During a Shoot?
You should recalibrate your gimbal whenever you notice instability or shifts in footage, especially during long shoots. Calibration frequency depends on your environment and how often you move the setup; perform real-time adjustments as needed. If you switch locations or angles, recalibrate to keep your footage smooth. Regular checks ensure peak performance, so trust your eyes and make adjustments promptly to maintain cinematic quality.
Can I Use Third-Party Batteries or Accessories With My Gimbal?
You can use third-party batteries and accessories with your gimbal, but it’s a bit of a double-edged sword. While they often save you money and expand accessory options, they might not always be fully compatible or reliable. Always check the manufacturer’s guidelines and verify the third-party items meet safety standards. Don’t put all your eggs in one basket—test thoroughly to avoid unexpected hiccups during your shoot.
What’s the Best Way to Transport My Gimbal Safely?
To transport your gimbal safely, use a sturdy carrying case designed for camera gear. These portable solutions protect your equipment from bumps and scratches during transit. Always make sure your gimbal is turned off and secure it properly inside the case. Consider adding padding or foam inserts for extra cushioning. Carry it with care, and avoid abrupt movements to keep your gimbal balanced and ready for cinematic shots whenever you need it.
How Do Weather Conditions Affect Gimbal Balancing and Operation?
Did you know that temperature fluctuations can cause up to a 20% shift in gimbal battery life? Weather impact is significant; moisture, wind, and extreme temperatures affect environmental stability, making balancing tricky. Cold weather can stiffen motors, while humidity may cause corrosion. Always protect your gimbal with weather-resistant covers and check stability regularly, especially in challenging conditions, to guarantee smooth, cinematic footage and prevent equipment damage.
Are There Specific Gimbal Settings for Different Filming Environments?
Yes, you should use specific gimbal profiles and environmental adjustments for different filming environments. For example, switch to a rugged profile in windy conditions to enhance stability, or select a smooth profile indoors for silky footage. Adjust settings like motor strength and damping according to the environment, ensuring your gimbal remains balanced and responsive. Tailoring these profiles helps you capture cinematic shots efficiently, regardless of weather or location.
Conclusion
Think of your gimbal as a tightrope walker—balance is everything. When you get it right quickly, you’re free to focus on storytelling, not fixing gear. I once watched a filmmaker adjust his gimbal in under two minutes, and the smooth footage that followed was like butter. With practice, you’ll master this speed, turning setup time into a seamless dance. Keep your gear balanced, and your cinematic journey will always stay steady and smooth.