Dutch ovens cook evenly because of their thick cast iron walls that distribute heat smoothly and prevent hot spots. Proper seasoning creates a non-stick, heat-conductive surface, while gradual preheating and controlled heat help avoid burning. Using the lid to trap moisture and stirring frequently also prevent hot spots and burnt bottoms. If you want to master baking and slow-cooking without burning, understanding these tips can make a big difference.
Key Takeaways
- Thick cast iron walls act as heat reservoirs, distributing heat evenly and preventing hot spots during cooking.
- Proper seasoning creates a non-stick, heat-conductive surface that promotes uniform heat distribution.
- Gradual preheating and medium or low heat settings help avoid hot spots and burning.
- The lid design traps moisture and hot air, ensuring even cooking and preventing burnt bottoms.
- Regular maintenance, including proper cleaning and re-seasoning, preserves optimal heat distribution and prevents hot spots.
Why Do Dutch Ovens Sometimes Burn Food?
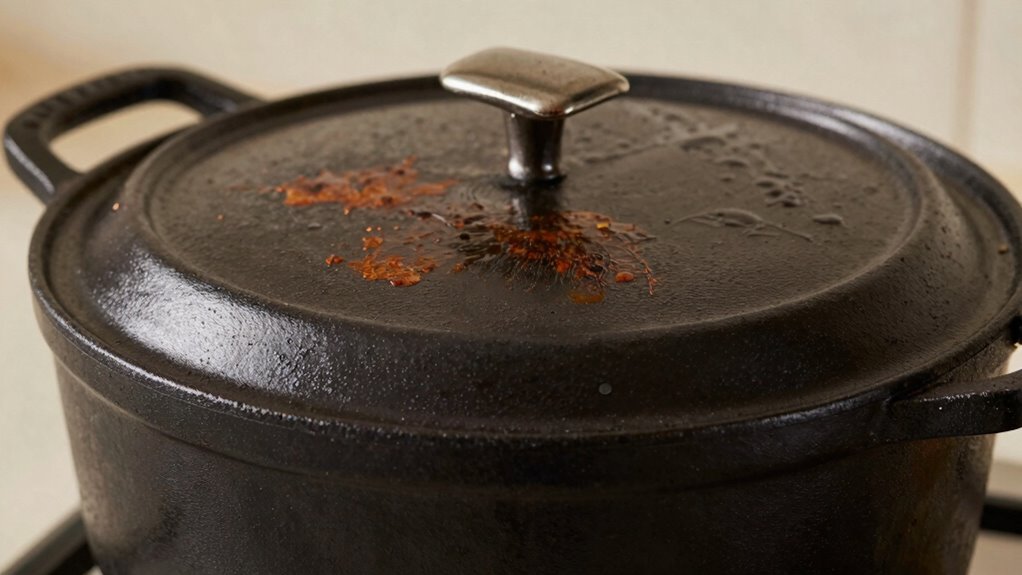
Dutch ovens can sometimes burn food if they aren’t heated evenly or if the heat is too high. Poor heat distribution causes hot spots that can scorch food at the bottom before it’s fully cooked. To prevent this, it’s essential to master proper seasoning techniques. Seasoning creates a natural non-stick surface and helps distribute heat more evenly across the interior. Ensure you heat your Dutch oven gradually, allowing the seasoning to develop and fill in any microscopic pores. If the seasoning isn’t well-established, the surface may be uneven, leading to hot spots. Always start with medium or low heat and adjust as needed. Proper seasoning techniques combined with controlled heating can considerably reduce the risk of burning food and improve your cooking results. Additionally, understanding heat transfer concepts like conduction and natural materials can help you optimize your cooking process and avoid common pitfalls. Being aware of thermal conductivity can guide you in choosing the best materials for even heat distribution.
How Do Dutch Ovens Distribute Heat So Evenly?
Dutch ovens have thick cast iron walls that help retain and spread heat evenly across your food. Their design encourages heat circulation, ensuring consistent cooking without hot spots. This heat circulation is crucial for achieving perfectly cooked dishes. This combination makes them ideal for slow, uniform cooking. Additionally, the materials and design help prevent hot spots, enabling more precise temperature control during cooking. Proper seasoning of your Dutch oven also enhances heat distribution by creating a natural non-stick surface that improves overall heat transfer. Regularly using and maintaining your Dutch oven can also help optimize its heat retention properties for better cooking results. Incorporating proper temperature management techniques can further improve cooking performance and prevent uneven heating.
Thick Cast Iron Walls
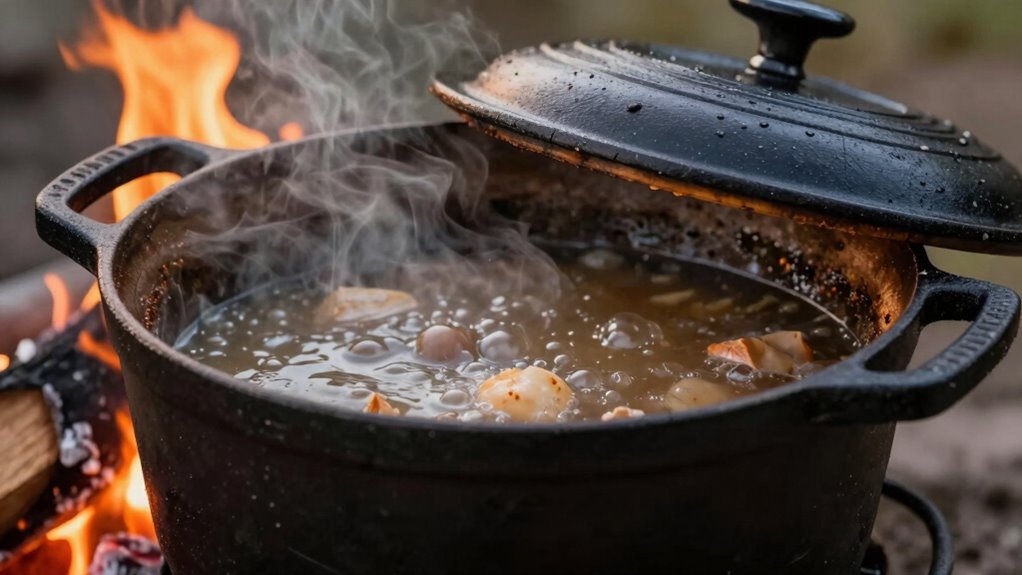
Thick cast iron walls play a crucial role in ensuring your Dutch oven distributes heat evenly across its surface. The sturdy, thick walls act as a heat reservoir, absorbing heat quickly and holding onto it for a long time. This excellent heat retention means your food cooks uniformly, reducing hot spots that can cause uneven cooking. Because heat is stored within the walls, the Dutch oven maintains a steady temperature, even when you adjust the heat source. This consistent heat distribution is essential for slow simmering, braising, or baking. Additionally, the thick walls help prevent sudden temperature swings, giving you more control over your cooking process. The thermal mass of cast iron makes it especially effective at maintaining consistent heat over time. Overall, the combination of thick walls and heat retention is what makes Dutch ovens so reliable for even, thorough cooking.
Heat Circulation Mechanisms
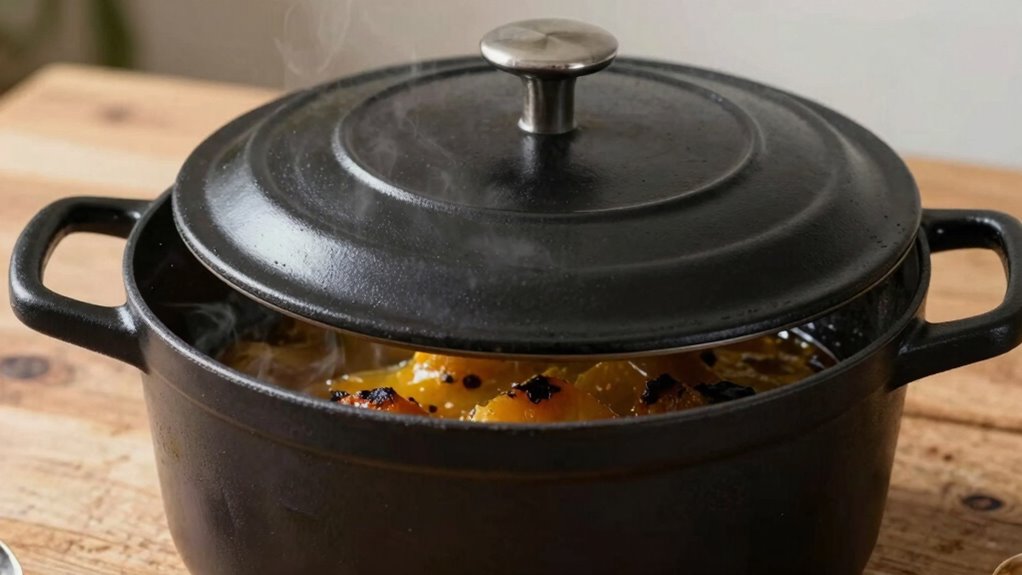
Because of their design, Dutch ovens use a combination of features to guarantee even heat distribution. Their thick cast iron walls absorb and retain heat, but the real secret lies in the airflow design. The lid fits tightly, trapping heat and moisture, which promotes uniform cooking. The lid’s design allows hot air and steam to circulate evenly around the food, preventing hot spots. This airflow pattern ensures consistent heat distribution from the top down. The heavy construction also minimizes temperature fluctuations, maintaining steady heat during cooking. Additionally, digital displays in modern Dutch ovens can help monitor and adjust cooking conditions for optimal results. The heat circulation mechanism is further enhanced by the oven’s ability to retain moisture, which helps prevent dry or unevenly cooked food. Proper airflow control inside the Dutch oven is essential for achieving even cooking results. As a result, heat circulates smoothly inside the Dutch oven, reducing the risk of burnt bottoms or uneven cooking. The combination of thoughtful airflow design and durable material ensures consistent heating, making Dutch ovens highly effective at distributing heat evenly. Moreover, the design features work together to create a balanced cooking environment that minimizes hot spots and promotes even browning.
How to Prepare Your Dutch Oven to Prevent Burning
To prevent burning, you need to prepare your Dutch oven properly before cooking. Start by seasoning the surface so food doesn’t stick, and preheat it gradually to avoid hot spots. Applying adequate oil layers also creates a non-stick barrier that helps distribute heat evenly. Additionally, using a consistent heat source ensures the heat remains steady, reducing the risk of burning.
Properly Season the Surface
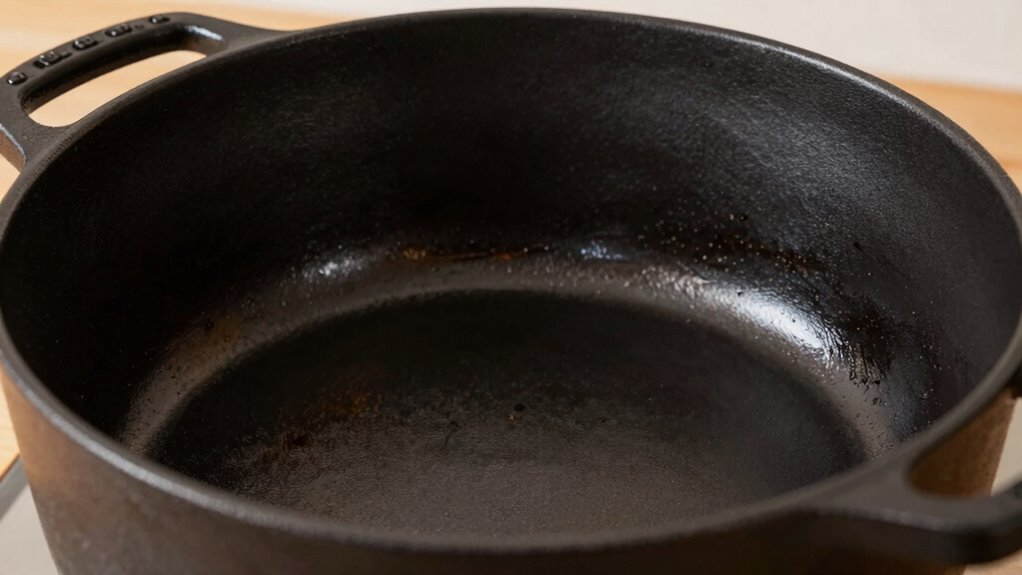
Ever wondered how to keep your Dutch oven from sticking and burning during cooking? Properly seasoning the surface is key. A well-seasoned surface creates a natural non-stick coating that prevents food from sticking and helps distribute heat evenly. To do this, apply a thin layer of oil all over the interior and bake it at a high temperature to create a durable seasoned layer. Regular seasoning also helps with rust prevention, keeping your Dutch oven in top shape for years. Avoid using harsh soaps or scrubbing tools that can strip the seasoning. Instead, clean it gently and reapply oil as needed. Seasoning maintenance is essential for maintaining optimal performance and longevity of your cookware. Proper seasoning ensures your Dutch oven cooks evenly, prevents burnt bottoms, and extends its lifespan. Incorporating local automation can even help remind you when it’s time to re-season your cookware for optimal performance. Additionally, understanding the science behind sound vibrations can deepen your appreciation for how heat and energy interact during cooking. Recognizing the history of cast iron enriches your connection to this enduring cookware tradition. Developing a seasoning routine tailored to your cooking habits can further enhance your results and prolong the life of your Dutch oven.
Preheat Gradually Before Use
Preheating your Dutch oven gradually is essential to prevent hot spots and burning. This process allows for better temperature control, ensuring even heat distribution. Start with a low heat setting and slowly increase it over several minutes. This technique mimics the controlled processes seen in nanotechnology applications, which aim for precise and uniform outcomes. It avoids sudden temperature shocks that can damage the seasoning or cause uneven cooking. To help visualize, here’s a simple comparison:
| Rapid Heating | Gradual Heating |
|---|---|
| Causes hot spots | Ensures even heat distribution |
| Risk of warping | Preserves seasoning |
| Quick but risky | Safer for your Dutch oven |
| Less control | Better temperature control |
| Can lead to burning | Prevents burnt bottoms |
Use Adequate Oil Layers
Applying an adequate layer of oil to your Dutch oven is essential for preventing sticking and burning. Proper oil layers help create a natural non-stick surface and protect the cast iron during cooking. When seasoning your Dutch oven, use a thin, even coating of oil, ensuring no excess pools or drips. This promotes uniform seasoning methods that build a durable, non-stick finish over time. Regularly applying fresh oil before each use helps maintain this protective layer. If the oil layer is too thick or uneven, food may stick or burn, especially at the bottom. So, always wipe away excess oil and ensure a smooth, consistent coating. Consistent application of oil helps achieve a uniform seasoning that enhances cooking performance. This simple step greatly enhances even cooking and prolongs your Dutch oven’s lifespan. Additionally, using proper cleaning techniques ensures the seasoning remains intact and effective over many cooking sessions. Proper maintenance also involves understanding how oil absorption impacts the seasoning process, ensuring a resilient and well-seasoned surface.
The Best Cooking Techniques to Avoid Burnt Spots

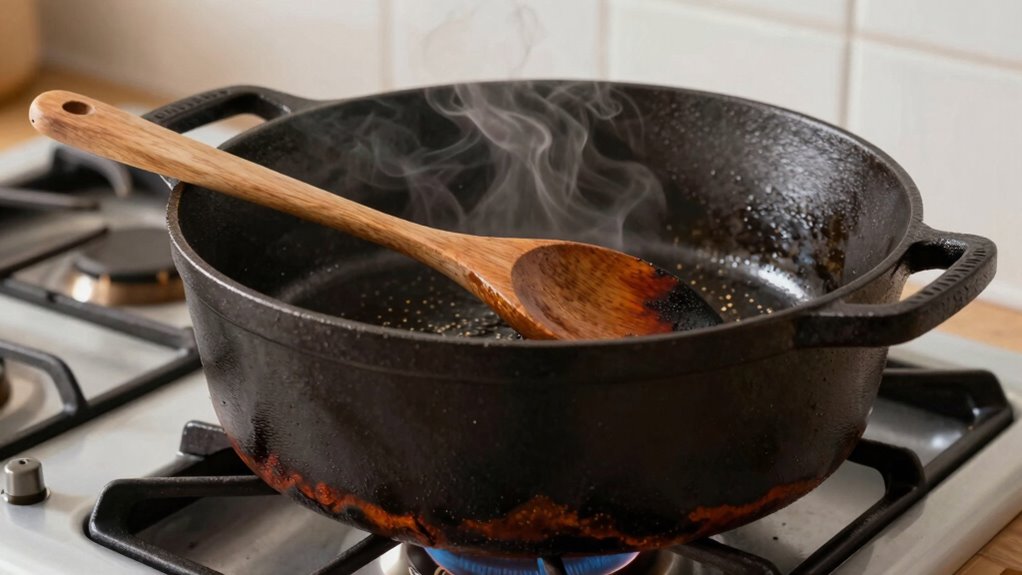
To prevent burnt spots when cooking with a Dutch oven, it’s essential to master proper heat management and stirring techniques. Maintaining consistent temperature control guarantees your food cooks evenly, preventing hot spots that cause burning. Proper ingredient placement also plays a key role; layer ingredients to avoid direct contact with the bottom surface. Here are three techniques to help you achieve this:
- Use low to medium heat to promote even cooking without scorching.
- Stir frequently, especially when simmering, to distribute heat uniformly.
- Elevate ingredients using a rack or insert to prevent direct contact with the hot bottom.
Common Mistakes That Lead to Burning and How to Avoid Them
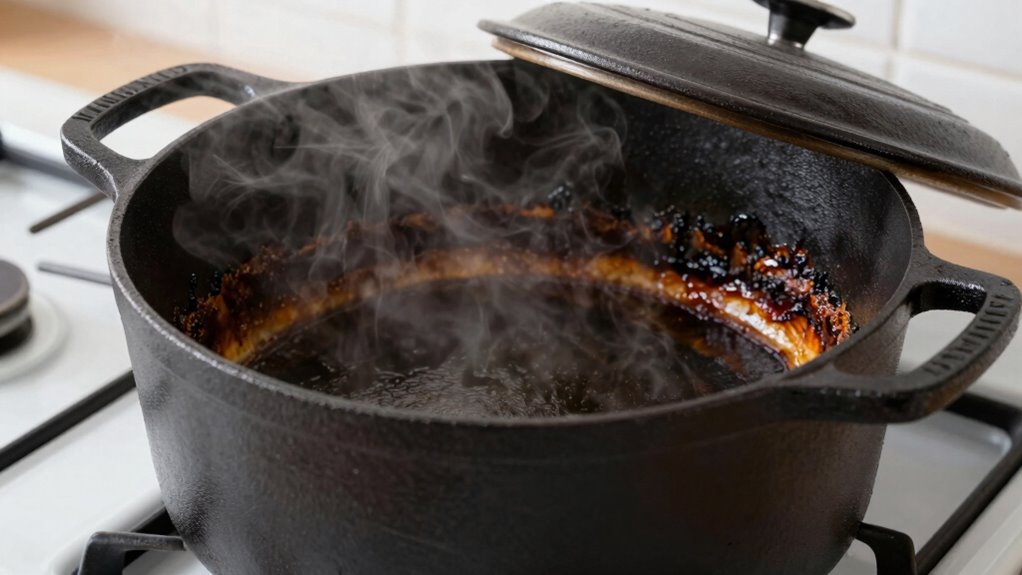
Even with good heat management, certain common mistakes can still lead to burning your food in a Dutch oven. One major error is setting the wrong cooking temperature; too high can cause hotspots and scorching, so always start with medium or low heat and adjust as needed. Additionally, ingredient preparation matters: adding ingredients that aren’t prepped properly—like rough chopping or uneven sizes—can lead to uneven cooking and burning. Overcrowding the pot also traps moisture and increases temperature, risking burnt bottoms. Neglecting to stir or check dishes regularly allows food to settle and burn. To avoid these mistakes, monitor your heat closely, prep ingredients uniformly, and give your food consistent attention during cooking. These simple steps help ensure even cooking and prevent burnt spots.
How to Maintain Your Dutch Oven for Long-Lasting Performance
Proper maintenance is essential to keep your Dutch oven performing its best for years. To guarantee longevity, develop consistent cleaning routines—avoid soap on seasoned cast iron, instead scrub with hot water and a brush. After cleaning, dry it thoroughly to prevent rust. When storing, keep the lid slightly ajar or place a paper towel inside to allow airflow and prevent moisture buildup. Here are three tips to help maintain your Dutch oven:
Properly clean, dry, and store your Dutch oven to ensure lasting quality and performance.
- Regularly re-season the cooking surface to preserve its non-stick qualities.
- Use minimal water during cleaning to avoid stripping seasoning.
- Store in a dry, well-ventilated space to prevent rust and corrosion. Proper storage is vital for maintaining your Dutch oven’s integrity and performance over time. Incorporating seasoning techniques can also enhance the longevity of your Dutch oven’s surface. Additionally, understanding the importance of seasoning layers helps to build a durable and naturally non-stick surface that improves with use.
Following these steps will keep your Dutch oven in top shape, ensuring even cooking and long-lasting performance.
Frequently Asked Questions
Can I Use My Dutch Oven on an Induction Cooktop?
Yes, you can use your Dutch oven on an induction cooktop if it’s induction compatible. Check the cookware material; it needs to be magnetic, like cast iron or certain enameled options. Avoid non-magnetic materials like aluminum or glass. To confirm even heating and prevent damage, verify your Dutch oven’s base is flat and magnetic. This way, you get efficient, safe cooking on your induction stove.
What Types of Foods Are Best Cooked in a Dutch Oven?
Well, since you’re enthusiastic to master the art of cast iron roasting and hearty stews, your Dutch oven is perfect. It excels at slow-cooking, braising, and simmering rich, flavorful dishes. Think tender roasts, bubbling chili, or even baking artisan bread. Basically, if it’s comfort food that benefits from even heat and a cozy environment, your Dutch oven’s your best friend. So, get ready to impress with hearty, perfectly cooked meals!
How Often Should I Reseason My Dutch Oven?
You should reseason your Dutch oven every 1 to 2 years or when the surface shows signs of wear, like rust or dullness. Proper seasoning frequency depends on how often you cook with it. For maintenance tips, clean it gently, avoid soap, dry thoroughly, and apply a thin layer of oil after each use. Regular reseasoning keeps the surface non-stick and prevents rust, ensuring even cooking every time.
Is It Safe to Cook Acidic Foods in a Dutch Oven?
Think of your Dutch oven as a trusted companion, but be cautious with acidic foods like tomatoes or citrus. They can cause acidic reactions that wear down the seasoning effects over time, potentially damaging the cast iron. While occasional cooking is safe, regularly preparing highly acidic dishes may lead to seasoning deterioration. To protect your Dutch oven, use enameled versions or limit exposure to acidic ingredients, ensuring it stays in great shape.
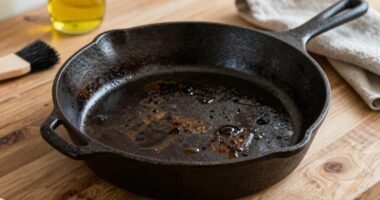
How Do I Clean Stubborn Stains From My Dutch Oven?
To clean stubborn stains from your Dutch oven, start with stain removal by scrubbing gently with a mixture of coarse salt and water or baking soda paste. Use cleaning tips like avoiding harsh metal scrubbers to prevent damage. Let it soak with a bit of warm water and dish soap if needed. Rinse thoroughly and dry completely to maintain your Dutch oven’s seasoning and prevent future stains.
Conclusion
With proper care and technique, your Dutch oven becomes a trusty vessel that transforms simple ingredients into culinary masterpieces. Think of it as a well-worn canvas, evenly distributing warmth like gentle sunlight across a painter’s palette. By understanding its quirks and maintaining its seasoned surface, you’ll effortlessly avoid burnt bottoms and craft dishes that are as beautifully balanced as a symphony. Embrace the process, and let your Dutch oven elevate every meal to new heights.