
Before drilling for your home video intercom system, plan your wiring carefully. For wired models, identify the best routes from entry points to monitors, avoiding interference-prone areas and using existing conduits when possible. For wireless systems, verify your Wi-Fi signal is strong and stable in all intended spots. Proper planning, testing, and considering power sources now can save you headaches later. Keep going to discover expert tips for a smooth installation.
Key Takeaways
- Plan cable routes carefully, avoiding interference-prone areas and using existing conduits to simplify wiring.
- Confirm power outlets are accessible near installation points for wired and wireless intercoms.
- Test Wi-Fi strength in proposed locations to ensure reliable wireless video and audio performance.
- Use cable clips and conduit covers for neat, safe wiring that minimizes damage and aesthetic issues.
- Test all components thoroughly before finalizing installation to prevent future troubleshooting and ensure system reliability.

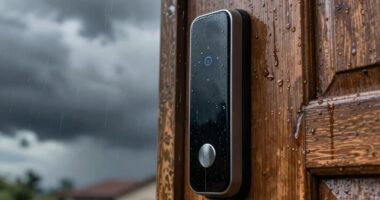
Home video intercoms are a convenient way to see and communicate with visitors before opening your door. They give you peace of mind and enhance security, making it easier to screen guests without having to step outside. But before you start drilling holes or running wires, it is crucial to understand the wiring reality and plan accordingly. Modern systems often boast wireless compatibility, but that doesn’t mean you can skip all the installation considerations.
Home video intercoms enhance security but require careful planning for wiring and installation.
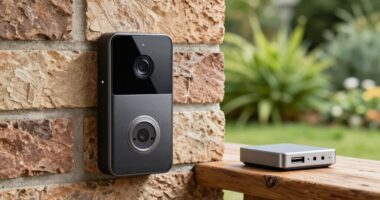
If you’re considering a wireless video intercom, you’ll want to double-check that your chosen model truly supports wireless connectivity. Some systems use Wi-Fi to connect the monitor and camera, offering flexibility and reducing the need for extensive wiring. However, wireless devices still require power sources, and their performance depends on your home’s Wi-Fi strength. Running a quick speed test and checking your network coverage in different areas can prevent future frustrations.
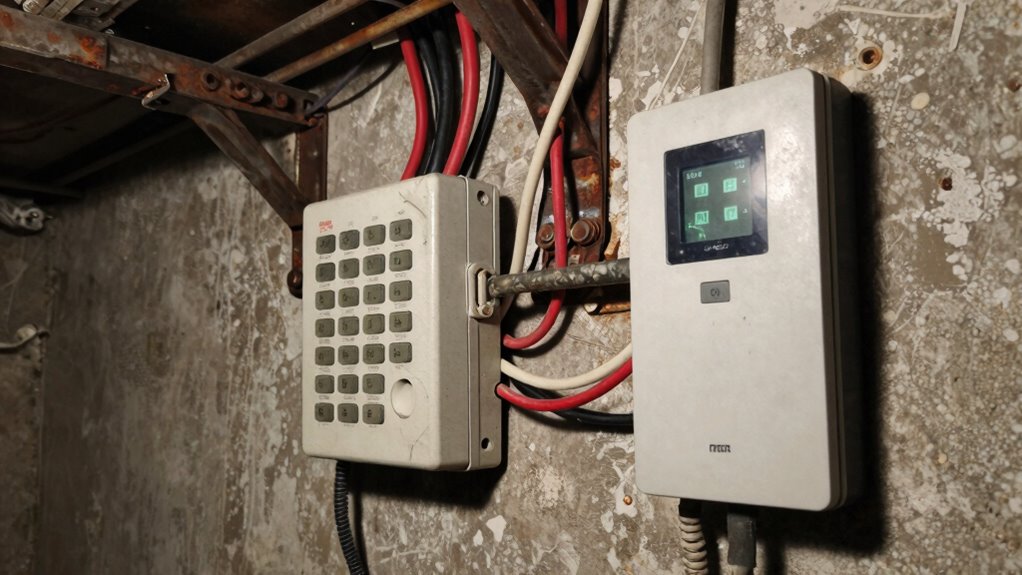
For wired systems, the installation tips become even more critical. You’ll need to identify the best route for running cables from your entry points to the indoor monitor. Avoid areas with potential interference, such as near thick walls, metal studs, or other electronic devices that might disrupt signals. Planning your wiring path beforehand helps you avoid surprises once you start drilling. Consider using existing conduits or channels if available, which can save time and prevent unnecessary damage to your walls.
Before you pick up that drill, it is wise to map out your installation plan thoroughly. For wireless systems, ensure your router is close enough to the device for a strong, stable connection. If you’re installing a wired system, verify the locations of power outlets and the feasibility of running cables discreetly. Use cable clips and conduit covers to keep wires tidy and reduce the risk of tripping or damage later on. Additionally, understanding the wiring basics can help you troubleshoot issues more effectively if they arise.
Another installation tip is to test all components before finalizing the setup. Power up the display, connect the camera, and verify clear video and audio quality. This way, if you encounter issues, you can troubleshoot without the hassle of dismantling finished work. Remember, a well-planned installation not only ensures your video intercom functions reliably but also saves you time and potential headaches down the line.
Frequently Asked Questions
Can I Upgrade My Existing Intercom System Easily?
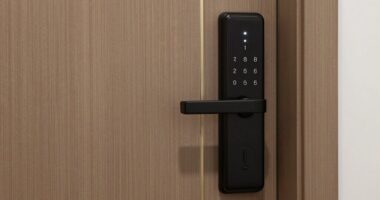
Yes, you can upgrade your existing intercom system easily if you check intercom compatibility first. Make certain your current wiring supports the new system or plan wiring upgrades if needed. Modern intercoms often work with existing wiring, but some may require additional wiring or adapters. By verifying compatibility and addressing wiring upgrades beforehand, you make the upgrade process smoother and avoid surprises during installation.
What’s the Average Cost of a Home Video Intercom?
The average cost of a home video intercom ranges from $150 to $500, depending on features like intercom security and intercom aesthetics. You can find basic models for around $150, while more advanced systems with high-definition video and sleek design cost closer to $500. Remember, investing in a system with strong intercom security and attractive intercom aesthetics enhances your home’s value and safety, making it a worthwhile upgrade.
Are Wireless Video Intercoms as Reliable as Wired Ones?
Wireless video intercoms aren’t as reliable as wired ones because wireless interference can disrupt your connection unexpectedly. You might enjoy easy installation and flexibility, but don’t underestimate the durability of wired systems that withstand power surges and physical damage. If consistency matters, wired intercoms give you peace of mind, while wireless options keep things simple—until interference strikes. Choose wisely based on your need for reliability versus convenience.
How Do I Troubleshoot Common Intercom Issues?
If you’re facing intercom interference or wiring complications, start by checking all connections to guarantee they’re secure and properly wired. Test the power supply and replace any damaged cables. If interference persists, move wireless devices away from electronics or metal objects. For wired systems, verify that the wiring isn’t damaged or tangled. Reset the intercom system and update firmware if possible. Troubleshooting these issues helps restore clear communication.
What Safety Precautions Should I Take During Installation?
Did you know that faulty wiring causes over 20% of home electrical fires? During installation, prioritize circuit safety by turning off power at the breaker before working on wiring. Use proper installation tools, like insulated screwdrivers and voltage testers, to prevent shocks. Always double-check that the circuit is dead before drilling or connecting wires. Taking these precautions keeps you safe and guarantees your intercom system functions reliably.
Conclusion
So, just when you thought installing a home video intercom would be a quick fix, the wiring chaos reminds you that it’s never that simple. All those hidden wires and tricky connections make you wish you’d taken the time to plan. Ironically, what promises to be a simple upgrade could turn into a major project. So, before you start drilling, remember: a little wiring reality check now saves a lot of headaches later.