
To achieve a professional LED strip light setup, plan your layout carefully, choosing suitable power supplies that match your strip’s voltage and wattage. Use diffusers like frosted acrylic or silicone for even light distribution and a seamless look. Keep cables neat using clips and raceways, and guarantee proper wiring with secure connections and polarity checks. If issues arise, troubleshoot power stability and connections. For tips on effects and advanced tricks, explore further details to enhance your installation.
Key Takeaways
- Choose the correct voltage and wattage-rated power supply to ensure safe, stable, and efficient LED strip operation.
- Use diffusers like frosted acrylic or silicone to evenly distribute light and prevent hotspots for a professional look.
- Plan cable routing along walls, ceilings, or furniture, and secure wiring with clips or raceways for a clean, tidy installation.
- Regularly inspect and clean LED strips and connections to maintain brightness and troubleshoot flickering or dimming issues.
- Incorporate safety features such as circuit protection, grounding, and proper insulation to ensure a safe, long-lasting LED lighting setup.
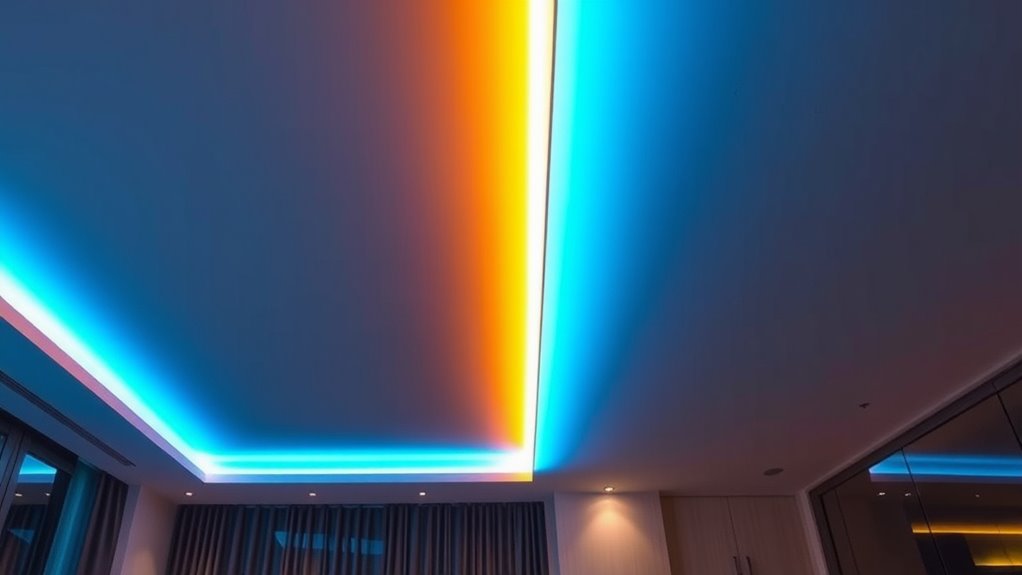
Planning Your LED Strip Layout and Placement
Before installing your LED strip lights, it’s important to carefully plan their layout and placement. Think about which areas you want to highlight as decorative accents and where you want to create ambient zones. Decide if the strips will run along walls, ceilings, or furniture, and measure these spaces accurately. Consider the color temperature and brightness to match the mood you want to set. Planning helps you avoid gaps or uneven lighting and guarantees the strips enhance your decor seamlessly. Visualize how different placements will affect the overall ambiance. Use painter’s tape to temporarily test your ideas before committing. Proper planning guarantees a clean, professional look that accentuates your space’s best features and creates a relaxing atmosphere. Incorporating energy-efficient technology into your LED setup can further reduce power consumption and enhance sustainability. Additionally, understanding interior design basics can help you select the most effective lighting placements to achieve your desired aesthetic. Taking into account lighting placement principles can also ensure your LED strips complement your existing decor and enhance the overall style of your room. Considering body placement and positioning can also influence how effectively your lighting highlights specific features or areas.
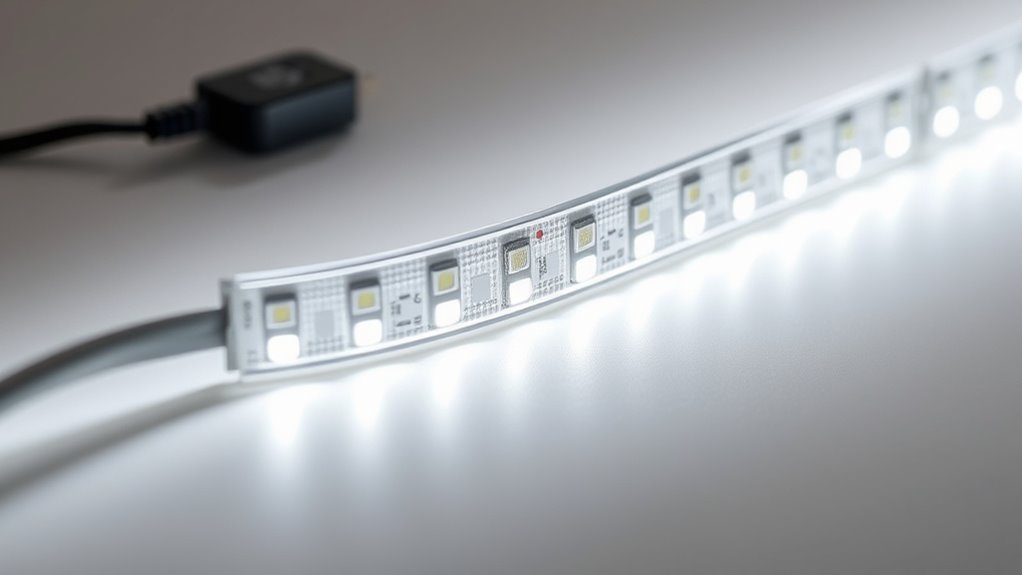
Choosing the Right Power Supply for Your LED Strips
Once you’ve planned your LED strip layout, selecting the right power supply becomes the next essential step. First, verify voltage compatibility between your power supply and LED strips to avoid damage or dim lighting. Check the voltage rating of your LED strips—most run on 12V or 24V—and choose a power supply that matches. Next, consider power efficiency; a high-quality power supply minimizes energy loss and reduces heat, extending the lifespan of your setup. Calculate the total wattage your LED strips require and select a power supply with a slightly higher capacity to handle potential power surges or future expansions. This guarantees your LEDs operate safely and reliably while maintaining maximum brightness and performance over time. Additionally, understanding power supply ratings can help ensure you select a unit that provides consistent and stable power for optimal LED performance. To further enhance reliability, opt for regulated power supplies that deliver steady voltage output under varying load conditions. Moreover, choosing a power supply with proper ventilation can help prevent overheating and prolong its operational lifespan. Being aware of efficiency standards can also guide you to select more environmentally friendly and cost-effective options. Incorporating smart power management features can additionally optimize energy consumption and extend the lifespan of your LED setup.
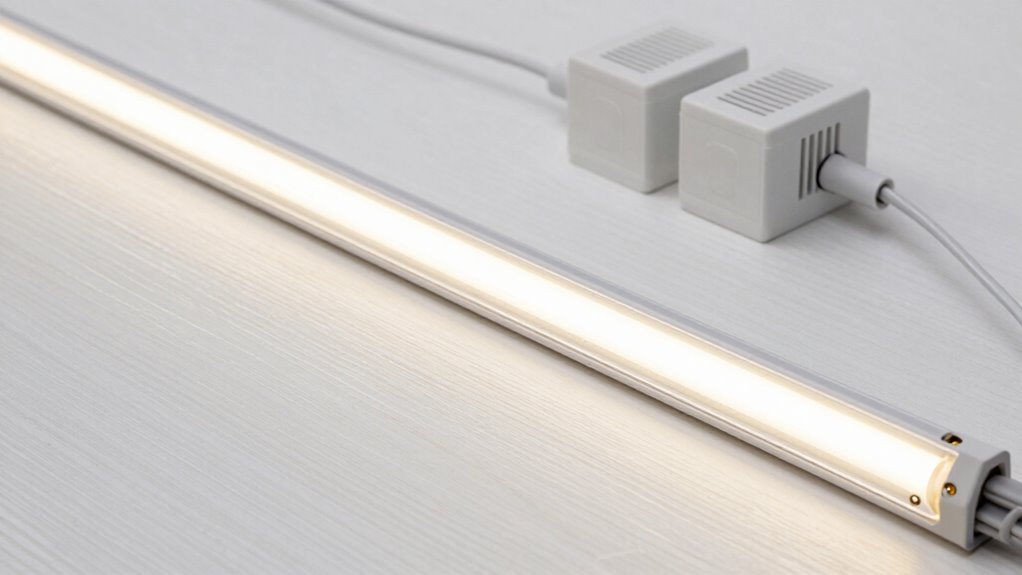
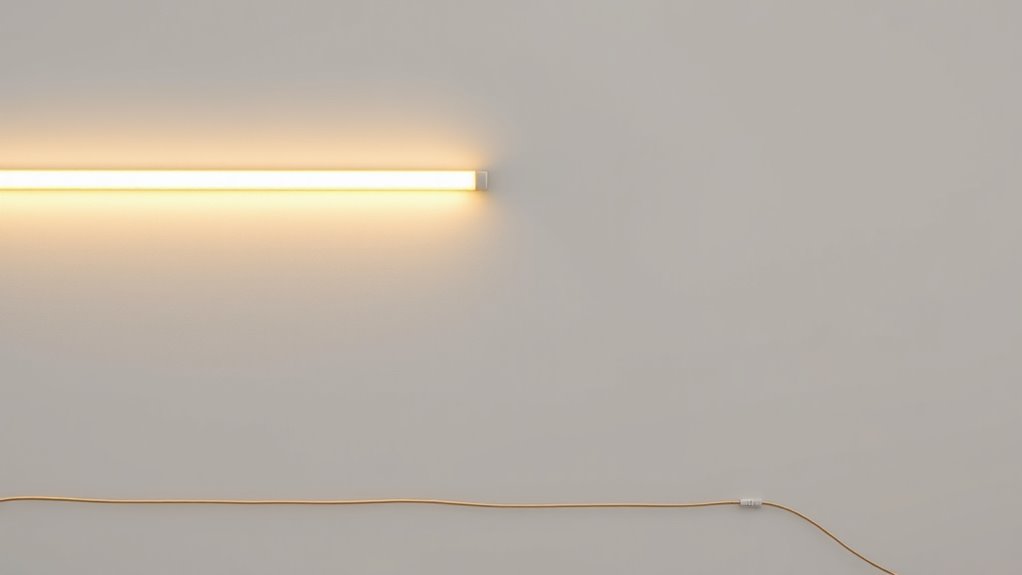
Picking Diffusers for a Professional Finish
Selecting the right diffusers is essential for achieving a polished, professional look with your LED strip installation. Diffuser materials vary, including frosted acrylic, polycarbonate, or silicone, each offering different light diffusion qualities. For a smooth, uniform glow, choose diffusers that minimize hotspots and evenly distribute light. Clear diffusers can highlight vibrant colors, but they may also make imperfections more noticeable. Frosted or milky diffusers provide a softer, more professional finishing, concealing individual LEDs for a seamless appearance. Consider the installation environment—frosted diffusers work well indoors, while clear ones suit display lighting. Proper diffuser selection enhances the overall aesthetic, elevating your project from basic to professional-grade. Picking the right diffuser material is a key step toward a clean, refined finish. Additionally, understanding building codes and zoning laws can help ensure your installation complies with local regulations and avoids potential issues. Being aware of lighting standards can also guide you in choosing diffusers that deliver optimal light quality and safety. To further ensure a high-quality result, pay attention to installation tips that prevent light leaks and ensure a secure fit. Incorporating diffuser maintenance practices can also extend the lifespan and maintain the appearance of your lighting setup. Furthermore, selecting diffusers with UV resistance can help prevent discoloration over time, especially when exposed to sunlight.
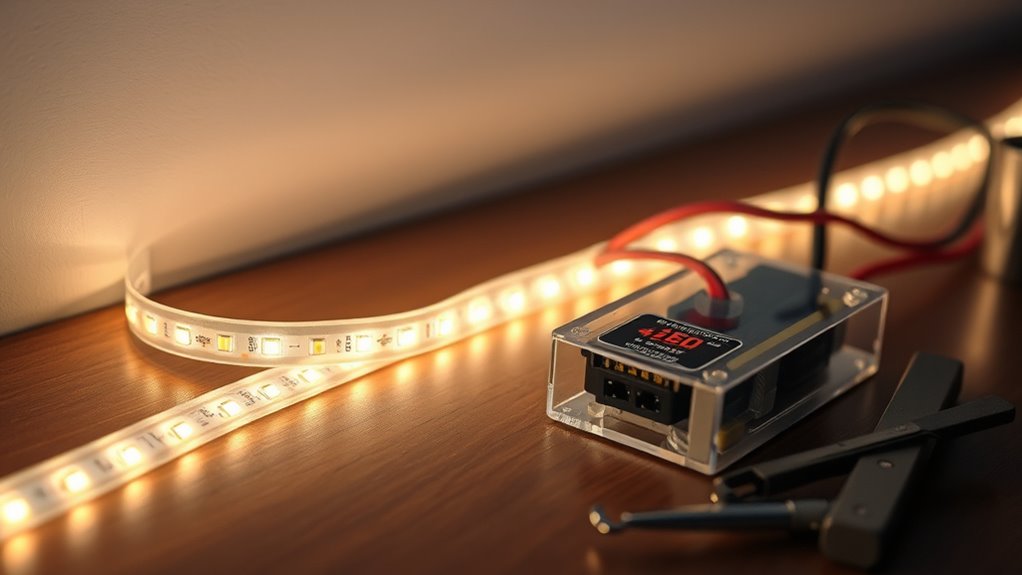
Wiring and Connecting Your LED Strips Safely

Proper wiring and secure connections are vital to guarantee your LED strip lights operate safely and reliably. First, always prioritize grounding safety by ensuring your power supply and strip are properly grounded, reducing the risk of electrical shocks. Use appropriate connector types designed for LED strips, such as solderless connectors or clip-on connectors, to guarantee solid, stable connections. When wiring, double-check polarity to prevent damage and ensure consistent lighting. Avoid loose or exposed wiring, which can cause shorts or fire hazards. Keep wires neat and secure, and follow manufacturer instructions for connection points. Additionally, understanding affiliate disclosure policies can help you make informed decisions when purchasing components or accessories online. For added safety, consider using a ground fault circuit interrupter (GFCI) outlet to further prevent electrical hazards. To further enhance your setup, selecting properly rated power supplies ensures your LED strips receive consistent and safe voltage levels.
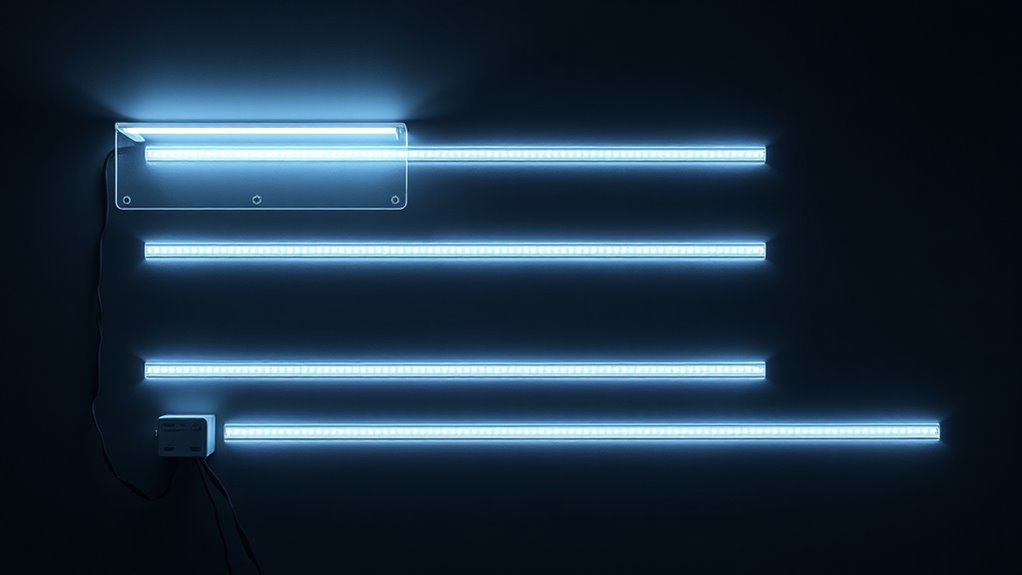
Cable Management Tips for a Clean Installation
Effective cable management is essential for a neat and professional-looking LED strip installation. Proper cable concealment and routing techniques keep your space tidy and prevent accidental damage. Use adhesive clips or cable raceways to hide wires along walls or ceilings, ensuring they stay secure. Avoid clutter by keeping cables flat and close to surfaces, which reduces visual distraction. Use zip ties or Velcro strips to bundle excess cabling neatly. Plan your routing path before installation, minimizing crossing and tangling. Here’s a quick guide:
| Concealed Cable | Routing Technique | Clutter-Free Look |
|---|---|---|
| Hidden behind trim | Along baseboards | Clean, seamless finish |
| Inside conduits | Along ceiling edges | Tidy appearance |
| Under carpets | Along corners | Neat and unobtrusive |
| Behind furniture | Tucked in corners | Sleek look |
| Inside wall cavities | Discreet pathway | Professional finish |
Additionally, understanding cable insulation can help prevent damage and ensure safety during installation. Proper insulation not only protects the wiring but also enhances the overall safety of your LED setup by reducing the risk of short circuits or electrical hazards. Using insulation materials effectively can further improve the durability and safety of your wiring system. For added peace of mind, consider using fire-retardant insulation to minimize potential fire risks associated with electrical wiring. Incorporating cable management accessories can streamline your installation process and improve long-term safety and organization.
Troubleshooting Common LED Strip Light Issues
Even with careful cable management, LED strip lights can sometimes encounter issues that disrupt their performance. Common problems include color flickering and dimming issues, which can be frustrating. To troubleshoot:
Even well-managed cables, LED strips can flicker or dim—check connections and power sources to fix.
- Check power connections for secure, tight contacts.
- Inspect the power supply for consistent output; replace if malfunctioning.
- Ensure you’re using compatible dimmers or controllers.
- Divide long runs into shorter segments to prevent voltage drop.
- Look for damaged sections or loose solder joints that may cause flickering or dimming.
- Regularly clean and inspect your LED strips to prevent dust and debris buildup that can affect performance. LED strip maintenance is essential for long-term reliability.
- Additionally, ensure the power supply matches the voltage and wattage requirements of your LED strips to prevent underperformance or damage. Proper circuit protection can also prevent power surges that might harm your setup.
Addressing these areas often resolves the issues and restores your LED strip’s performance. Remember, inconsistent power supply or poor connections are frequent culprits behind flickering and dimming problems. Regular maintenance and careful inspection can keep your lights shining brightly and evenly.
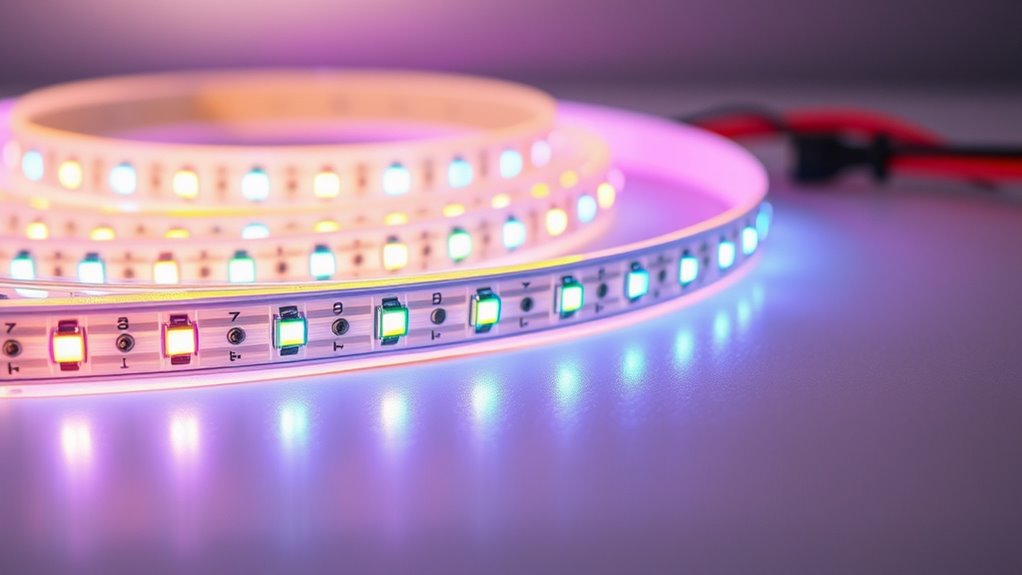
Customizing Your Lights: Effects and Color Settings
Customizing your LED strip lights allows you to create the perfect ambiance for any space. You can explore various color modes to set the mood, from vibrant RGB colors to calming whites. Many LED controllers offer multiple pre-set color modes, such as fade, flash, or strobe, to match your vibe. For a more personalized touch, try creating custom effects that cycle through colors or respond to music. Adjust brightness levels and speed to refine your setup. Some controllers even let you save favorite configurations for quick access. By experimenting with these options, you’ll craft dynamic lighting displays that enhance your environment and reflect your style. Custom effects and color modes give you full control to transform any room into a tailored lighting experience.
Frequently Asked Questions
How Do I Ensure My LED Strip Lights Are Energy-Efficient?
To guarantee your LED strip lights are energy-efficient, focus on effective power management by choosing the right power supplies and controlling brightness levels. Use dimmers or timers to reduce energy consumption during periods of low use. Opt for high-quality LED strips with good efficiency ratings, and avoid overdriving them. Regularly clean and maintain to prevent energy waste, and consider installing sensors or smart controls to optimize energy savings automatically.
Can I Cut or Extend LED Strips Without Damaging Them?
Sure, you can cut and extend LED strips—just follow the sacred cutting guidelines, of course. Use sharp scissors at designated cut points, avoiding damage to circuitry. For extensions, solder or use compatible connectors, ensuring you keep the polarity correct. Remember, ignoring these tips might turn your beautiful setup into a flickering disaster. So, cut and extend with care, and your LED adventure will shine brightly without a hitch!
What Are the Best Practices for Waterproofing LED Installations Outdoors?
To waterproof your LED installation outdoors, use weatherproofing techniques like sealing connections with waterproof tape or silicone. Choose outdoor enclosure options such as IP-rated waterproof cases to protect your strips from moisture and dust. Make sure to seal any exposed connectors and ensure your power supply is also rated for outdoor use. Regularly check seals and replace damaged enclosures to maintain a reliable, long-lasting outdoor LED setup.
How Do I Integrate Smart Controls With My LED Strip Setup?
To integrate smart controls with your LED strip setup, start by choosing a compatible smart home hub or Wi-Fi-enabled controller. Connect your LED strips to the controller, then sync it with your smart home system via an app. This allows voice control commands through devices like Alexa or Google Assistant. You can then easily turn your LED lights on/off, dim, or change colors using your voice or smartphone for a seamless smart home experience.
What Safety Precautions Should I Take During Installation?
Safety first, don’t cut corners when installing your LED strip lights. Always unplug power before working on wiring to avoid electrical safety hazards. Wear gloves and safety glasses for personal protection, especially when handling sharp tools or soldering. Keep your workspace dry and well-lit to prevent accidents. Double-check connections and make sure all components are rated for your setup. Taking these precautions keeps your project safe and hassle-free.
Conclusion
With a little planning and attention to detail, you can create stunning LED strip lighting that elevates any space. Remember, a stitch in time saves nine—taking the time to install everything properly now will save you headaches later. Keep safety in mind, stay patient, and enjoy customizing your lighting to match your style. With these tips, your project will shine as brightly as your vision.