Extending your tripod’s center column is a common mistake that can make your shots shaky and blurry. When you lift the center column higher, the support becomes less stable, shifting your camera’s weight upward and increasing wobble. This top-heavy setup is more prone to vibrations from bumps or wind. To guarantee steadiness, keep the center column short or fully lowered. Keep exploring to discover how to set up your tripod for ideal stability without risking shaky footage.
Key Takeaways
- Extending the center column raises the tripod’s center of gravity, making it more prone to wobbling and shakiness.
- Using the center column fully extended creates a top-heavy setup that reduces overall stability.
- Longer center column extensions amplify small movements, resulting in shaky footage.
- Relying on the center column instead of the tripod legs decreases support and increases vibrations.
- Keeping the center column short or lowered enhances stability and prevents shaky shots.
Understanding Tripod Stability: The Basics
Have you ever wondered what makes a tripod stable enough to support your camera securely? It all comes down to tripod material and weight. Tripod material greatly affects stability; carbon fiber and aluminum are popular choices. Carbon fiber tends to be lighter yet sturdy, reducing fatigue during long shoots, while aluminum offers durability and affordability. The tripod weight also plays a vital role—heavier tripods usually provide more stability because their mass resists movement caused by wind or uneven surfaces. A heavier tripod stays grounded, preventing shakes and blurry shots. Conversely, lightweight tripods are easier to carry but might require additional stabilization. Understanding tripod stability involves considering how material and weight work together to provide a solid foundation for capturing sharp, clear images. The center-column of a tripod, if improperly used or extended, can introduce unwanted movement and cause shaky shots, so understanding its impact is crucial for stability. Using proper setup techniques can further enhance your tripod’s stability and ensure steadier shots. Additionally, selecting a tripod with proper stability features can further enhance shot sharpness and prevent unwanted movement. Incorporating adjustable leg locks can also help maintain consistent stability on uneven terrain.
Why Does Relying on the Center Column Make Your Tripod Less Stable?

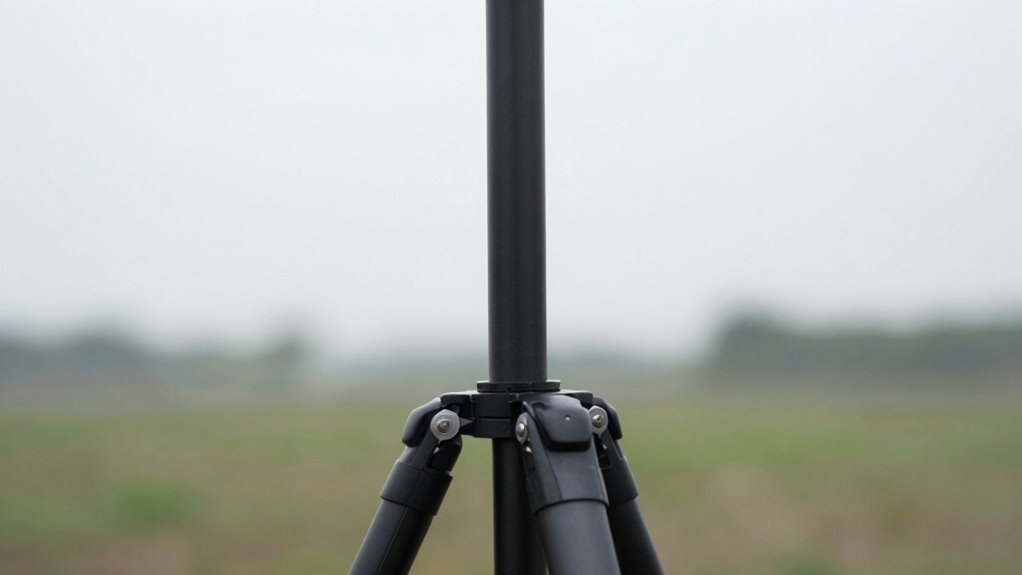
Relying on the center column to extend your tripod’s height might seem convenient, but it often compromises stability. The center column creates a taller, narrower support point that’s more prone to wobbling. When the column is extended, the tripod’s center of gravity shifts upward, reducing overall stability. This makes your camera more vulnerable to vibrations and minor bumps. Additionally, extending the center column can introduce flex and reduce the overall rigidity of the tripod, making your shots less sharp. Using the center column as a primary support can also increase wear and tear, which may weaken the tripod over time. To ensure maximum stability, it’s best to avoid relying solely on the center column whenever possible. Instead, distributing weight evenly across the tripod legs can significantly improve support and minimize movement.
How Extending the Center Column Causes Shaky Footage
When you extend the center column of your tripod, it becomes a prime source of instability that can lead to shaky footage. Many tripod designs rely on a rigid structure, but extending the center column shifts the weight distribution upward, making the setup top-heavy. This imbalance causes more movement when you touch or adjust the camera, resulting in vibrations and shaky shots. The longer the extension, the less stable your tripod becomes because it amplifies any small shifts. Even slight movements are magnified, especially on uneven surfaces. To maintain stability, avoid overextending the center column. Instead, keep it short or use alternative support methods. Proper tripod design minimizes this risk, but understanding how weight distribution impacts stability is key to sharp, steady footage. Additionally, incorporating smart stabilizing technology can help compensate for minor instabilities during shooting.
How to Use Your Tripod for Stability Without Overextending the Center Column
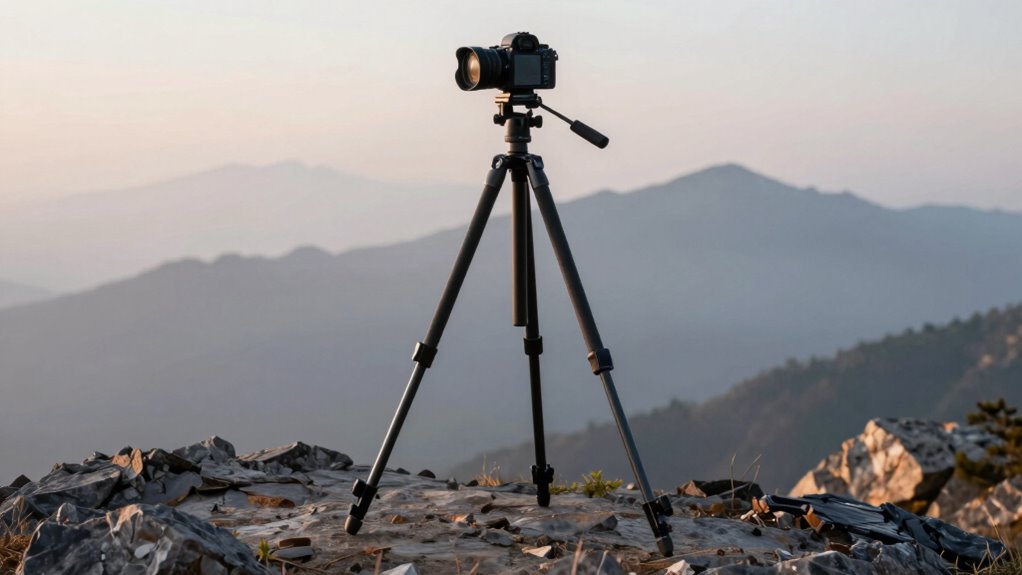
To guarantee stable shots without risking shakiness, it’s best to keep the center column as short as possible. Using lightweight tripod materials like carbon fiber or aluminum helps maintain better weight distribution, reducing vibrations. When you extend the center column, you shift the tripod’s center of gravity upward, making it less stable. Instead, lower the center column or use the tripod’s legs fully extended for better support. If you must extend the center column, do so minimally and ensure the tripod is on a flat, solid surface. Proper weight distribution is key—place your camera close to the tripod’s base and avoid overloading one side. This approach keeps your setup balanced, minimizes shake, and results in sharper images.
Common Setup Mistakes That Cause Shaky Shots: and How to Avoid Them
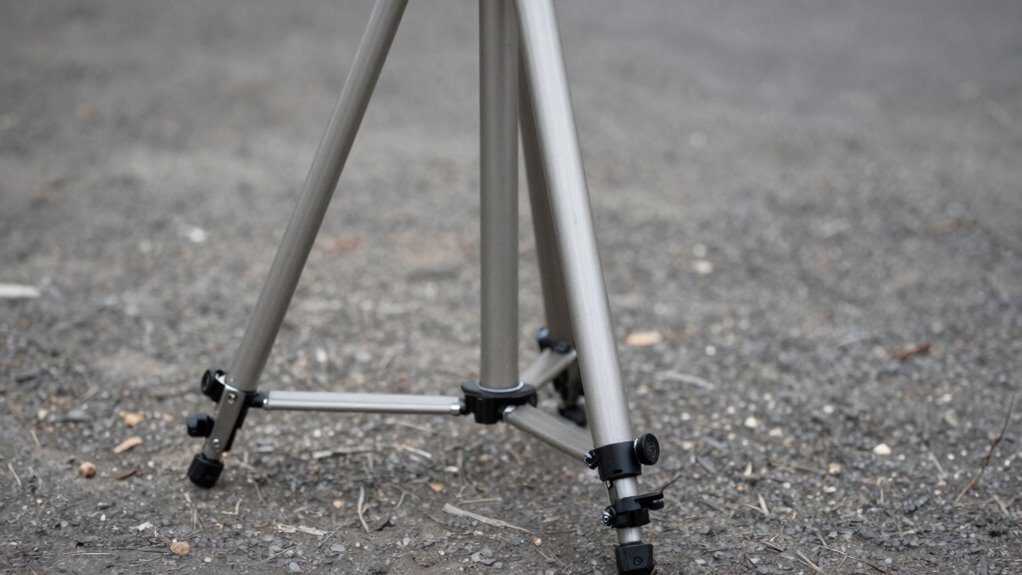
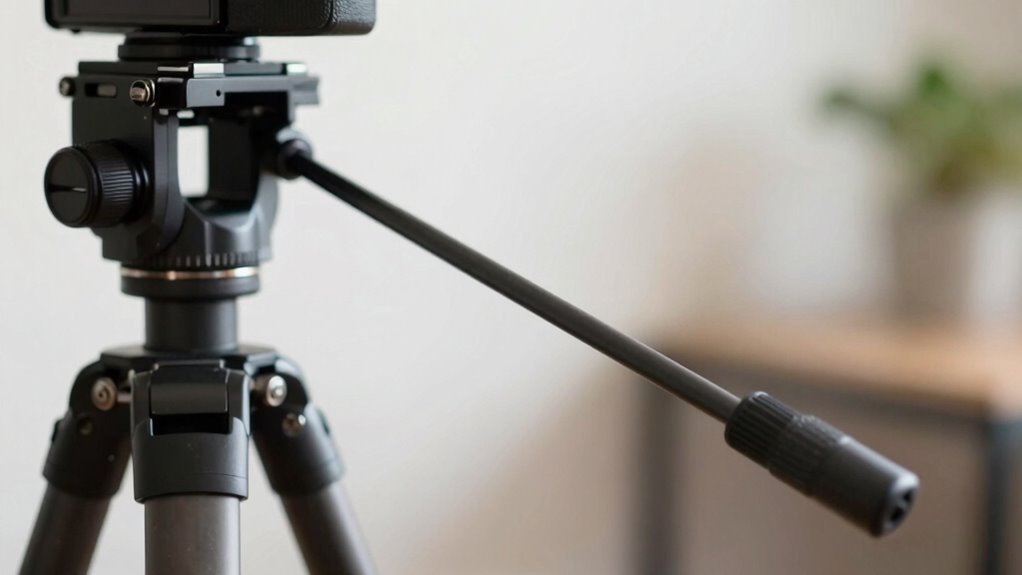
One common mistake that leads to shaky shots is setting up your tripod on uneven or soft surfaces. This can cause instability, even if your tripod appears steady. To avoid this, focus on proper tripod leg positioning, spreading the legs wide for better support. Make certain your tripod head is balanced; an unbalanced head shifts easily, causing blur. Also, avoid over-tightening the tripod collar or center column clamp, which can introduce unwanted movement. Be mindful of your environment—look for firm, level ground. Keep the tripod legs firmly planted and adjust their angles as needed. Proper tripod leg positioning and tripod head balance are key to stable shots. Additionally, understanding the importance of tripod stability can help you select the right setup for different surfaces. Small adjustments can noticeably improve shot steadiness, preventing shaky images caused by setup errors.
Frequently Asked Questions
Can Using a Monopod Help Prevent Shaky Shots?
Yes, using a monopod helps prevent shaky shots. Its benefits include providing extra support and reducing camera shake, especially in handheld situations. With a monopod, you get single-leg stability, which makes it easier to steady your camera without the bulk of a tripod. This makes it ideal for quick shots or uneven terrain, giving you more control and sharper images while maintaining mobility.
What Are the Best Alternative Methods to Stabilize a Camera?
Think of your camera as a delicate leaf in a breeze—you want it steady. To achieve this, use a sturdy tripod with a quality tripod head for precise control. Enable lens stabilization if available, and consider resting your elbows on a stable surface or using a bean bag. These methods work together to keep your shots sharp, much like anchoring a boat against turbulent water.
How Does Weight Distribution Affect Tripod Stability?
Weight distribution greatly impacts your tripod’s stability. If you place the center weight below the balance point, it lowers the center of gravity, making it more stable. Avoid shifting weight unevenly or relying heavily on the center column, which can cause shakiness. Keep the load balanced, with heavier items closer to the base, and verify the center weight is properly positioned to prevent wobbling during shots.
Are There Specific Tripod Models Designed to Minimize Shake?
Over 60% of photographers find tripods with specialized leg design and high-quality ball heads reduce shake. Yes, there are models specifically crafted for stability, featuring thicker legs, reinforced joints, and smooth ball heads that minimize vibrations. These tripods excel at absorbing camera movement, especially in windy conditions or long exposures. Investing in these features guarantees sharper shots and steadier footage, making your photography more professional and reliable.
How Often Should I Check My Tripod’s Stability During Shoots?
You should check your tripod’s stability regularly throughout your shoot, especially before critical shots. Incorporate shake prevention techniques by tightening all locks and ensuring the center column isn’t extended unnecessarily. Regular tripod maintenance, like cleaning the joints and inspecting for wear, helps prevent shake. Make it a habit to verify stability after setting up and whenever you move the tripod, ensuring your shots stay steady and sharp.
Conclusion
Don’t let the center column be the weak link in your tripod setup. It’s tempting to extend it for extra height, but that often leads to shaky shots. If you think it’s worth sacrificing stability for convenience, consider investing in a sturdier tripod or alternative setup options. Remember, a little extra effort in setup can make a huge difference in your footage’s clarity. Stabilize your shots from the start, and enjoy sharper, more professional results every time.