
To make your action footage watchable, you need to activate and optimize the stabilization setting on your camera. Most models offer features like electronic (EIS), optical (OIS), or gimbal stabilization, which smooth out shakes and jerks caused by movement. Adjust these settings based on your activity, and consider using external stabilization tools for rough terrain. Want to learn how to fine-tune these options for the best results? Keep exploring to get the most out of your footage.
Key Takeaways
- Stabilization settings like HyperSmooth or RockSteady smooth out shaky footage for a watchable viewing experience.
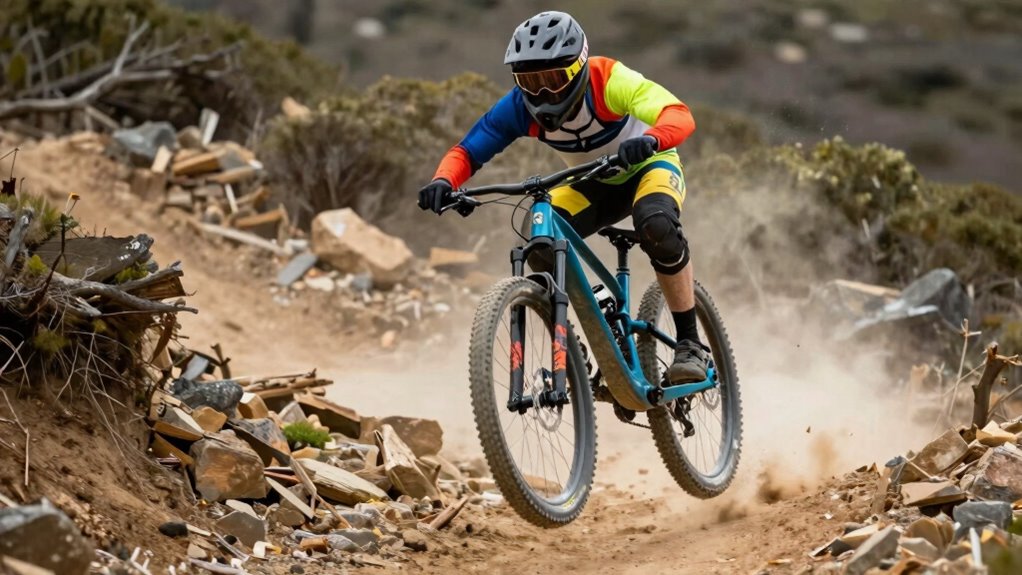
- Enabling high stabilization mode is essential during high-motion activities like mountain biking or underwater filming.
- Combining electronic (EIS) and optical stabilization (OIS) enhances overall footage smoothness.
- Proper setup, including mounting and calibration, ensures stabilization effectively reduces residual shakes.
- Post-processing tools can further refine stabilization, eliminating artifacts and improving video clarity.
Why Shaky Action Footage Ruins Your Videos: And How Stabilization Fixes It

Shaky footage can instantly ruin an otherwise exciting action video, making it hard for viewers to follow the scene and enjoy the moment. When you capture drone footage or other dynamic shots, shaky camera work distracts from the experience and diminishes cinematic effects. Viewers struggle to stay engaged when the footage jitters or wobbles, losing the sense of immersion. Stabilization technology helps prevent this issue, smoothing out those abrupt movements and creating a more polished look. With stabilized footage, your videos look professional and cinematic, making every shot more compelling. Whether you’re filming fast-paced sports or scenic drone shots, stabilization ensures your audience stays focused on the action without distraction. It’s the key to transforming shaky clips into watchable, impressive videos. Understanding how camera sensors influence stabilization performance can help you choose the right settings for optimal results. Additionally, advancements in sensor technology are enabling more effective stabilization, resulting in clearer and steadier footage even in challenging conditions. Improving stabilization algorithms is also vital for capturing smooth footage in complex environments, especially as AI-based stabilization continues to evolve and adapt to varying conditions. Incorporating sensor data into stabilization processes further enhances the ability to counteract movement and produce smoother videos.
How Action Camera Stabilization Keeps Your Footage Smooth

When you’re recording with an action camera, stabilization technology actively works to keep your footage smooth and steady, even during intense movements. Whether you’re mountain biking over rough terrain or capturing underwater filming adventures, this technology minimizes shakes and jitters. Electronic stabilization detects and compensates for sudden shifts, while optical stabilization adjusts lens elements for a clearer image. Gimbals, although separate gear, also help steady footage in challenging environments. This means your videos stay watchable, with minimal motion blur, allowing viewers to focus on the action rather than distracting wobbling. No matter if you’re racing down trails or exploring coral reefs, stabilization keeps your footage steady, professional, and immersive, making your adventures look as good as they feel.
The Different Types of Stabilization for Action Cameras (Electronic, Optical, Gimbals)

Different stabilization methods for action cameras work together to keep your footage smooth and clear in various situations. Electronic stabilization (EIS) uses software to adjust frames in real-time, perfect for lightweight setups with minimal mounting options. Optical stabilization (OIS), on the other hand, employs hardware inside the lens or sensor to counteract movements, offering steady footage without draining your battery. Gimbals provide the highest stabilization level by mechanically stabilizing your camera on three axes, ideal for complex shots but can impact battery life and add weight. Keep in mind: 1. Gimbals offer superior stabilization but may reduce battery life. 2. Electronic stabilization is lightweight, with minimal impact on mounting options. 3. Optical stabilization balances performance and power consumption, suitable for versatile activities. Additionally, understanding the impact of contrast ratio can help you choose equipment that maintains image quality in various lighting conditions. To optimize footage quality, consider the mounting options available for different stabilization methods to ensure compatibility with your action camera setup.
How to Enable and Adjust Stabilization Settings on Your Action Camera

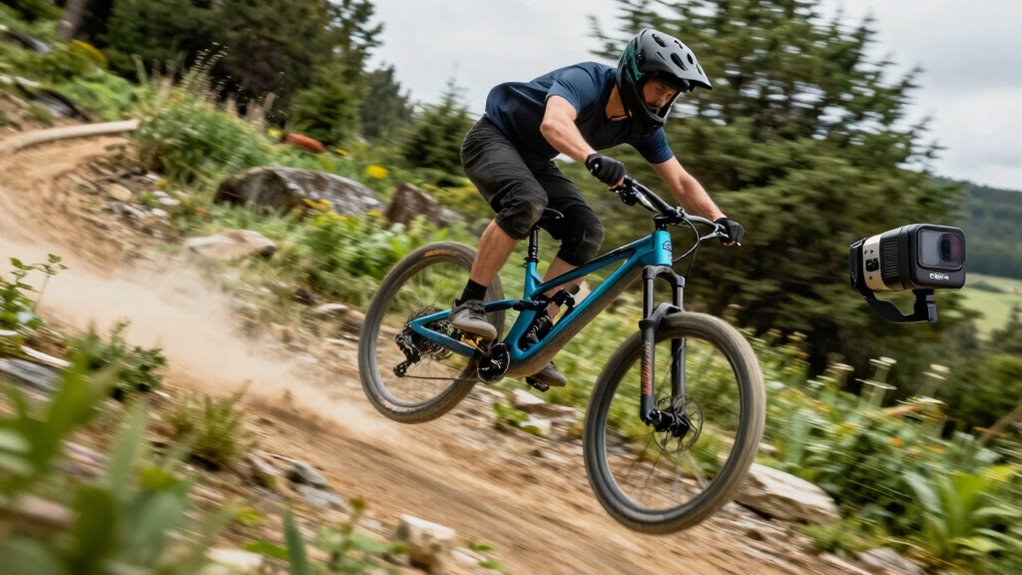
Wondering how to get the most stable footage from your action camera? First, access your camera’s menu and locate the stabilization settings. For mountain biking, turn on electronic stabilization to smooth out rough rides. If you’re underwater filming, enable stabilization to reduce shake from currents or hand movements. Adjust the level or intensity of stabilization if your camera allows, balancing clarity and natural motion. Make sure to save your settings before recording. Many cameras also have a quick toggle button for stabilization, making it easy to switch on the fly. Properly enabling and tuning these settings ensures your footage stays steady, whether you’re steering through rugged trails or capturing underwater scenes, making your videos more watchable and professional-looking.
Troubleshooting Common Stabilization Problems and How to Fix Them
Even with stabilization enabled, you might encounter issues like shaky footage, jittery movements, or inconsistent smoothing. These problems happen during activities like mountain biking or underwater filming when vibrations and rapid motions challenge your camera’s stabilization. To fix these issues, consider:
- Adjusting the stabilization level for smoother footage during high-impact activities.
- Securing your camera more tightly to reduce vibrations from rough terrain or underwater currents.
- Using additional mounts or gimbals to stabilize the camera further in challenging conditions.
- Optimizing your camera’s settings by understanding how filtration and system design impact stabilization performance, especially in demanding environments.
- Remember that sensor technology plays a critical role in how well your camera can stabilize footage in various conditions.
If your footage remains unstable, check for firmware updates, as they often improve stabilization performance. Properly troubleshooting these common problems ensures your footage stays smooth, whether you’re steering mountain trails or filming beneath the waves.
When to Use Advanced Stabilization Modes for a Professional Look
Advanced stabilization modes are essential when you need footage that looks polished and professional, especially in dynamic or challenging shooting conditions. When you’re capturing fast-paced action, rough terrain, or moving subjects, standard camera stabilization might not keep your footage smooth enough. Using these modes guarantees your camera stabilization system compensates effectively for sudden movements, resulting in professional footage that’s steady and visually appealing. You should activate advanced stabilization when your goal is to create high-quality content, such as sports videos, adventure clips, or cinematic shots. These modes are designed to handle complex movements, reducing shake and jitter. Remember, employing advanced stabilization at the right moments elevates your footage’s quality, making it look more refined and suitable for professional use. Incorporating modern stabilization technology can further enhance your footage’s clarity and smoothness in demanding conditions.
Tips for Getting the Best Stabilization Performance in Rough Conditions

To get the best stabilization performance in rough conditions, it’s essential to prepare your action camera properly and understand how to optimize its settings. Whether mountain biking or underwater filming, these tips help maintain steady footage:
For optimal stabilization, prepare your camera and enable the highest stabilization mode in rough conditions.
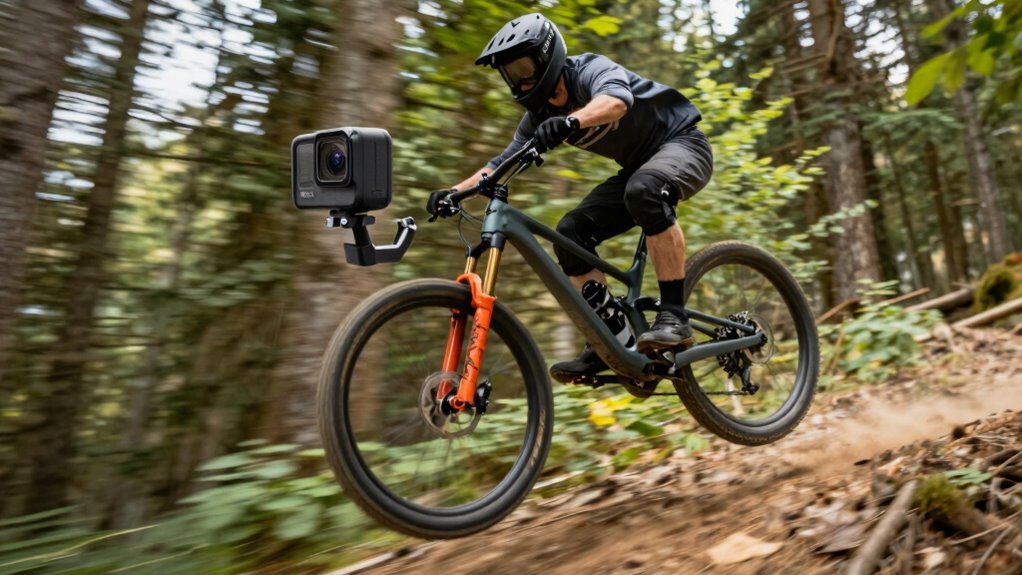
- Use a gimbal or stabilization mount to minimize vibrations and shocks on bumpy trails or waves.
- Enable the highest stabilization mode available, especially in challenging environments like mountain biking over uneven terrain or underwater currents.
- Reduce camera shake by holding the camera close to your body or using a grip, ensuring less movement during intense activity.
- Familiarize yourself with camera calibration techniques to ensure optimal stabilization performance before recording in rugged conditions.
- Additionally, selecting appropriate recording settings can significantly improve footage quality and stability in demanding environments.
- Regularly updating your camera’s firmware can also enhance stabilization features and fix known issues, helping you maintain optimal performance.
- Properly mounting your camera with secure attachments can greatly improve stability and reduce unnecessary movement during filming.
Comparing Built-In Stabilization in Top Action Camera Models
When choosing an action camera, understanding how its built-in stabilization compares can make a significant difference in your footage quality. For mountain biking, models like the GoPro Hero Series excel with HyperSmooth stabilization, reducing shake on rugged trails. If underwater filming is your focus, the DJI Osmo Action offers RockSteady stabilization that keeps footage steady despite underwater currents. The Insta360 ONE R combines stabilization with modular flexibility, great for varied environments. The Sony RX0 II provides advanced stabilization, but may fall short in extreme conditions. Comparing these features helps you select a camera that maintains smooth footage whether you’re tackling rough mountain trails or capturing underwater adventures. Ultimately, built-in stabilization in top models can save you from post-production headaches and improve your overall footage quality.
How Post-Processing Can Improve Your Stabilized Footage
Post-processing lets you sharpen your footage and make stabilization effects more seamless. You can also fix artifacts like jitter or blurriness that might have slipped through during recording. With the right tools, your action camera footage will look smoother and more professional. Additionally, understanding video editing techniques can help you fine-tune your footage even further, ensuring a polished final product. Furthermore, understanding truck bed customization options can help you set up the perfect environment for capturing high-quality footage in outdoor or rugged settings. Exploring stabilization settings and how they interact with post-processing options can lead to even better results in your videos. Being aware of camera sensor capabilities can also influence your post-processing decisions, especially in challenging lighting conditions.
Enhancing Stabilization Effects
Even the steadiness of high-quality action cameras can benefit from post-processing techniques that enhance stabilization effects. After recording, you can sharpen your footage to smooth out jitters from mountain biking or underwater filming. To maximize results, consider these steps:
- Use stabilization software to reduce residual shakiness and create a more polished look.
- Apply cropping and framing adjustments to eliminate unwanted edges or black borders.
- Enhance motion flow by adding subtle corrections that make transitions smoother, especially useful for dynamic scenes like underwater or rough terrain footage.
- Incorporate video stabilization techniques during post-processing to further refine and improve overall footage quality.
These techniques help make your footage more watchable, emphasizing smoothness and clarity. Post-processing allows you to turn shaky recordings into professional-looking videos that captivate your audience.
Correcting Post-Processing Artifacts
After applying stabilization techniques, you might notice unwanted artifacts such as ghosting, warping, or pixelation that can distract viewers and diminish video quality. To fix this, focus on post-processing adjustments like color correction, which enhances clarity and consistency. Additionally, guarantee audio synchronization; mismatched sound can ruin immersion. You can use editing software to smooth out warping effects or reduce pixelation, making footage look cleaner. Correcting artifacts also involves sharpening the image or reducing noise. Here’s a helpful overview: Image quality.
Which Stabilization Mode Is Right for Your Activity?
Choosing the right stabilization mode depends on your activity, as different settings suit different movements. You should consider how much stabilization you need and how you’ll use the footage later. Understanding these factors helps you select the best option for clear, steady shots. Additionally, being familiar with DIY tools and home renovation concepts can help you better maintain and optimize your action camera equipment for long-term use.
Activity Type Matters
The type of activity you’re engaging in plays a crucial role in determining the best stabilization mode for your action camera. Different activities have unique movement patterns that require tailored stabilization. For example:
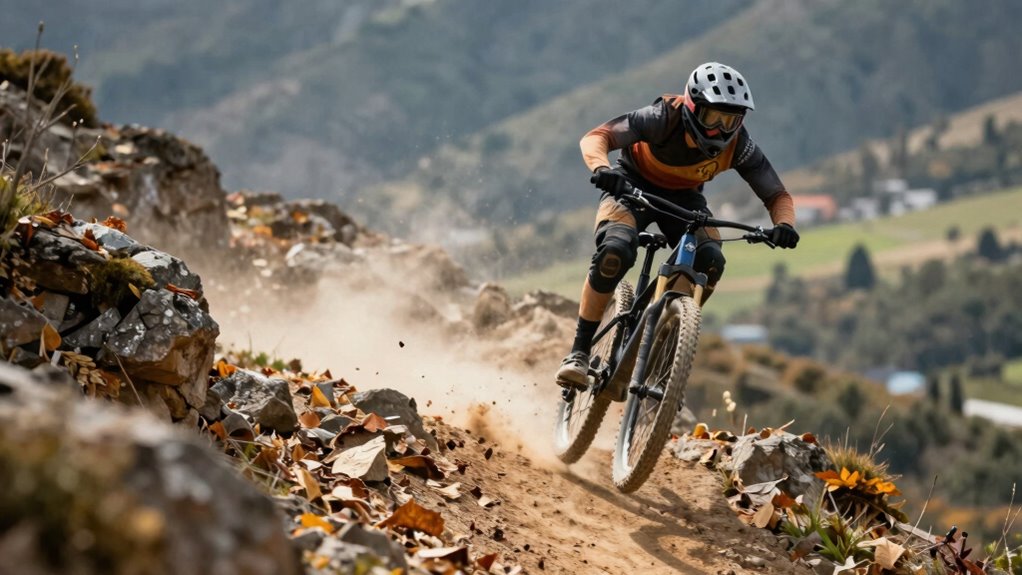
- Mountain biking demands stabilization that handles rapid, jerky motions and vibrations.
- Underwater filming benefits from modes that reduce drift and maintain consistent framing despite currents.
- High-impact sports like skateboarding need stabilization that minimizes shake without sacrificing responsiveness.
- Understanding the emotional impact of your footage can guide you to choose the most effective stabilization for storytelling.
- Additionally, considering the best alarm clocks for your daily routine can help you start your day on time, ensuring your activity schedule remains uninterrupted.
- Selecting an appropriate stabilization mode also involves knowing how different camera settings influence the overall quality and stability of your footage, especially in challenging environments. Incorporating advanced stabilization algorithms can further enhance footage quality in complex conditions.
- Choosing the right mode ensures your footage stays smooth and watchable. For mountain biking, opt for settings that counteract bouncing on rough terrain. When underwater filming, select stabilization that compensates for currents and movement. Matching your activity with the appropriate mode makes all the difference in capturing clear, professional-looking footage.
Stabilization Intensity Options
How do you decide which stabilization intensity is right for your activity? First, consider your camera mounts; more intense stabilization can help smooth out footage from shaky mounts like handheld or chest setups. If you’re doing high-impact activities, like mountain biking or skiing, higher stabilization might be necessary. However, increasing stabilization intensity often drains battery life faster because the camera works harder to process the footage. For less vigorous activities, a lower stabilization setting can conserve battery and still deliver decent results. Think about your activity’s intensity and your camera’s mount setup. Balancing stabilization needs with battery life ensures you get smooth footage without sacrificing camera longevity. Adjust the stabilization mode accordingly to match your activity’s demands and your filming goals.
Footage Use Considerations
Selecting the right stabilization mode depends on how you plan to use your footage. For mountain biking, choose a mode that minimizes shake during rapid, rugged movements. For underwater filming, opt for a setting that stabilizes smooth, fluid motion without sacrificing clarity. Consider these key points:
- Use high stabilization for fast-paced activities like mountain biking to keep footage smooth.
- Select medium or low stabilization for underwater filming to preserve natural movement.
- Match stabilization modes to your activity’s intensity to avoid over-smoothing or excessive shake.
Frequently Asked Questions
How Does Stabilization Affect Battery Life During Recording?
Stabilization increases battery drain because your camera works harder to process and stabilize footage. This affects power management, causing your battery to deplete faster during recording. When you enable stabilization, it consumes more energy, so you might find your battery life shortened. To manage this, consider turning off stabilization when it’s not needed or carrying extra batteries to ensure you can record longer without interruptions.
Can Stabilization Settings Be Customized for Different Sports or Activities?
Back in the day, cameras didn’t have such fancy features, but now, you can definitely customize stabilization settings for different sports or activities. You’ll find plenty of activity-specific options that let you fine-tune stabilization, ensuring smooth footage whether you’re mountain biking or surfing. Just immerse yourself in your camera’s menu, select the activity mode, and enjoy crystal-clear footage tailored to your adventure.
Are There Any Risks of Overheating When Using Stabilization Features Extensively?
Yes, there are overheating risks when you use stabilization features extensively. Stabilization heat can cause your camera to get quite warm, especially during prolonged recording sessions. To avoid overheating, take breaks between recordings, guarantee proper ventilation, and avoid direct sunlight. Overusing stabilization may push your camera’s thermal limits, so monitor the device and turn off stabilization if it becomes too hot. This helps maintain ideal performance and prevents damage.
Does Stabilization Impact Overall Video Resolution or Quality?
Stabilization is like a steady hand in shaky situations, and it can slightly affect your footage quality. While it generally preserves good video resolution, aggressive stabilization might reduce some detail, impacting overall footage quality. You might notice minor blurring or softness in high-motion scenes, but this trade-off is worth it for smoother, watchable videos. So, balance stabilization settings to keep your video resolution impact minimal while ensuring steady footage.
How Do Weather Conditions Influence Stabilization Performance?
Weather impact can considerably affect stabilization performance, especially in harsh environmental factors like rain, snow, or strong wind. These conditions introduce vibrations and sudden movements, making it harder for your camera’s stabilization to keep footage smooth. To get the best results, you might need to adjust settings or use additional accessories like mounts or shields. Keep an eye on weather forecasts and plan your shoots during calmer conditions for ideal stabilization.
Conclusion
So, next time you’re about to share that adrenaline-pumping footage, remember—stabilization isn’t just a fancy option. Ironically, it’s what turns your shaky chaos into watchable adventure. Without it, your epic moments risk becoming dizzying disasters. But with a little tweaking and patience, you’ll have smooth, professional-looking footage that actually impresses. After all, isn’t it worth a few extra seconds to make your action shots worth watching?